El Freddo's Journal.

G'day all,

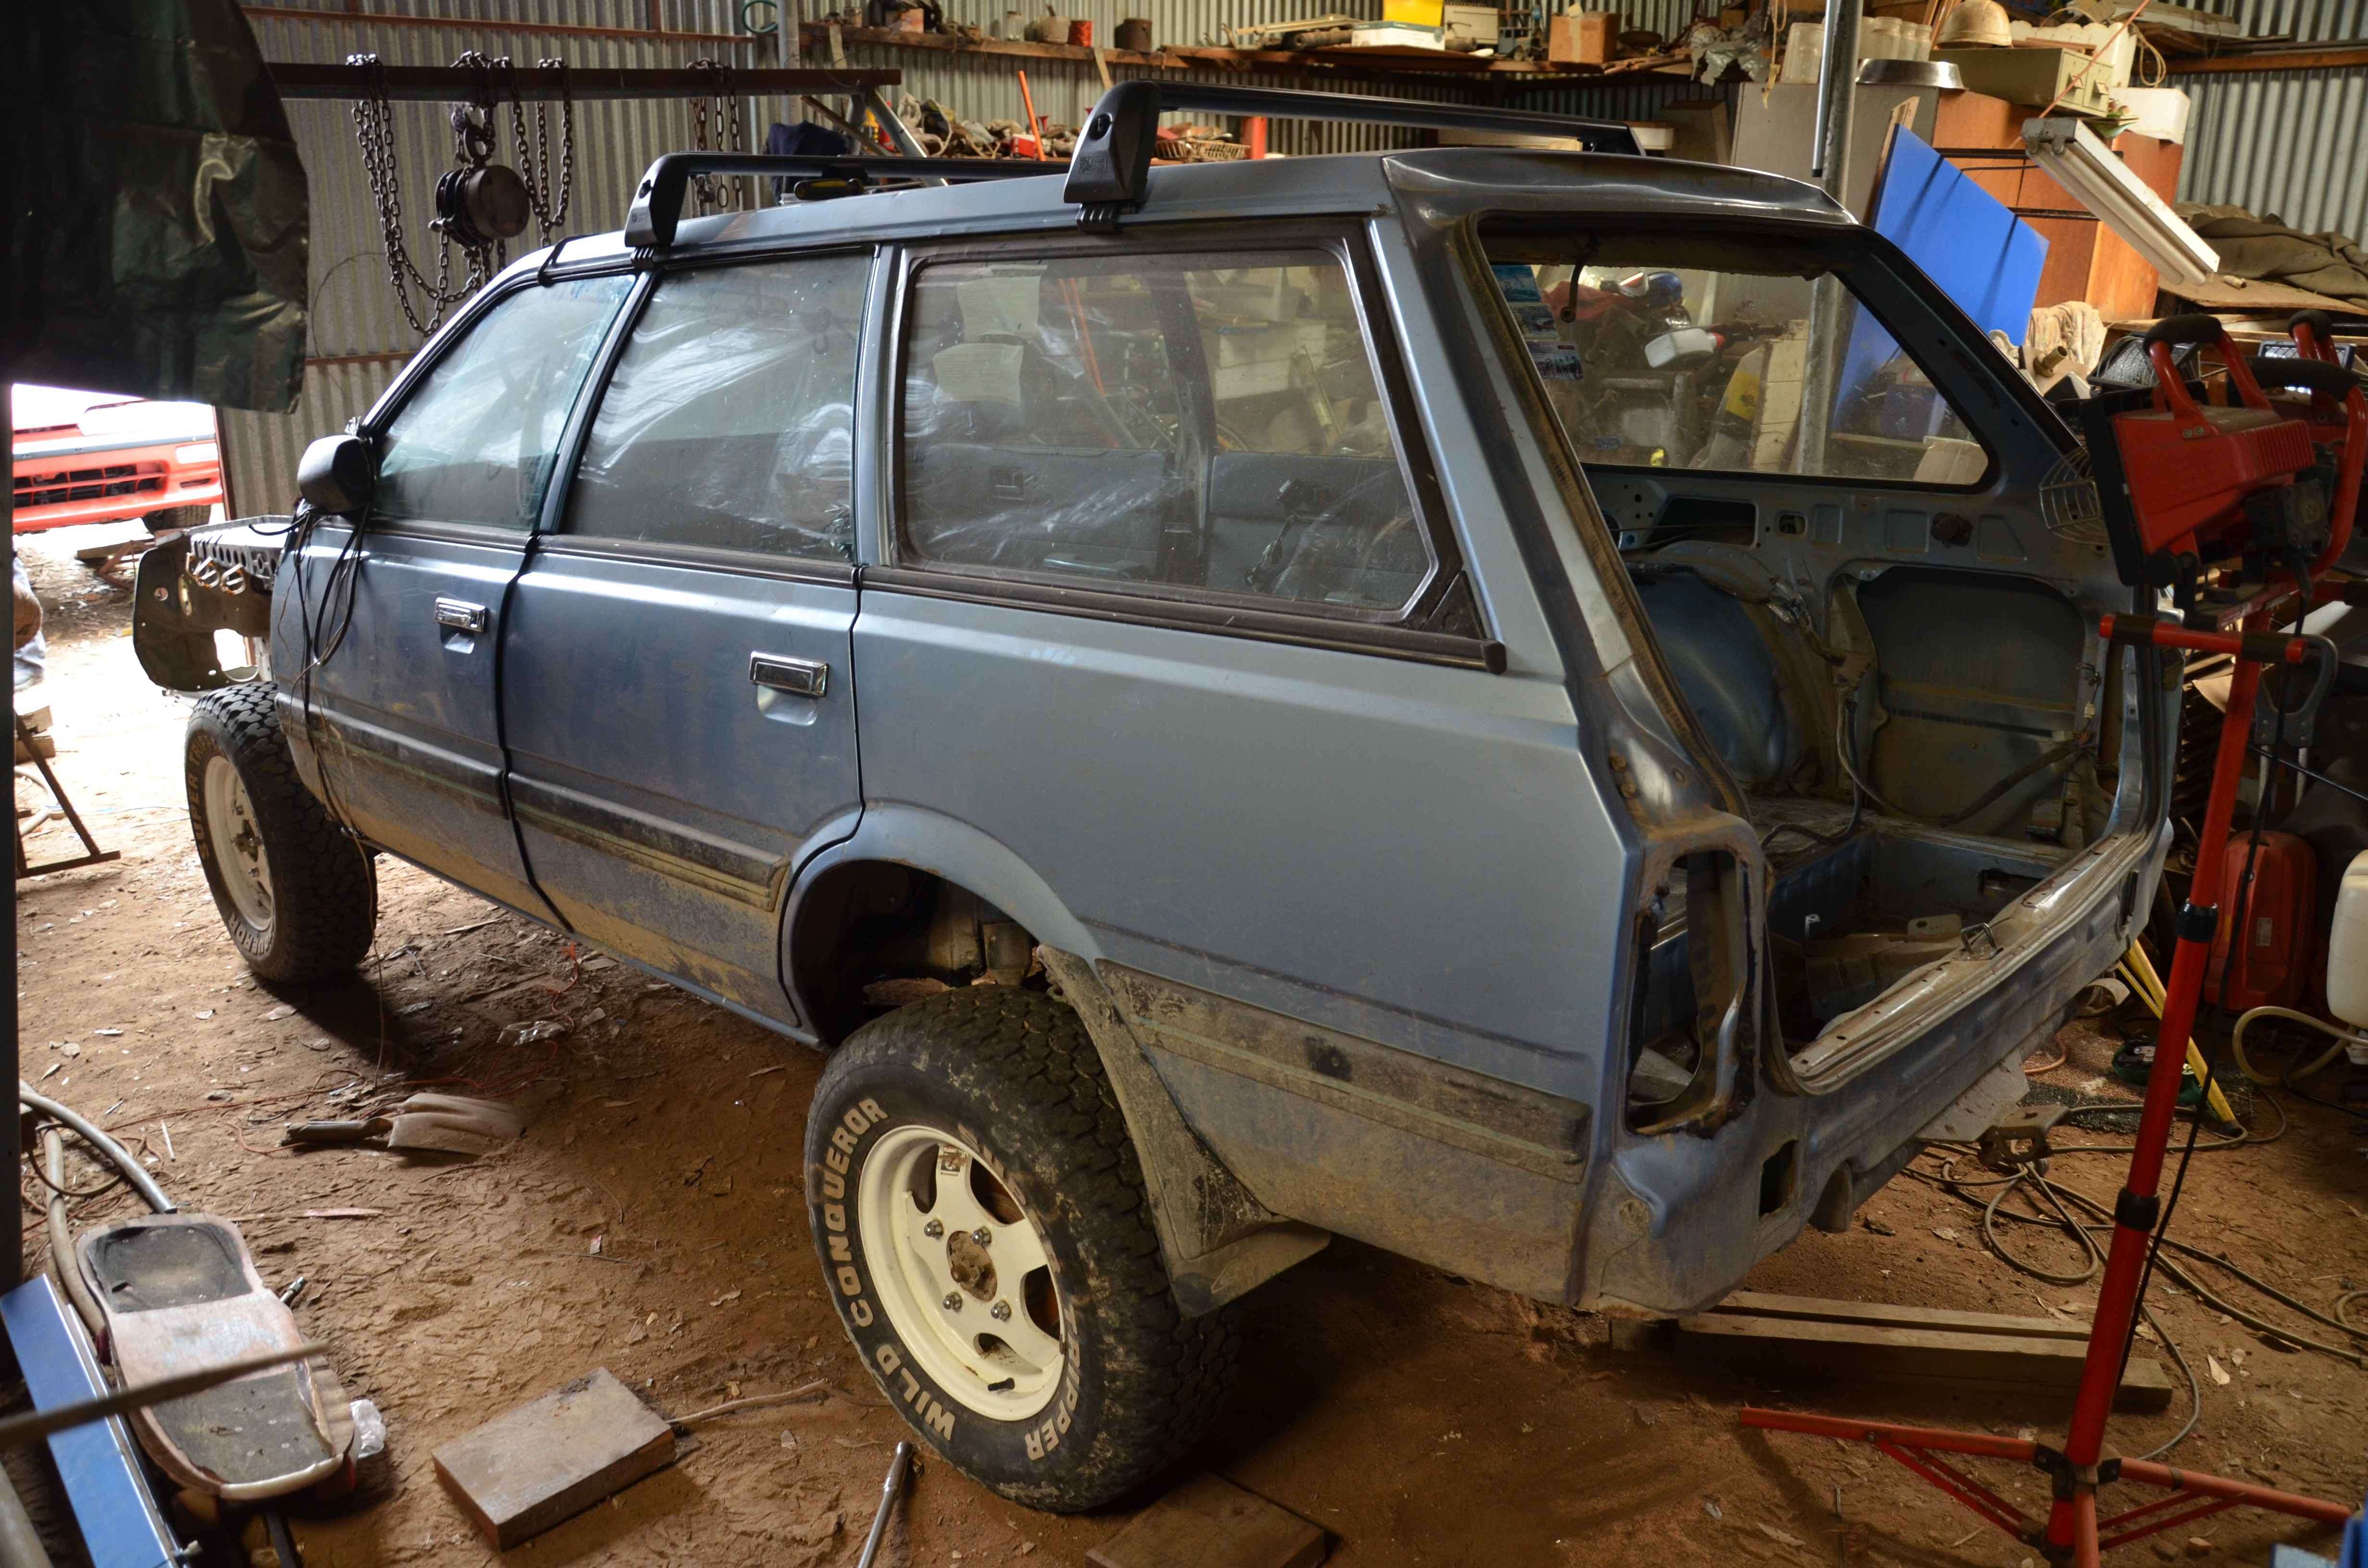
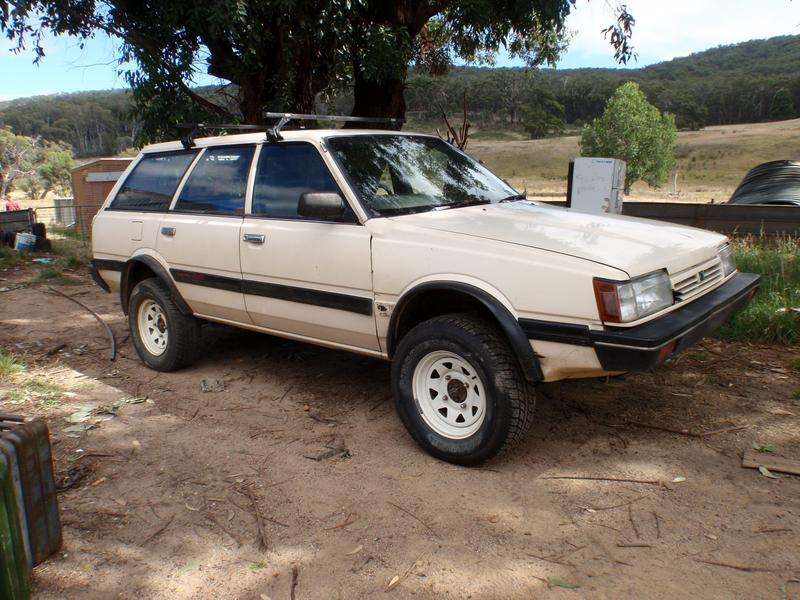
I got this yesterday:
p2280104.jpg


^ That's how it stood this morning.

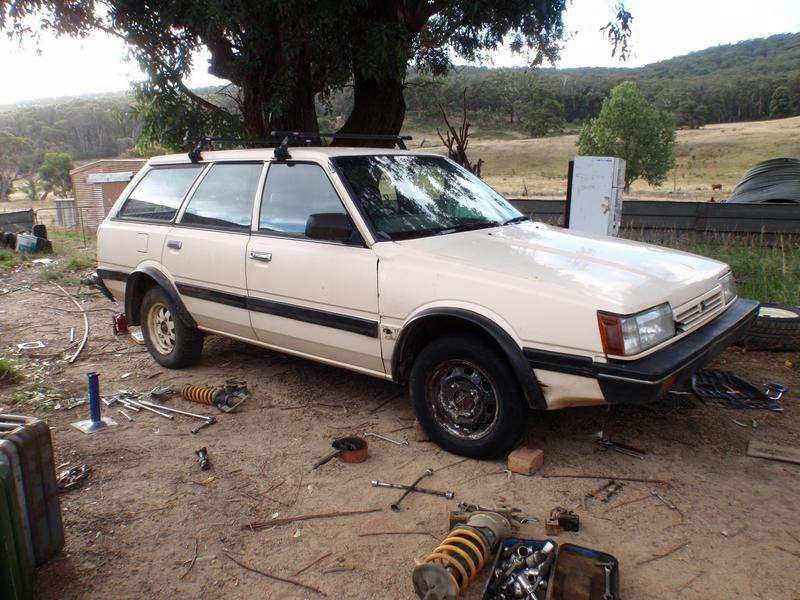
This is what I did to it today:
p2280108.jpg


I thought I'd share that for a start as I'm pretty excited about it. As for my subi that I cherish (not as much as you though Kez if you're reading...) the largest contribution to the forum about it was the EJ conversion that it underwent last september.

Here's a pic of Ruby Scoo in the Little Dip NP, Robe, SA:

p1290527.jpg


I'll leave it at that but will share more in the coming weeks as a few projects come to fruitation :) Can't wait but need some parts, hence why I'm not working on them now...

Cheers

Bennie
 
Looking good Bennie.

It sure is looking good :raz:
Keep up the great work mate :)

Looking even better today:

dsc8395rubyrepairs.jpg


Before this happened there was a lot of scraping off of the sound deadener, vacuuming, grinder wire wheeling, vacuuming, vacuuming, vacuuming - you get the idea, then some painting with the rust converter/sealer, then vacuuming again after it's dry followed by the painting with killrust enamel. Over kill, maybe. Here's some pics:

dsc8392rubyrepairs.jpg


dsc8393rubyrepairs.jpg


Great job Bennie...can't wait to see her in action again :biggrin:

Me either! I'm going to be so stoked when I can drive her out the driveway again :biggrin:

Best bit now is that I can see the real progress towards the final result. Before she came off the rotisserie with all the rolling this way and that it was becoming a bit tiresome and I was probably starting to be a little disillusioned and maybe overwhelmed too.

When you're finished I say we dig a pit, fill it with fire and skewer 2 cows and mount them on to this thing..... Sorry.. i just had a real fat person moment

Hehehe... no. Another car maybe.

Cheers

Bennie
 
Before this happened there was a lot of scraping off of the sound deadener, vacuuming, grinder wire wheeling, vacuuming, vacuuming, vacuuming - you get the idea, then some painting with the rust converter/sealer, then vacuuming again after it's dry followed by the painting with killrust enamel. Over kill, maybe.

I dont reckon its overkill. I'm not a fan of fish oil lol, but I reckon you're doing it in a way that will last with little or no maintenance. I firmly believe if its worth doin' its worth doin' right...even if it means extra work.
 
Considering how much effort is involved just to get to the point you're at, it makes sense to go that little bit further to make sure you never have to again.
 
So the last couple of days I've been between things and had limited time to work on Ruby Scoo. She's coming along well though!

Since putting the rear end in I've got the engine, gearbox, and front cross member installed. Today I got the gearbox crossmember and lift blocks bolted in, I thought I'd stripped a captive nut (the one that I replaced!) but it turned out good once I got the torque wrench out to really test it out - I figured that if it did strip out I'd still be "doing it up" for a long time and if this happened it would be the best time to drill and heli-coil it.

Not needed though :D

So I got the rest of the front end in - radius rods, hand brake cables, front struts and lift blocks followed very closely by the front wheels:

dsc8476rubyrepairs.jpg


dsc8474rubyrepairs.jpg


dsc8480rubyrepairs.jpg


dsc8482rubyrepairs.jpg


Also I've painted some of the floor with sound deadener - the motosport brand (I think). Going to get a bigger tin in the next couple of days to do the rest that I want to cover. Once that's done it's time to get the interior back in! Can't wait.

Cheers

Bennie
 
This is what 5 litres of sound deadener looks like:

dsc8483rubyrepairs.jpg


dsc8484rubyrepairs.jpg


Tomorrow I can start putting the interior back in and sorting out some wiring!

Cheers

Bennie
 
Gidday Bennie

This is what 5 litres of sound deadener looks like:

dsc8483rubyrepairs.jpg


dsc8484rubyrepairs.jpg


Tomorrow I can start putting the interior back in and sorting out some wiring!

Cheers

Bennie

Seems like a hell of a lot of work just to improve your sound system mate ... :iconwink: :lol: :rotfl:.

All the best with the rest of your re-build.
 
Do you realise your killing your power-to-weight ratio? hahaha :raspberry:

Yeah yeah! I've thought about that, but it really won't be much different after all the deadener I've already pulled out so I'll effectively only be a little over weight compared to before. The welding is another story...

WhooHooo! Will be good to see it back on (& off) the road!

Yeah it will! :twisted: I've picked up some work so the effort on Ruby Scoo could be slowed significantly depending on how long the work keeps up - hopefully for a long time!

Seems like a hell of a lot of work just to improve your sound system mate ... :iconwink: :lol: :rotfl:.

Hehehe... I've done it to help seal the floor after painting it several times with kill rust and rust converter. The other reason why I've done it is to reduce road noise - after a couple of hours even with out the stez on you're ears are ringing a little bit. Thought I'd try and die it down in the cab some more since it was the best opportunity to do so.

All the best with the rest of your re-build.

Thanks mate! I'm looking forward to having her back in one piece AND having my interior complete once again - I didn't put everything back in after the EJ conversion...

Cheers

Bennie
 
Well it's been a while between drink so to speak.

And not much has happened! I ended up covering the sound deadener with aluminium foil to stop it sticking to the floor liner once it heats up from drivetrain heat.

I've buggered around with the wiring trying to relocate the ECU but it's not going to happen, the wiring I need isn't long enough for the ECU to be comfortably re-located.

Today after sorting out another "new" L series in the family I sat down to do the wiring and couldn't find the energy to crack into it. So this is how she looks:

dsc8917rubyrepairs.jpg


dsc8919rubyrepairs.jpg


It was VERY satisfying when the dash board went in and even better when the steering wheel joined the crew too.

Since the above happened we had that week's worth of rain that flooded out our shed. When I say flooded I mean that water got in and made our dirt floor turn to mud and puddles - not fun to work in!! It's since dried out so I'm good to go again.

Now to get all that wiring sorted, wire in all the under bonnet bits, replace the rest of the interior, bleed the brakes and put the other panels back on as well as the front and rear bars and that should be about it. Easy to say isn't it!

Cheers

Bennie
 
one day soon at Bennie's...


[ame="https://www.youtube.com/watch?v=xos2MnVxe-c"]"It's Alive!!!" - YouTube[/ame]
 
Yeah pretty much! Just need to make sure I bleed the brakes before I get too excited!

Cheers

Bennie
 
getting closer... :iconwink:

Even more so now! I'm at that point that I can see the light at the end of the tunnel.

Here's the progress from earlier this week:

Monday was a big day and a rather large step was almost completed. It's taken some time to get it sorted but I've gone from this (pic from above):

dsc8919rubyrepairs.jpg


To this by the end of Tuesday:

dsc9641rubyrepairs.jpg


The ECU is mounted much neater than it ever was before and the cruise is tucked up neatly as well. I've moved the fuses to behind the glovebox which has resulted in a bit of a wiring highway below where the stereo is be, but I'm happy to live with this for more space and thus neatness above the driver's feet.

Here's the fuse panel and the ECU/fuel pump relays, (green plug and brown box):

dsc9619rubyrepairs.jpg


The fuse panel doesn't foul on the glovebox when it's closed, if it did then I would have to modify the mounting bracket and mount it higher up.

On Tuesday I found a couple of kick panels that the GL (spec'd up model) has that my DL (base model) doesn't. So I used them, but being that they were brown I had to modify the passenger's side so that it didn't look dicky with a brown strip below the glovebox. So a tidy cut and shut was performed:

dsc9636rubyrepairs.jpg


The driver's side is tucked away so it was the usual plug and play. No wiring can drop now - not that it can anyway I've used a million cable ties!

I've also got my PS pump mounted after the whole different bolting pattern saga.

An exciting pic because I could:

dsc9627pspump.jpg


And the bracket differences:

dsc9612ejpsbracket.jpg


Interior is next to nail, starting from the rear. The front seats will be the last item to go back into Ruby Scoo before she's out the shed - otherwise I'll start driving her around without having completed the whole rebuild (once again).

After running some errands this fine arvo I'll be hiding in the shed again to start the interior replacement - it should look to move along quickly from now :D After this is completed the three main things I've got left to do is:

- fit exhaust, gearbox mounts and tail shaft
- finalise the engine hook up to all it's wiring
- fit the front guards and the front and rear bumper

From there I'll need some fuel in the tank and she should be a goer with any luck. That's when I'll be doing the Yoni happy dance :discomonkey:

Then a wash inside and out will be in order - after a few k's I think!

Cheers

Bennie
 
Fantastic work El_Freddo :ebiggrin:

After seeing the first 2 pics I can see what you mean by seeing a light at the end of the tunnel :) The difference is huge :)

Regards
Mr Turbo
 
Thanks fellas! Depending on work loads will depend on when this chapter in Ruby Scoo's life is done for now...

Nice one Bennie. I esp like the tiltometer on the dash :monkeydance:

Yeah that's another project... I've been trying to work out how to mount it so that it works properly - and the adjustment screw is broken so the only way to make the pitch level is to pull it apart once I know what angle it'll be mounted on - or I could work out how to make a new screw!

On that note, today was a productive one:

dsc9659rubyrepairs.jpg


^ I did a measurement before I started putting everything back in. So she's standing at 33 1/4 inches without any fuel, no rear diff, no rear door, no rear seats or interior, no rear bar, no spare tyre... You get the picture!

How the interior looked when the measurement was taken:

dsc9658rubyrepairs.jpg


Then I did this:

dsc9664rubyrepairs.jpg


dsc9660rubyrepairs.jpg


dsc9666rubyrepairs.jpg


dsc9668rubyrepairs.jpg


The rear door was easy to put on but the wiring was a right PITA to get back down through the pillar.

The front door speaker pod has been a VERY long time coming! A couple of the mounting screws were in a position where they were doing nothing due to the factory speaker hole, so I knocked up a bracket and sikaflex'd it to the door card. Worked a treat. Only problem is that it just touches the trim that runs along side the passenger's seat before you open the door. Nothing to worry about.

The rear lights have two little retaining screws, the rest is also a factory version of sikaflex. I ran out after this one so the RHS one has to wait. I think the LHS is going to come off again as I didn't line it up properly - or the rear door needs adjustment, gotta look into that.

I reckon another day on the exterior, two days on the mechanicals and she'll be running again! Oh yeah, better not forget to bleed the brakes!

dsc9665rubyrepairs.jpg


Cheers

Bennie
 
Back
Top