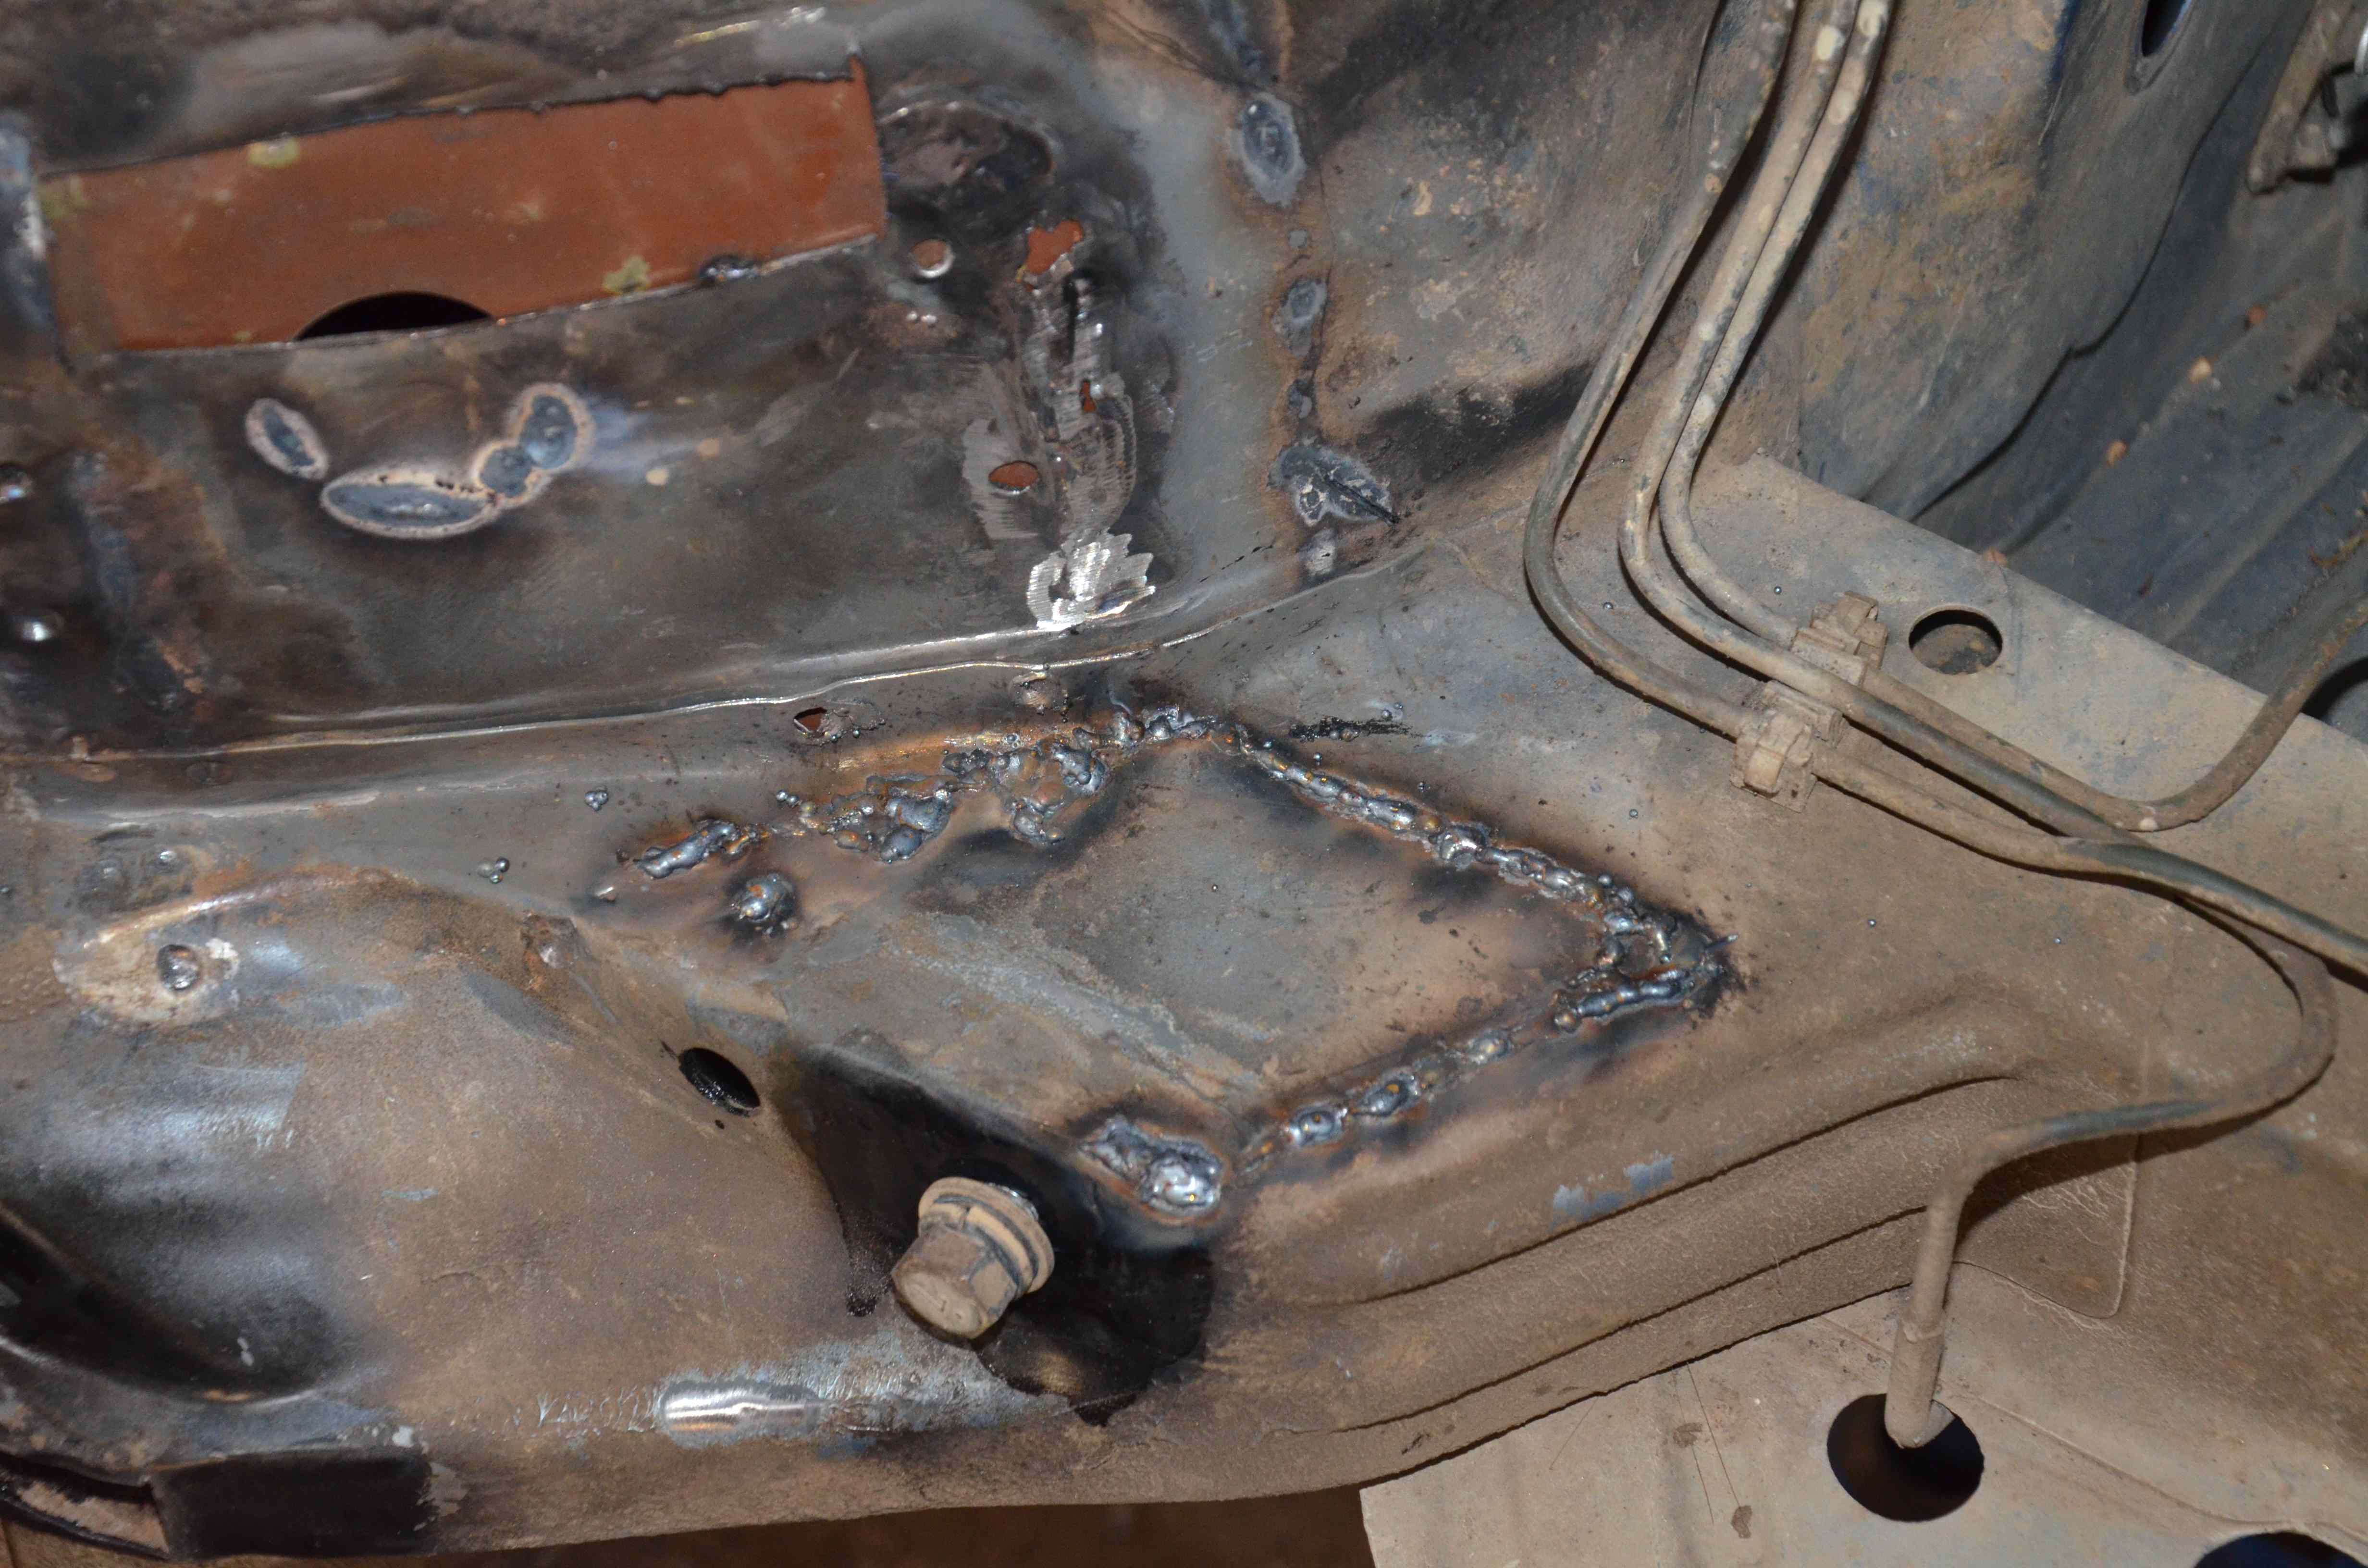
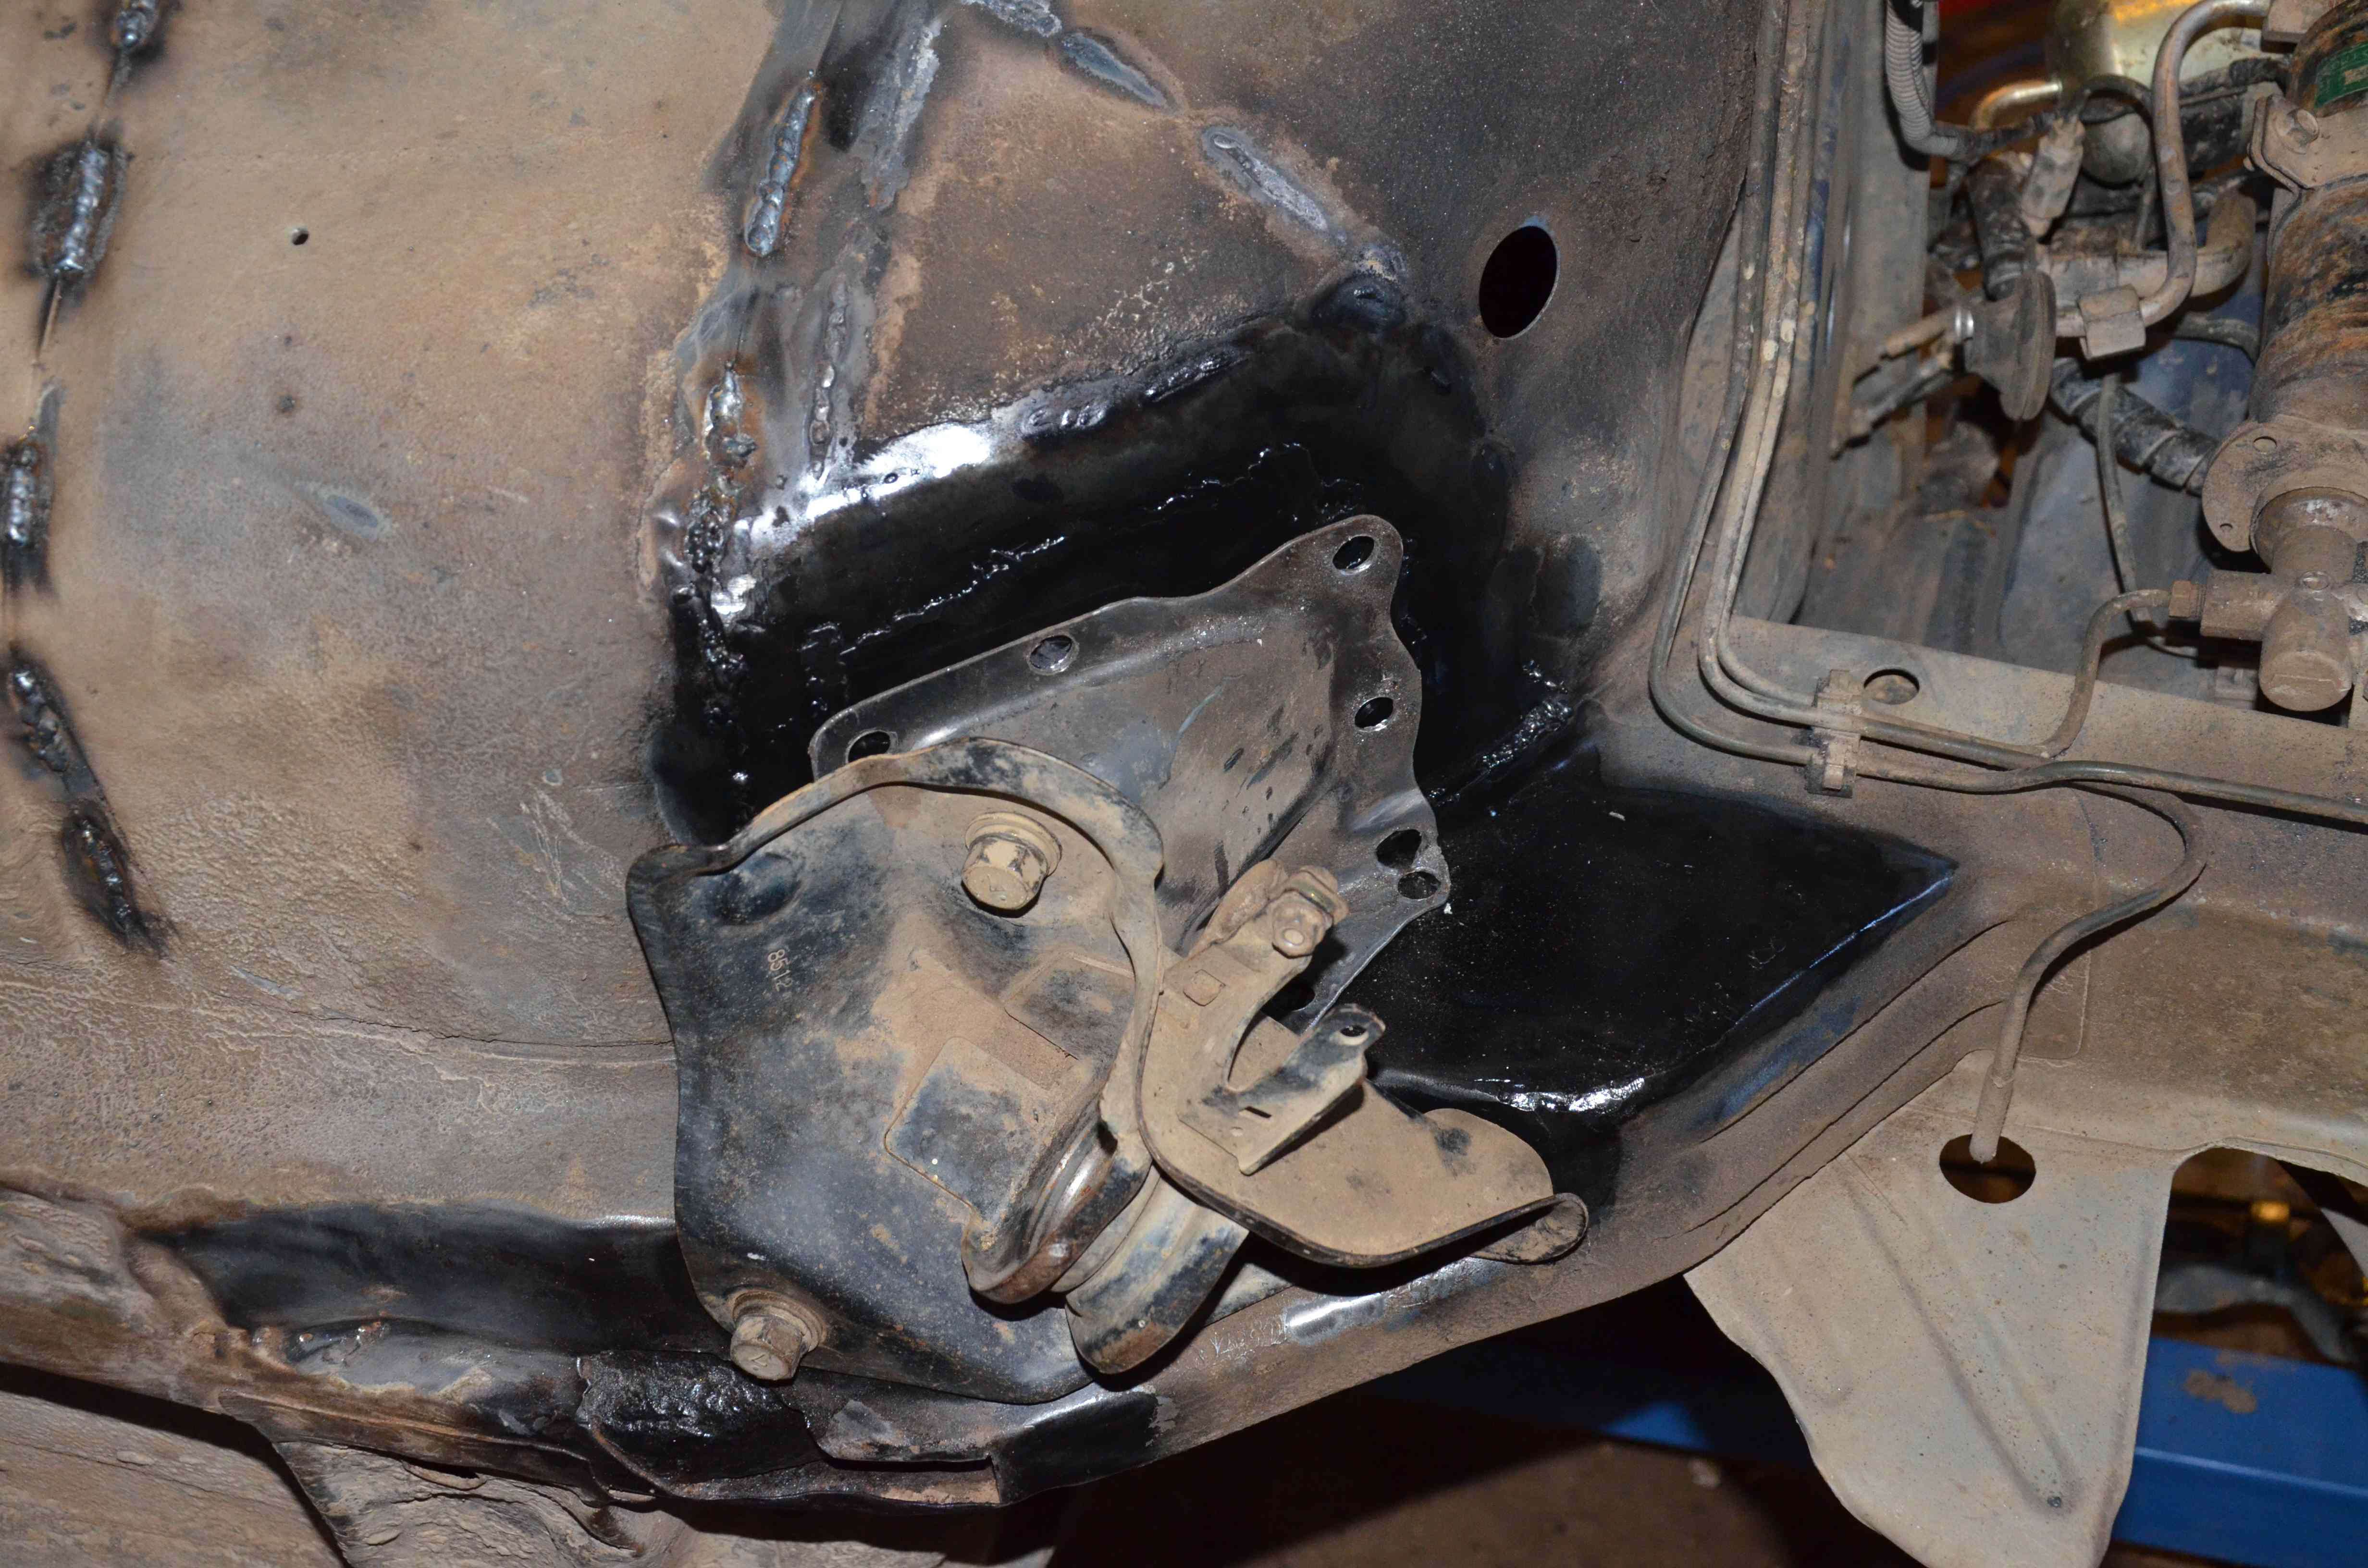
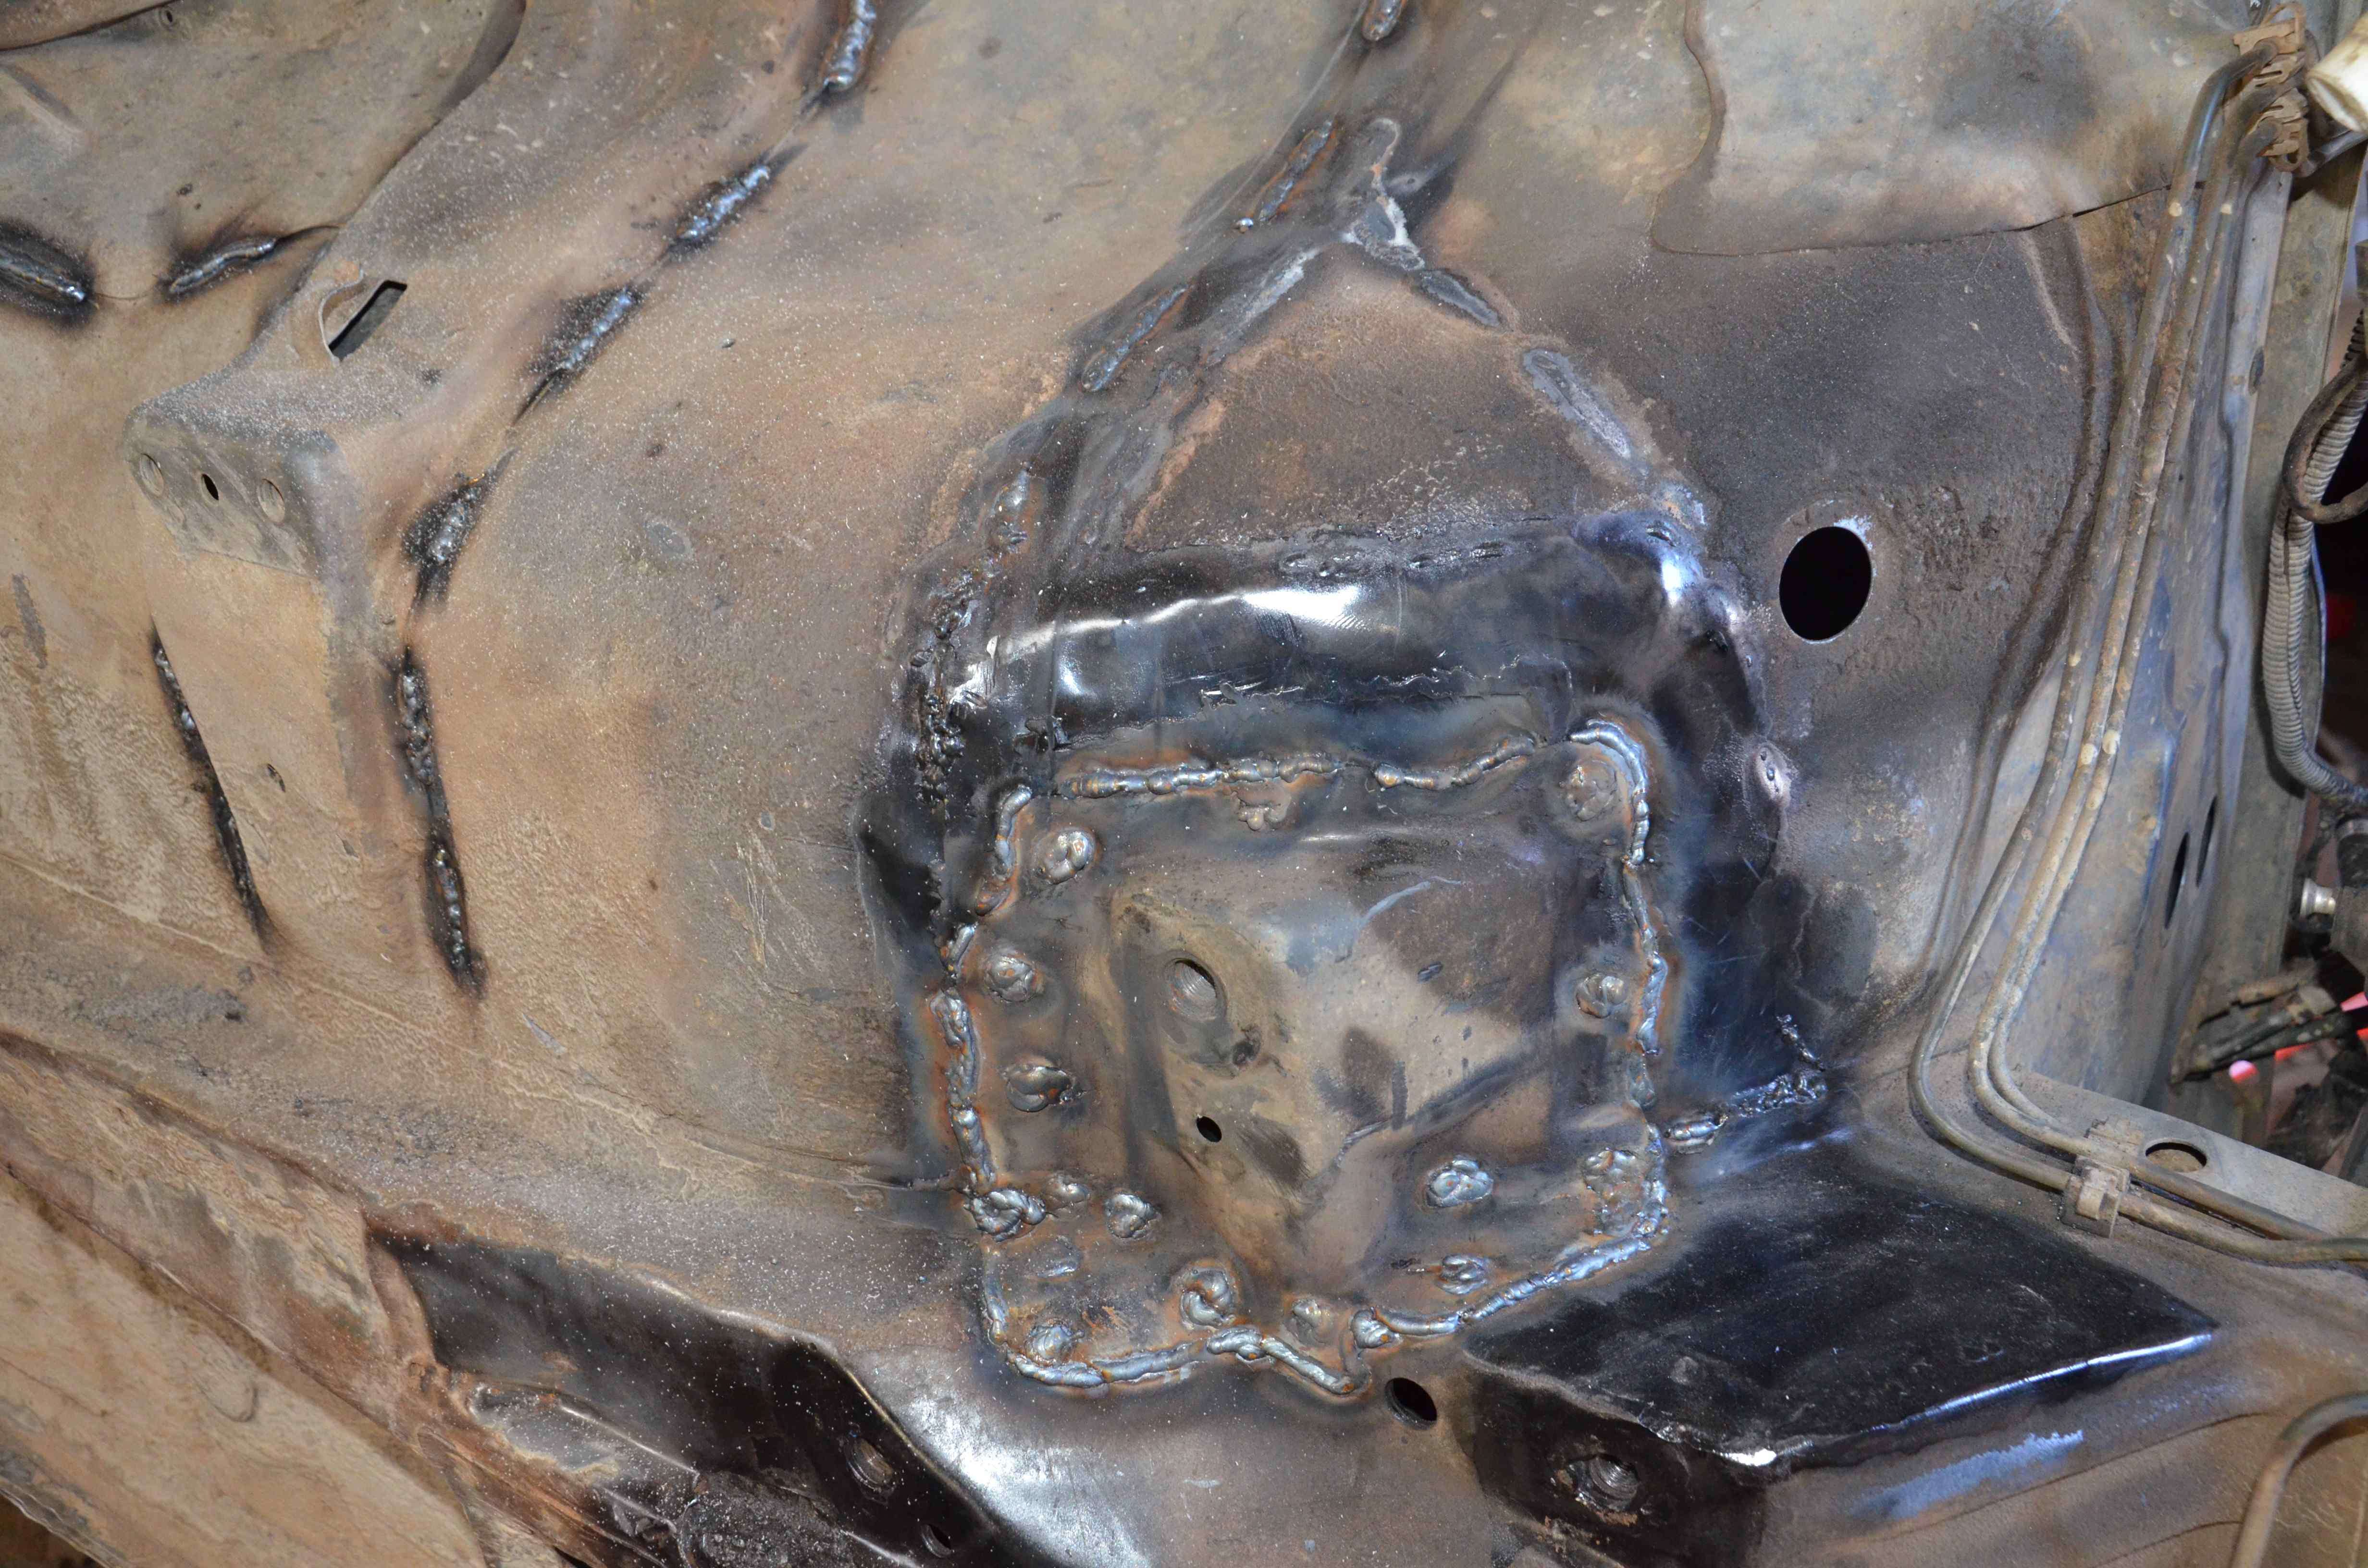
El Freddo's Journal.

G'day all,

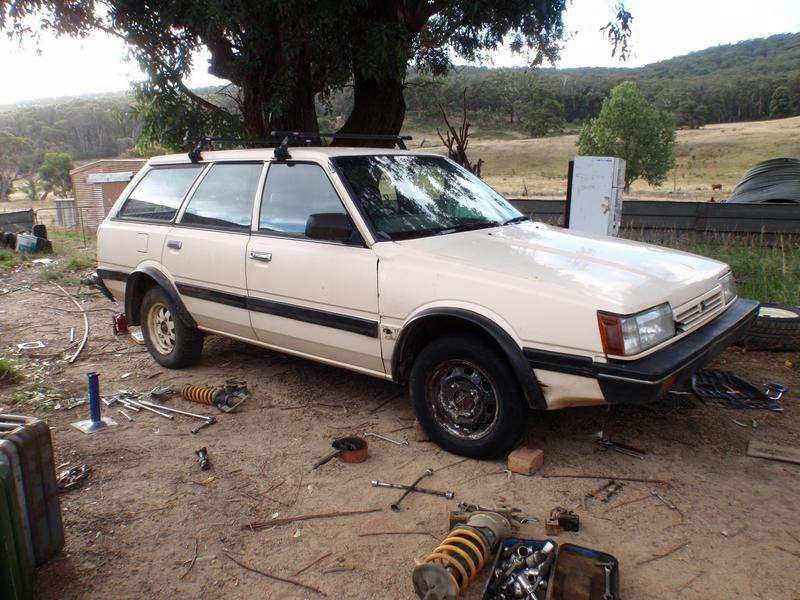
I got this yesterday:

p2280104.jpg


^ That's how it stood this morning.

This is what I did to it today:

p2280108.jpg


I thought I'd share that for a start as I'm pretty excited about it. As for my subi that I cherish (not as much as you though Kez if you're reading...) the largest contribution to the forum about it was the EJ conversion that it underwent last september.

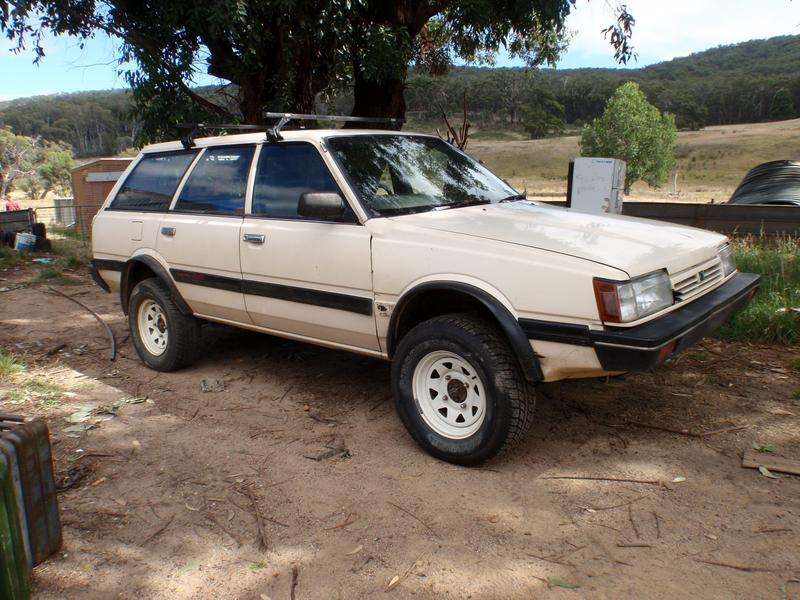
Here's a pic of Ruby Scoo in the Little Dip NP, Robe, SA:

p1290527.jpg


I'll leave it at that but will share more in the coming weeks as a few projects come to fruitation :) Can't wait but need some parts, hence why I'm not working on them now...

Cheers

Bennie
 
I've raised your curiosity, this raised my eyebrows and not in a good way.

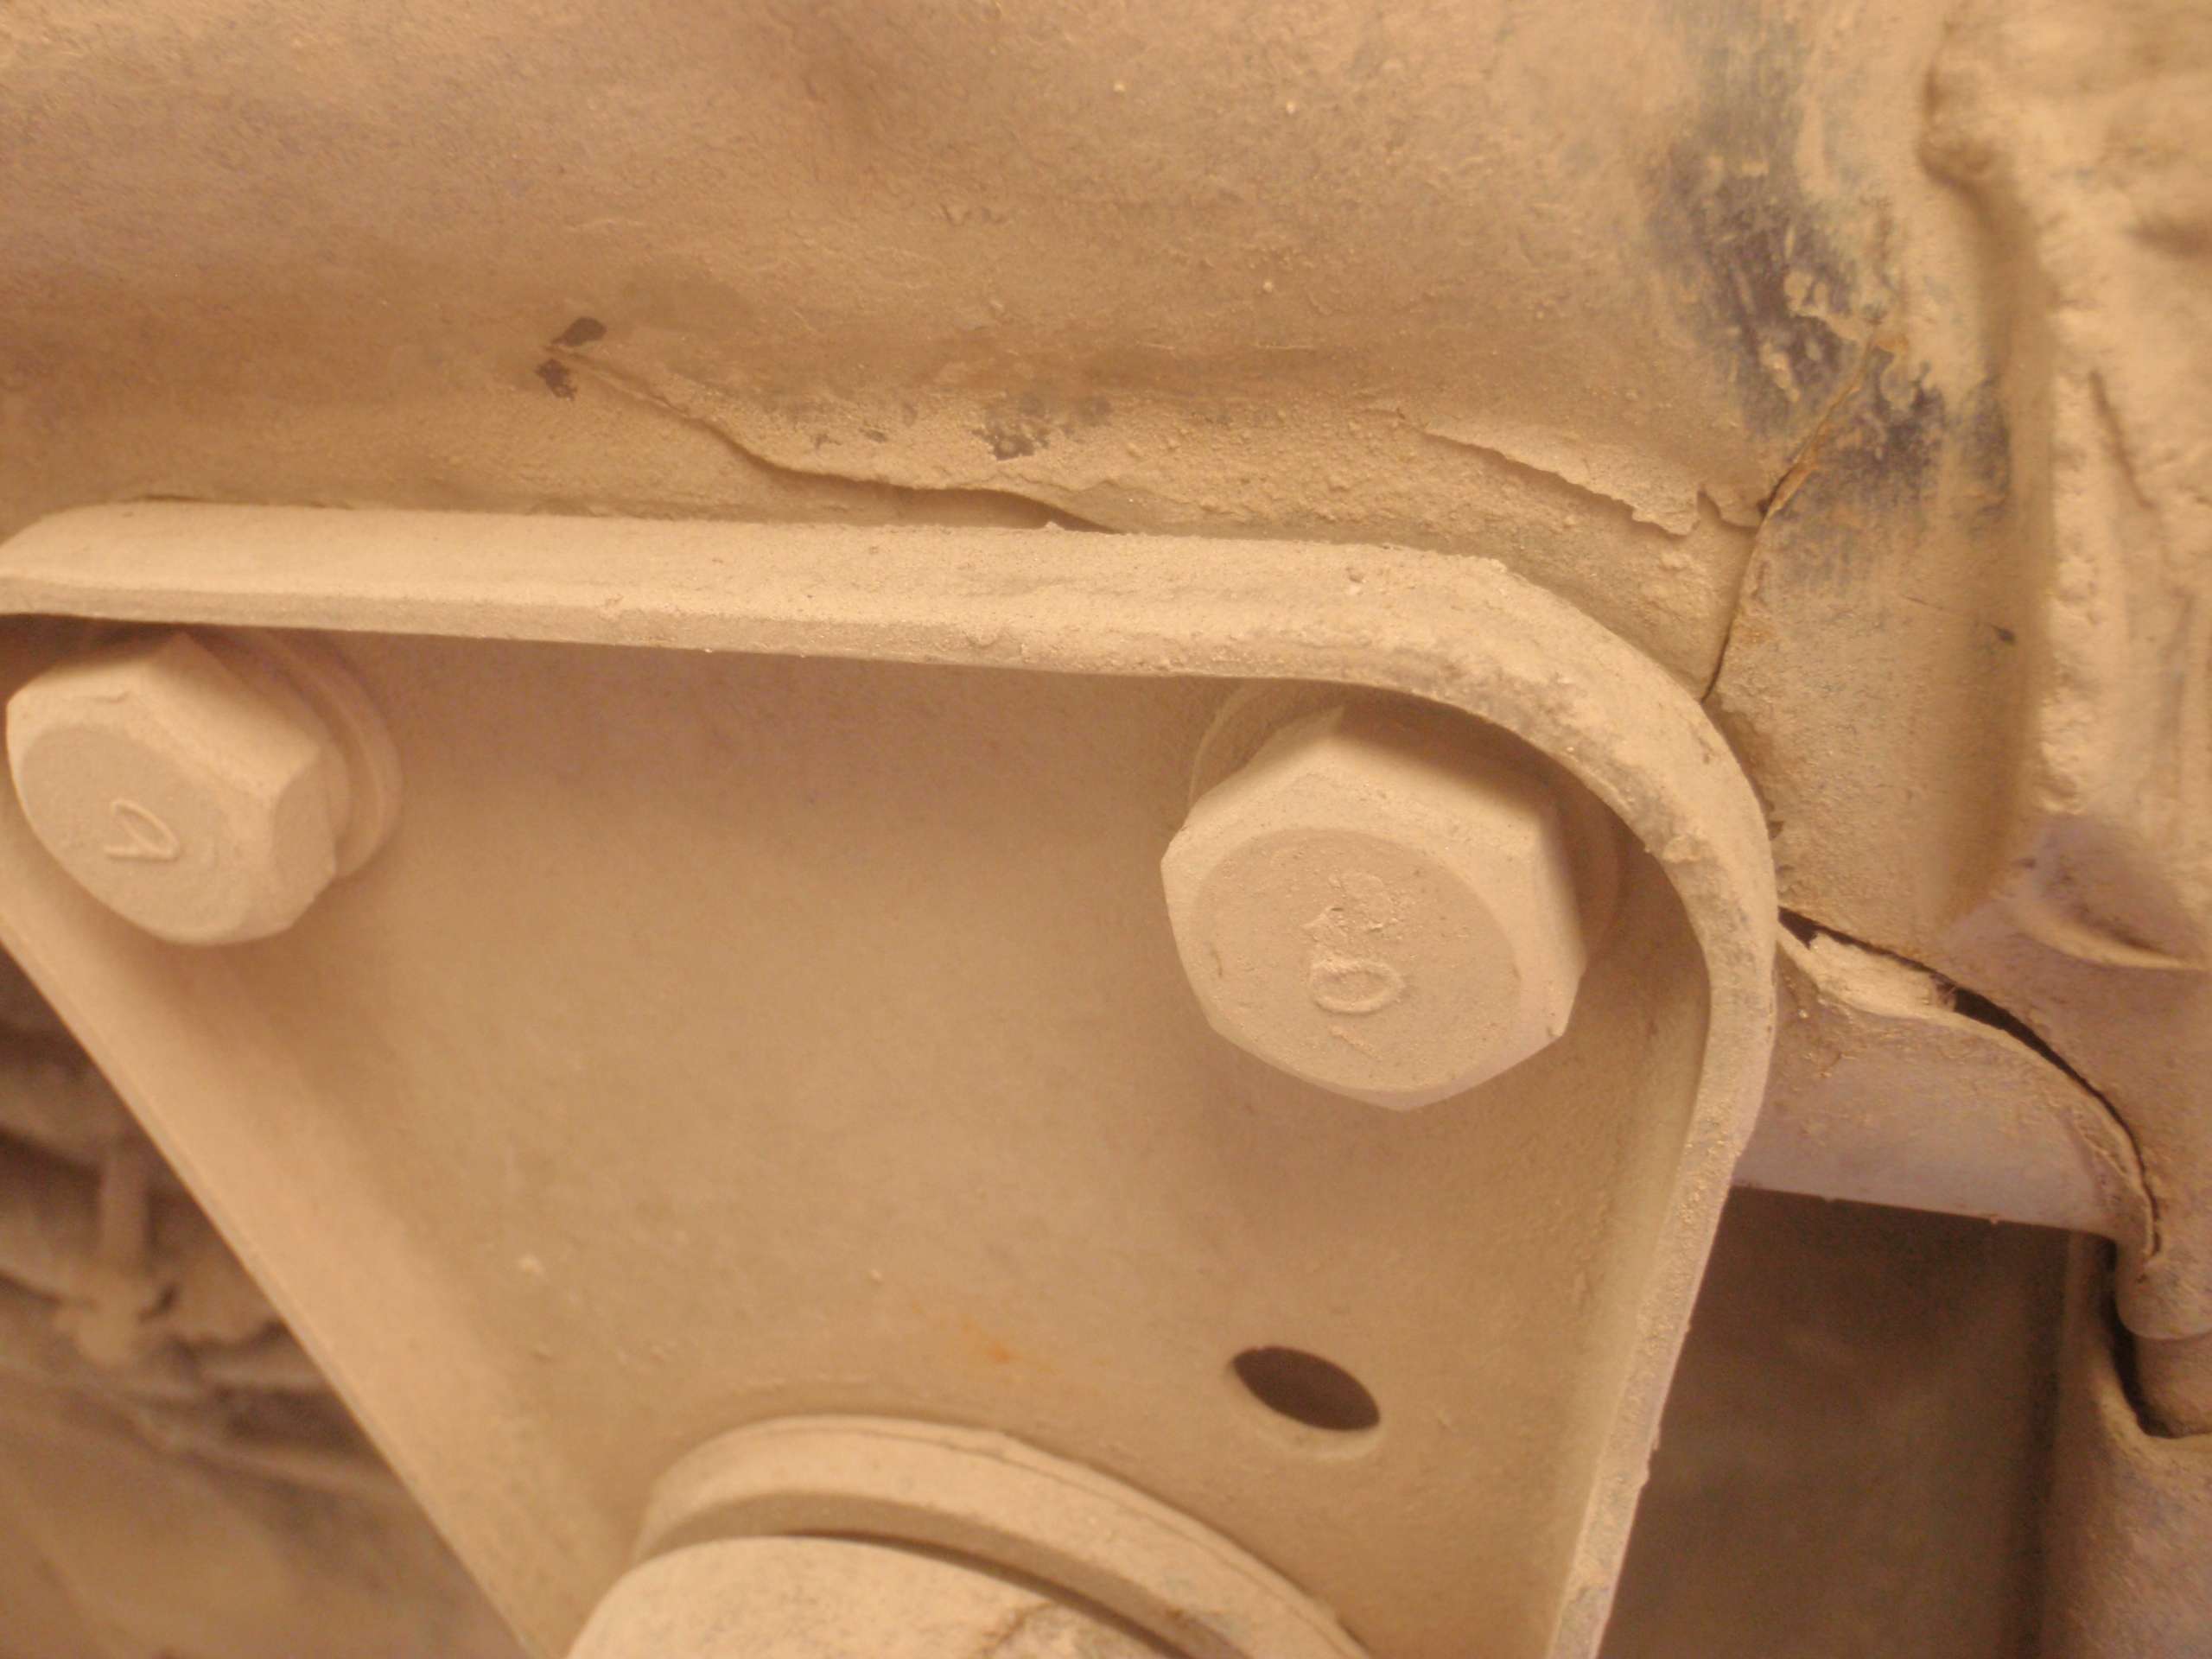
On the rear one of the captive nuts is moving and causing some cracking. The cracks have been monitored and they're pretty stable at the moment.

This weekend will see her welded back up - hopefully an easy task! Then I'll be looking into making a new bracket for that area with extra bracing, if it decides it's going to move with this bracket I've got in mind then it's going to have to take some of the rear floor with it...

I'm not sure what's caused this damage, I took a nasty hit on the rear subframe this time last year, so it could have been brewing since then - or I've hit a huge pot hole on a dirt road, I've probably hit a few actually :(

I'll get photos up next week ;)

Cheers

Bennie
 
Not an unusual problem when we push our cars hard - there's been others e.g. my rear seams have been welded up after a couple of spot welds let go.
 
Not an unusual problem when we push our cars hard - there's been others e.g. my rear seams have been welded up after a couple of spot welds let go.

Kevin, this is more involved I think, not meaning to put your damage below mine but this really scared the **** out of me and was not at a good time if our fix doesn't work.

Bascially I found some substantial damage under Ruby Scoo. It had me quite worried about her future. It started out when Matt (nachaluva) fount some cracks when checking out Ruby's undercarriage on our Walhalla 4wd trip:

p9230170.jpg


I wasn't happy and thought it may have been a large pot hole or two that did the damage but really had no idea. So we watched these cracks and continued on our way. They didn't move which was great.

Then when I was putting the little boots back on after enjoying a week of 27 inch rolling goodness I found that there were identical cracks on the left hand side. Not good. Then I thought I'd check out the repair my uncle and I did on the LHS radius rod/gearbox x member mounting bracket, specifically that plate that is welded to the firewall that has two of the three captive nuts for the RR/GCM mounting plate. It had developed a crack so we put a bolt on it to hold it back on the firewall. All good.

Then I found this to my horror:

p9230173.jpg


I went a bit funny shortly after this. So I organised to drive it home ~400km off a large mountain with a twisty road and get it welded up at my best mate's joint. We had a closer look and what I found out was that it wasn't the plate moving away from the fire wall, it was the firewall that had moved from the plate, and to balance things up the plate then pulled all the spot welds to be where it naturally was from the factory. Crazy I know.

I had previously thought that the torque twisting of the EJ in low range with the 27's and some tough 4wd'n was responsible for the plate moving away from the firewall. But once I found out it was the other way around it was clear to me that this was done pre-season when I was 4wd'n with Richie and Roger below dinner plane area. We had a "rally section" where we gave our 4wds a fair flogging, Ruby Scoo out front being the lighter unit. I've been driving all season with this un-ware of what hideous mess was lurking under the bonnet.

A freshly graded road sometimes gives large ripples that bounces the front then the rear of the car. I was coming over a hill on the throttle, noticed the road started to curve to the left so I started braking with the hill dropping away quickly - too fast on a road I didn't know. I then hit one of these ripple sections which put the car airborne, nothing spectacular, just enough for me to slow the wheel speed down lower than the airborne vehicle speed which had the front end landing with an almighty BANG! It really felt like my captive nuts were cactus on the radius rod plate and that everything there had moved about an inch backwards. This is where I think the firewall was moved, captive nuts still look good and are holding up well.

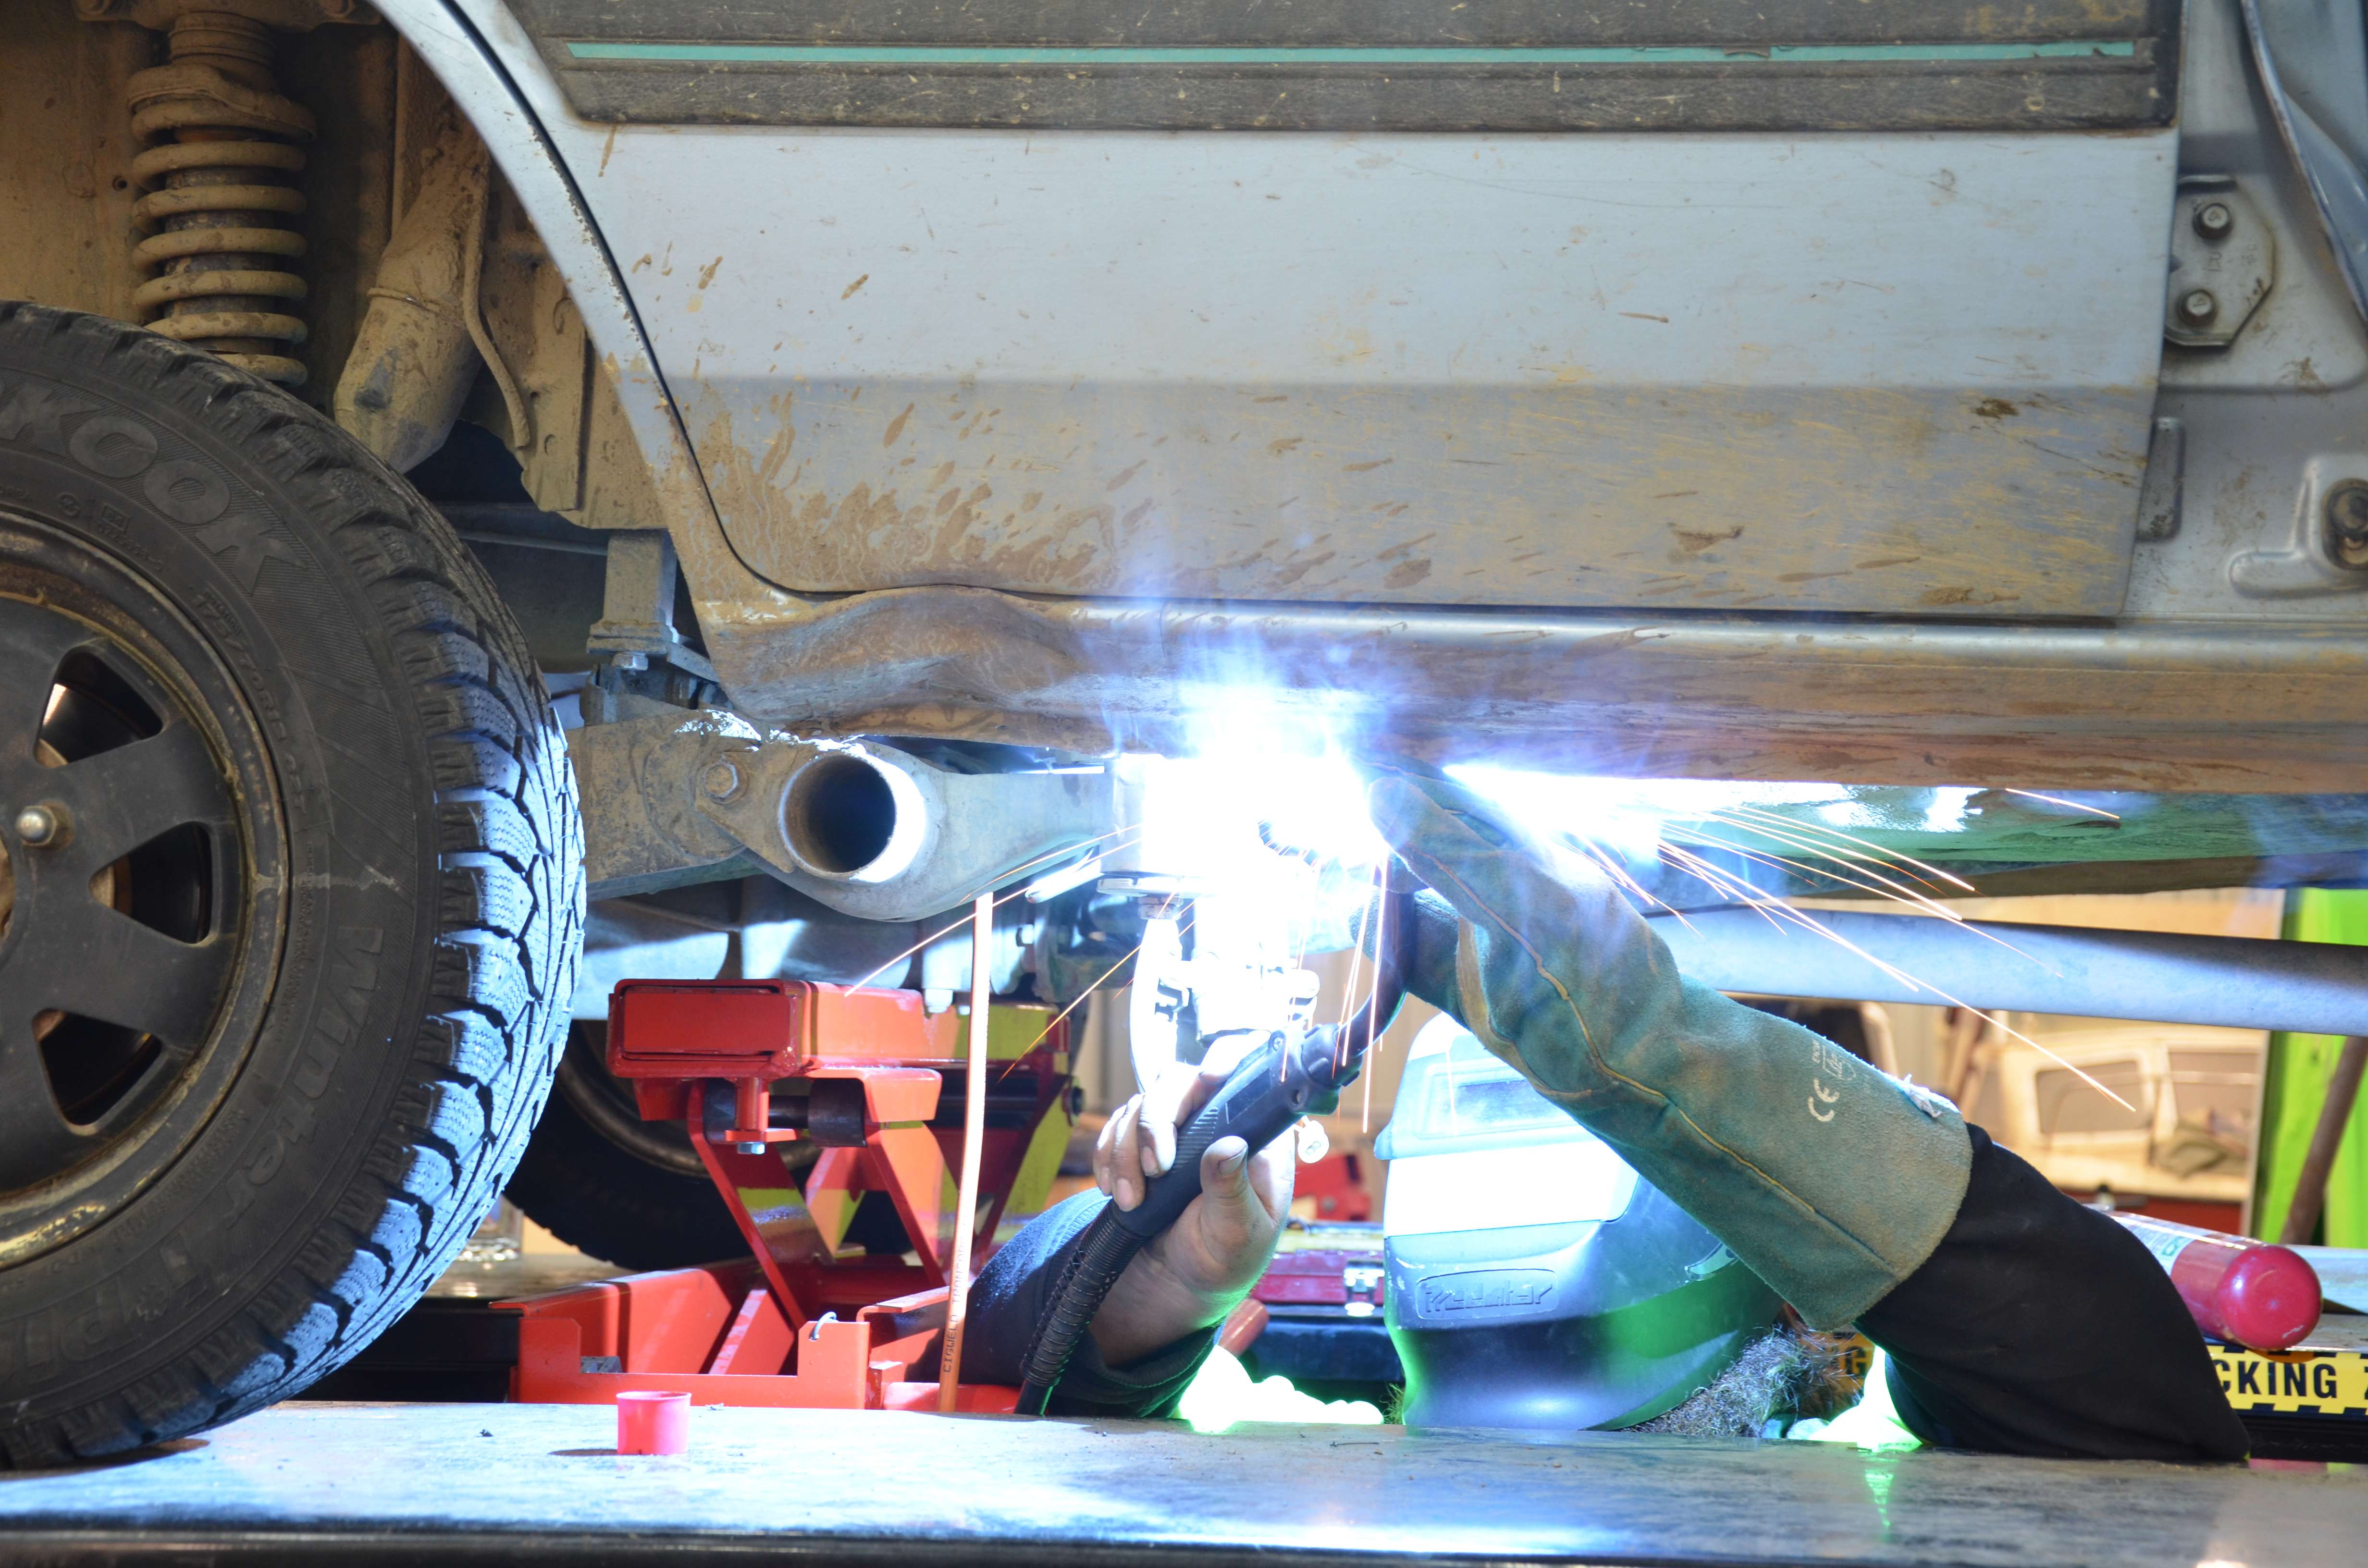
So after a couple of rums, a few hours and some photos of Jimmy doing his best upside down Ruby Scoo now has a new lease on life and a few scars. Here's some pics of the progress of work:

Rear right being welded:

dsc0805a.jpg


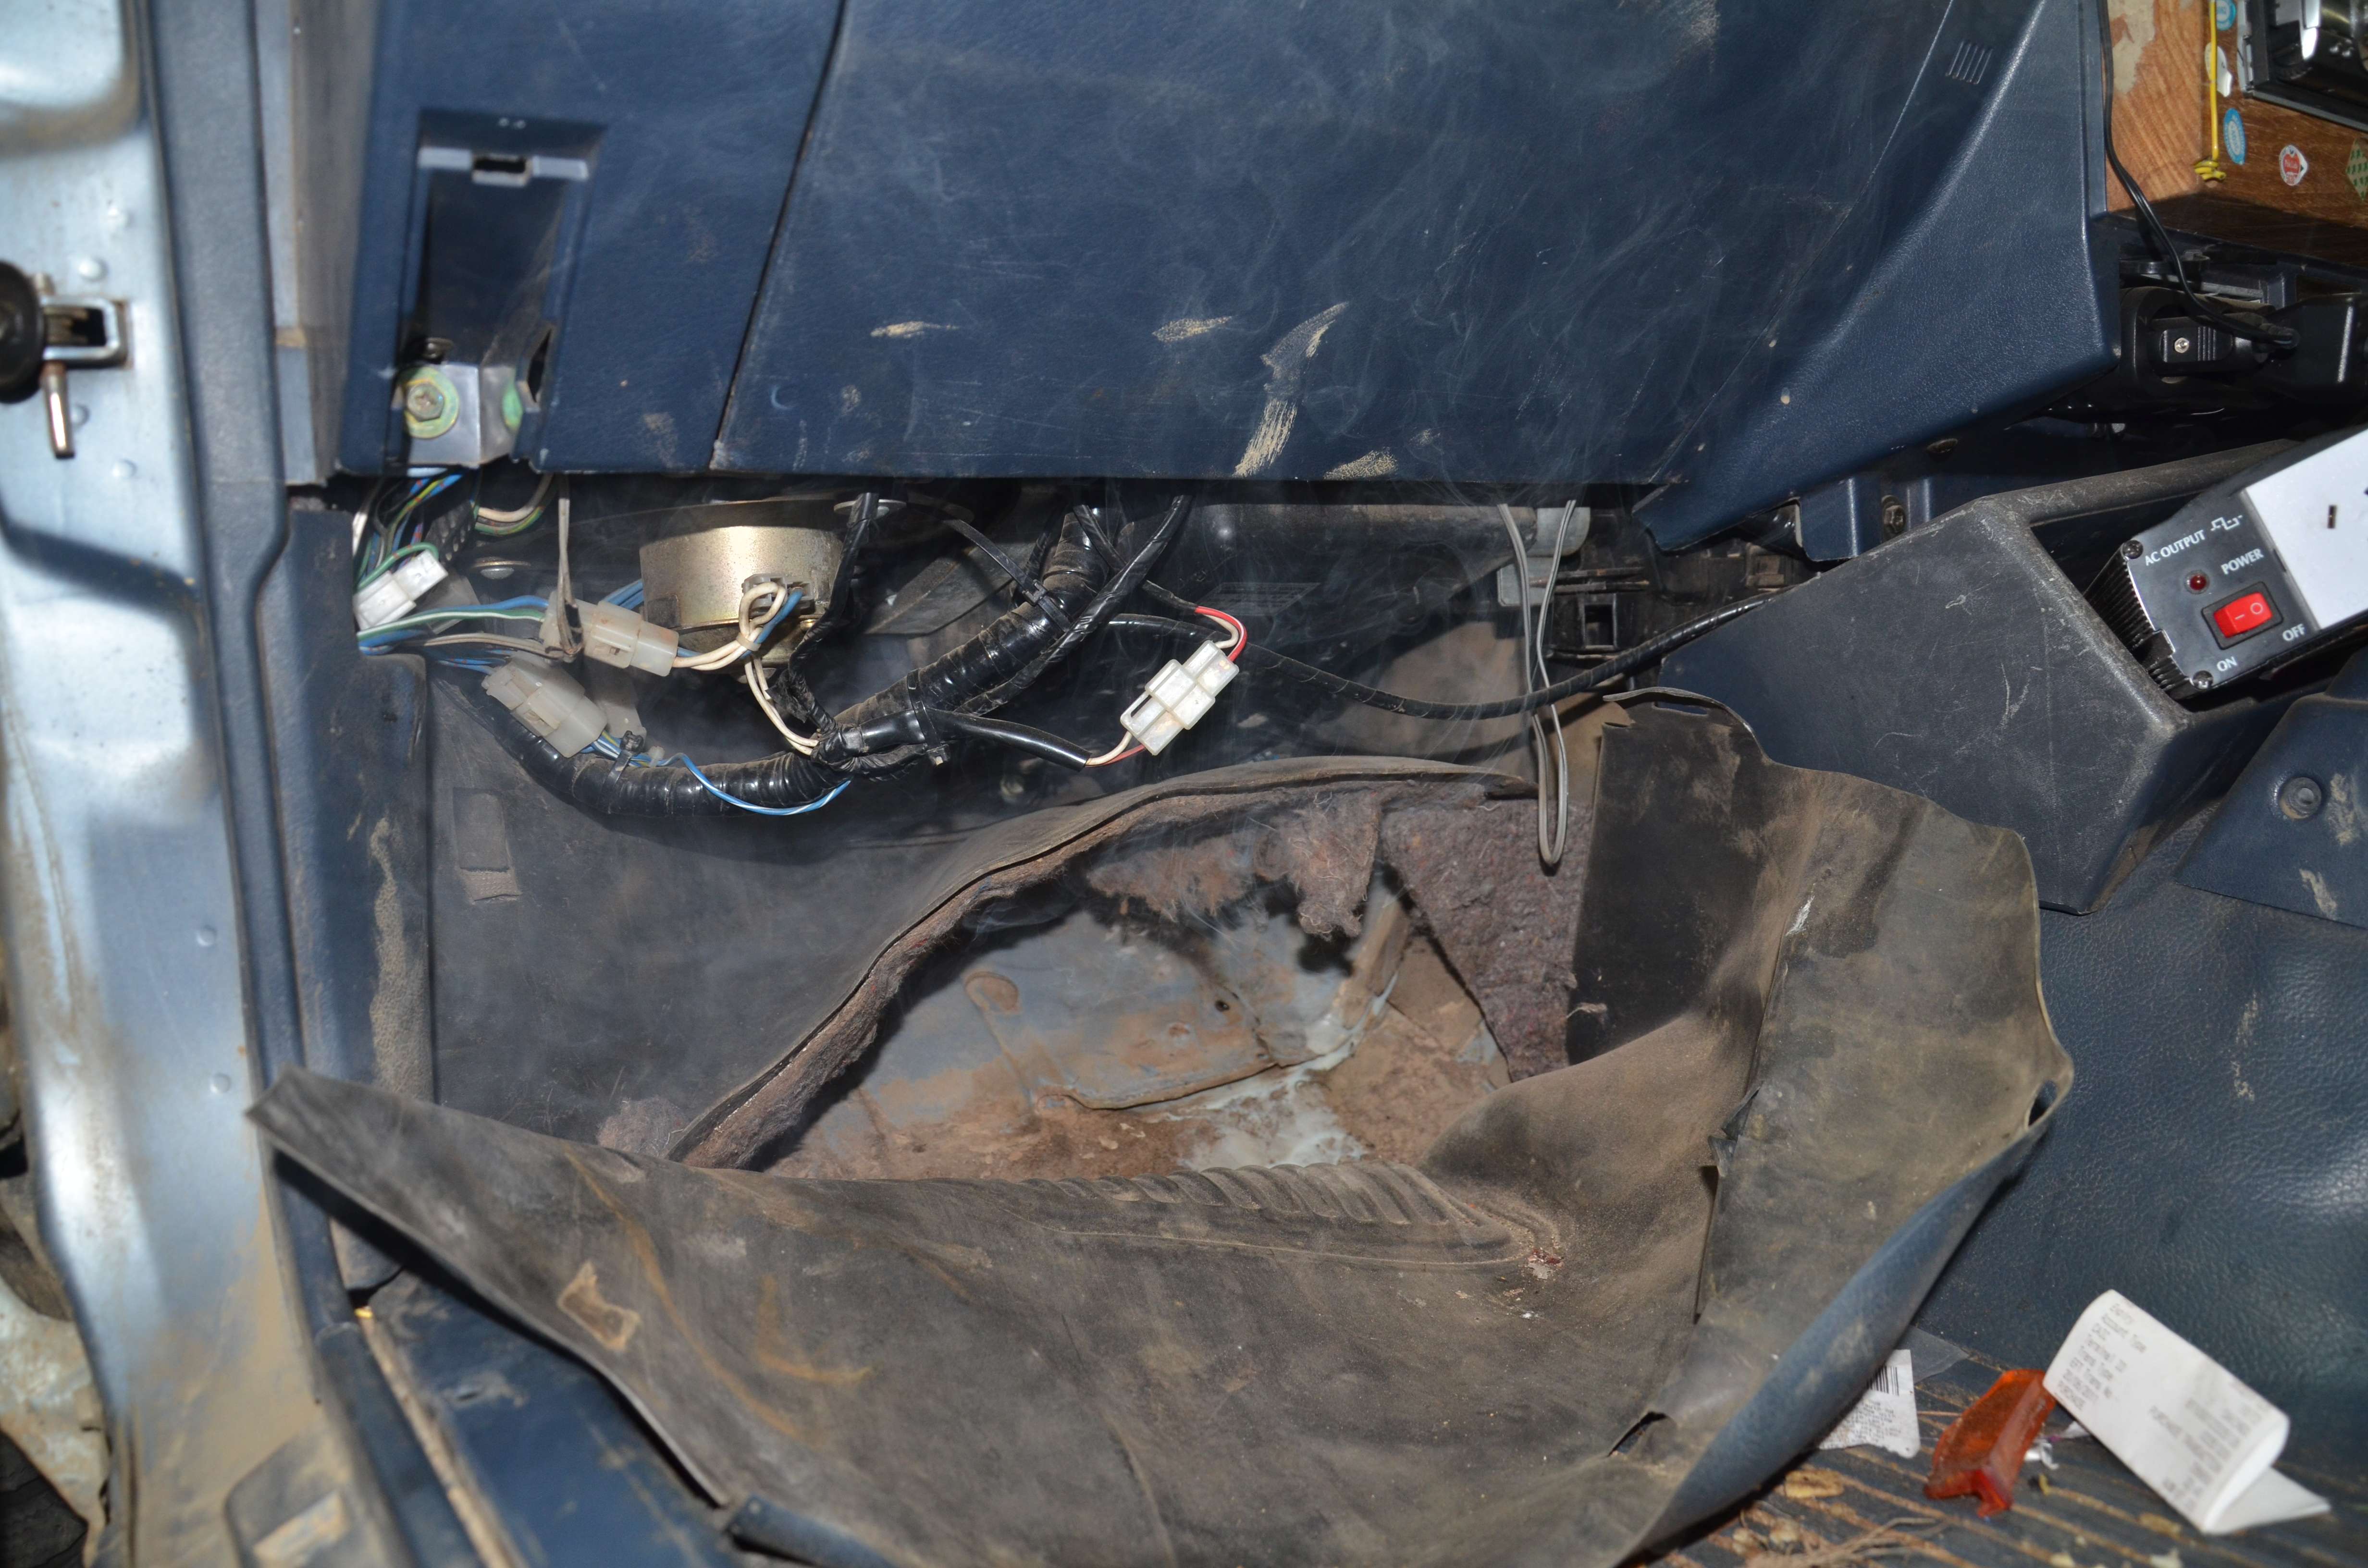
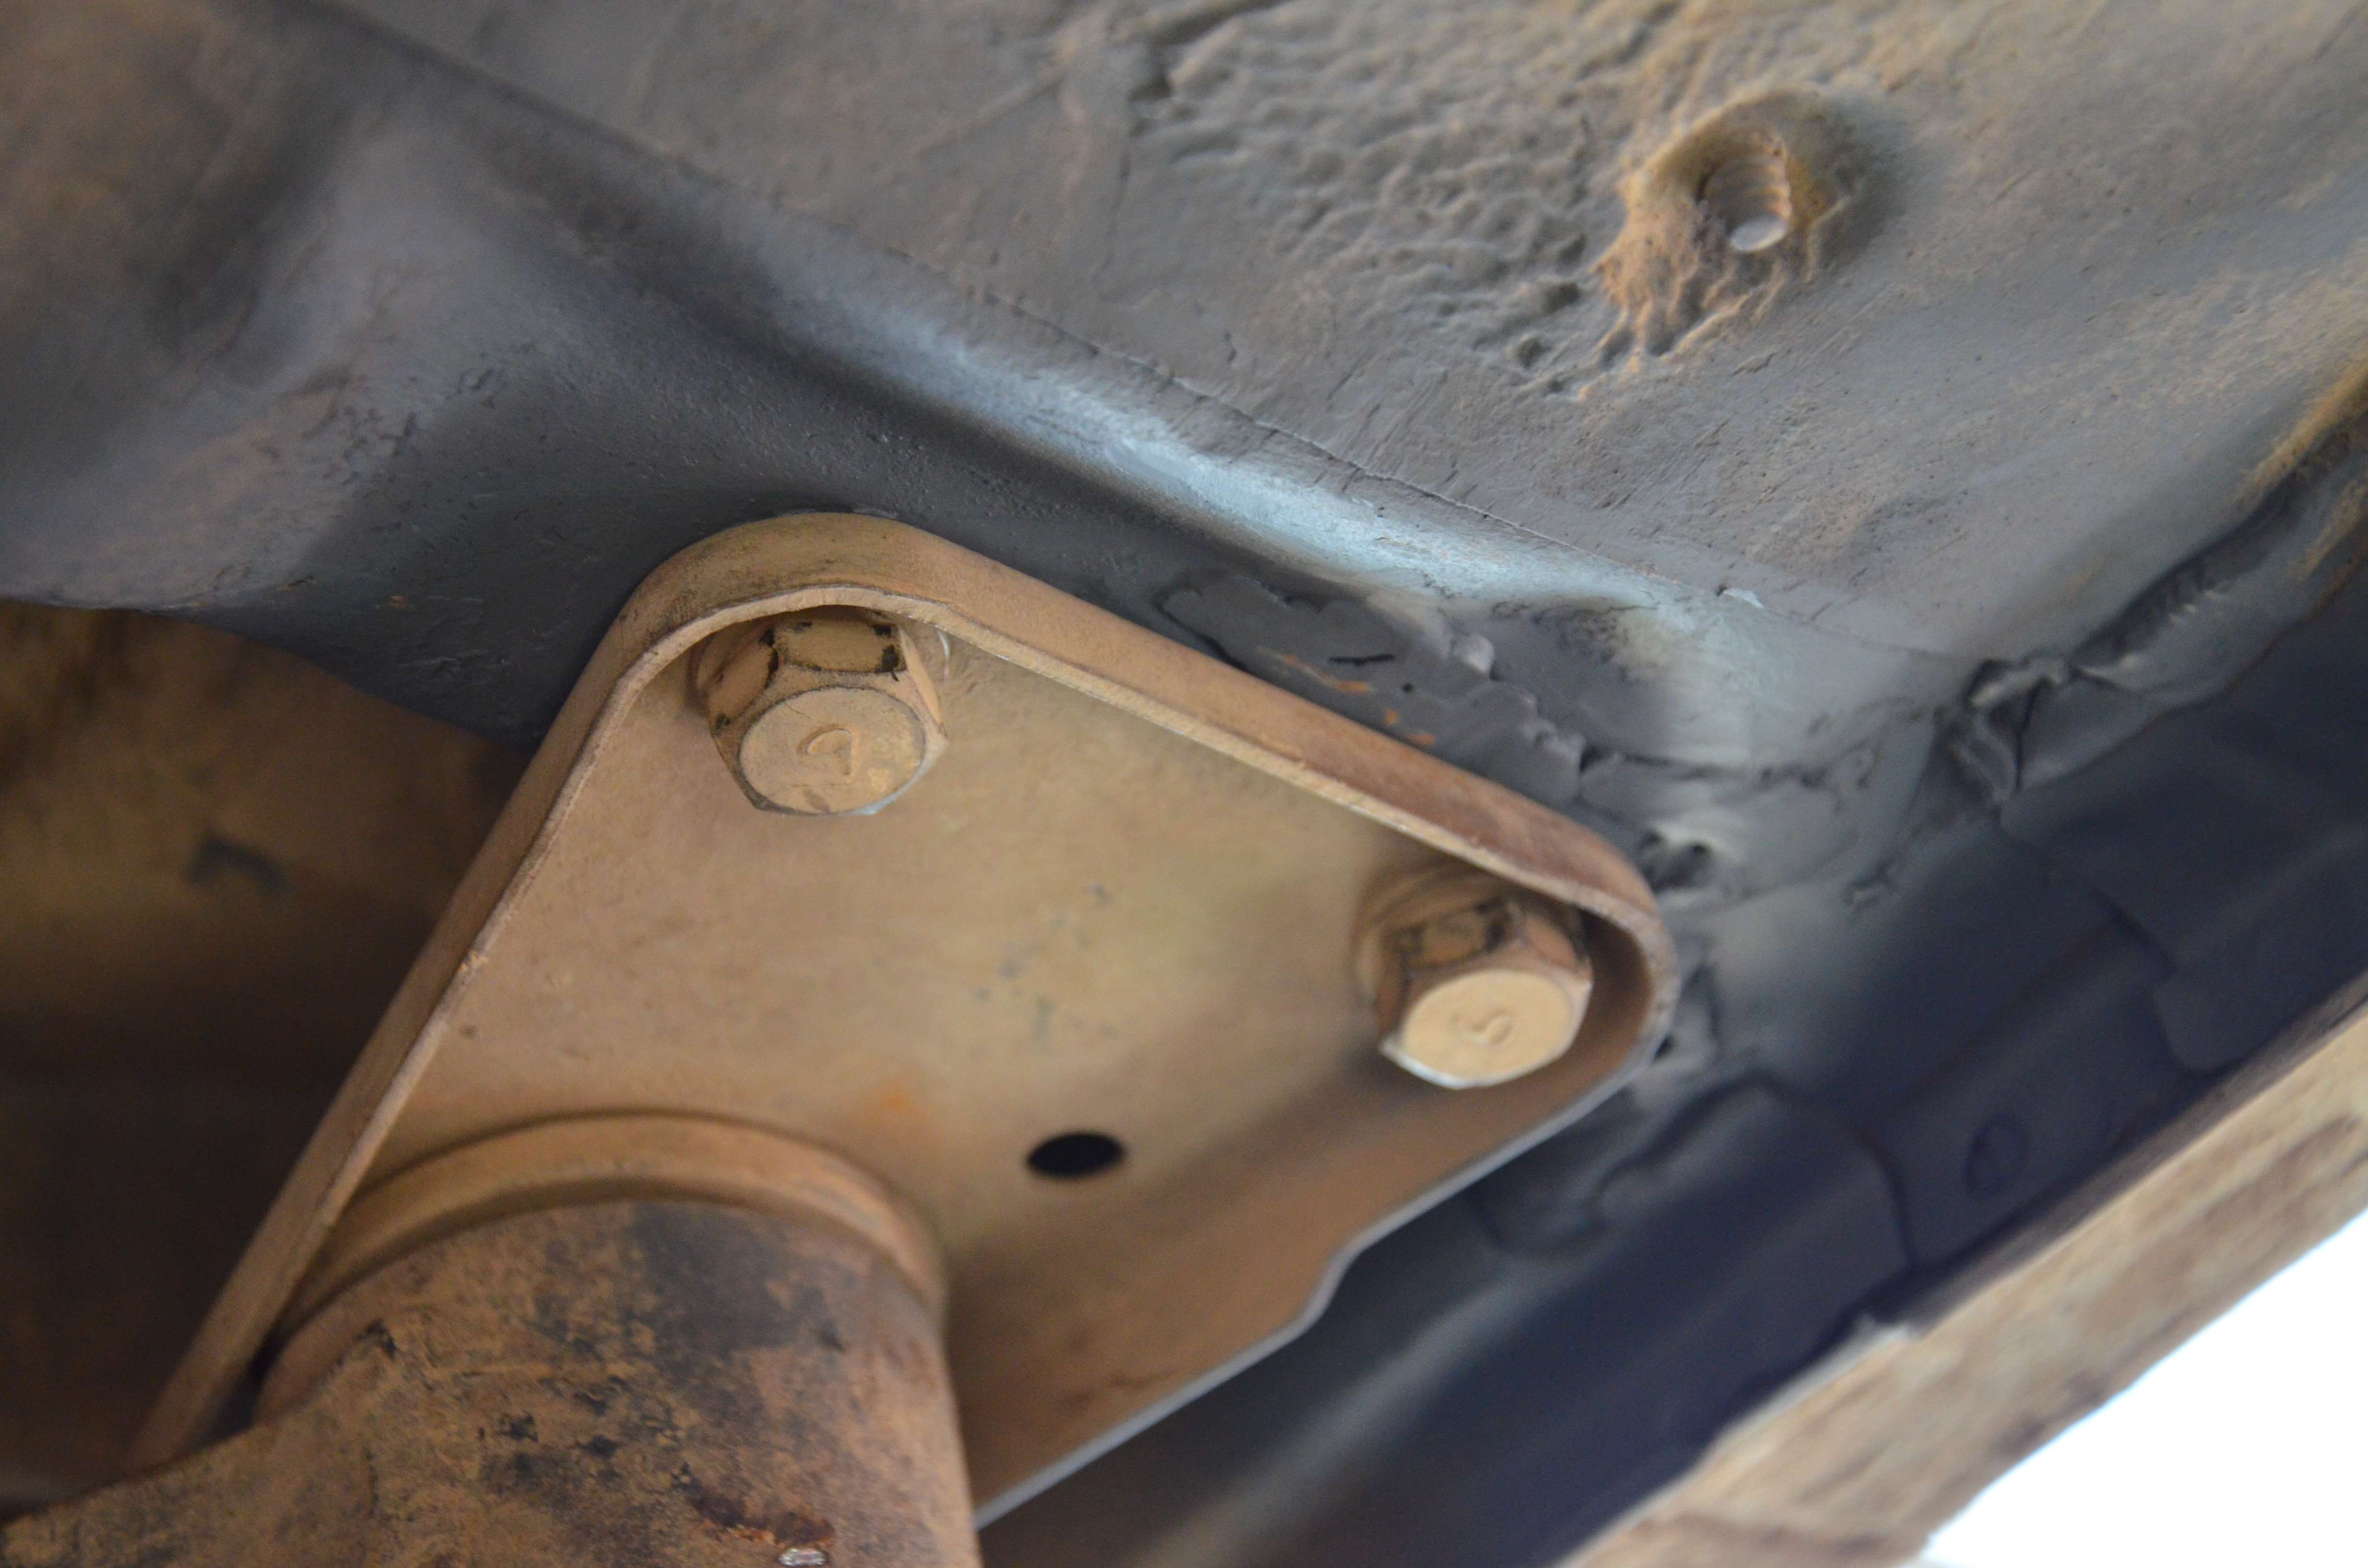
This is the LHS floor that I hammered out with a block of wood and BFH, once that was done everything lined up perfect under the bonnet. I was on fire watch while we welded this section from below. The holes (3) are the spot welds that were pulled out, you can clearly see one in this pic, the dark little circle:

dsc0833tc.jpg


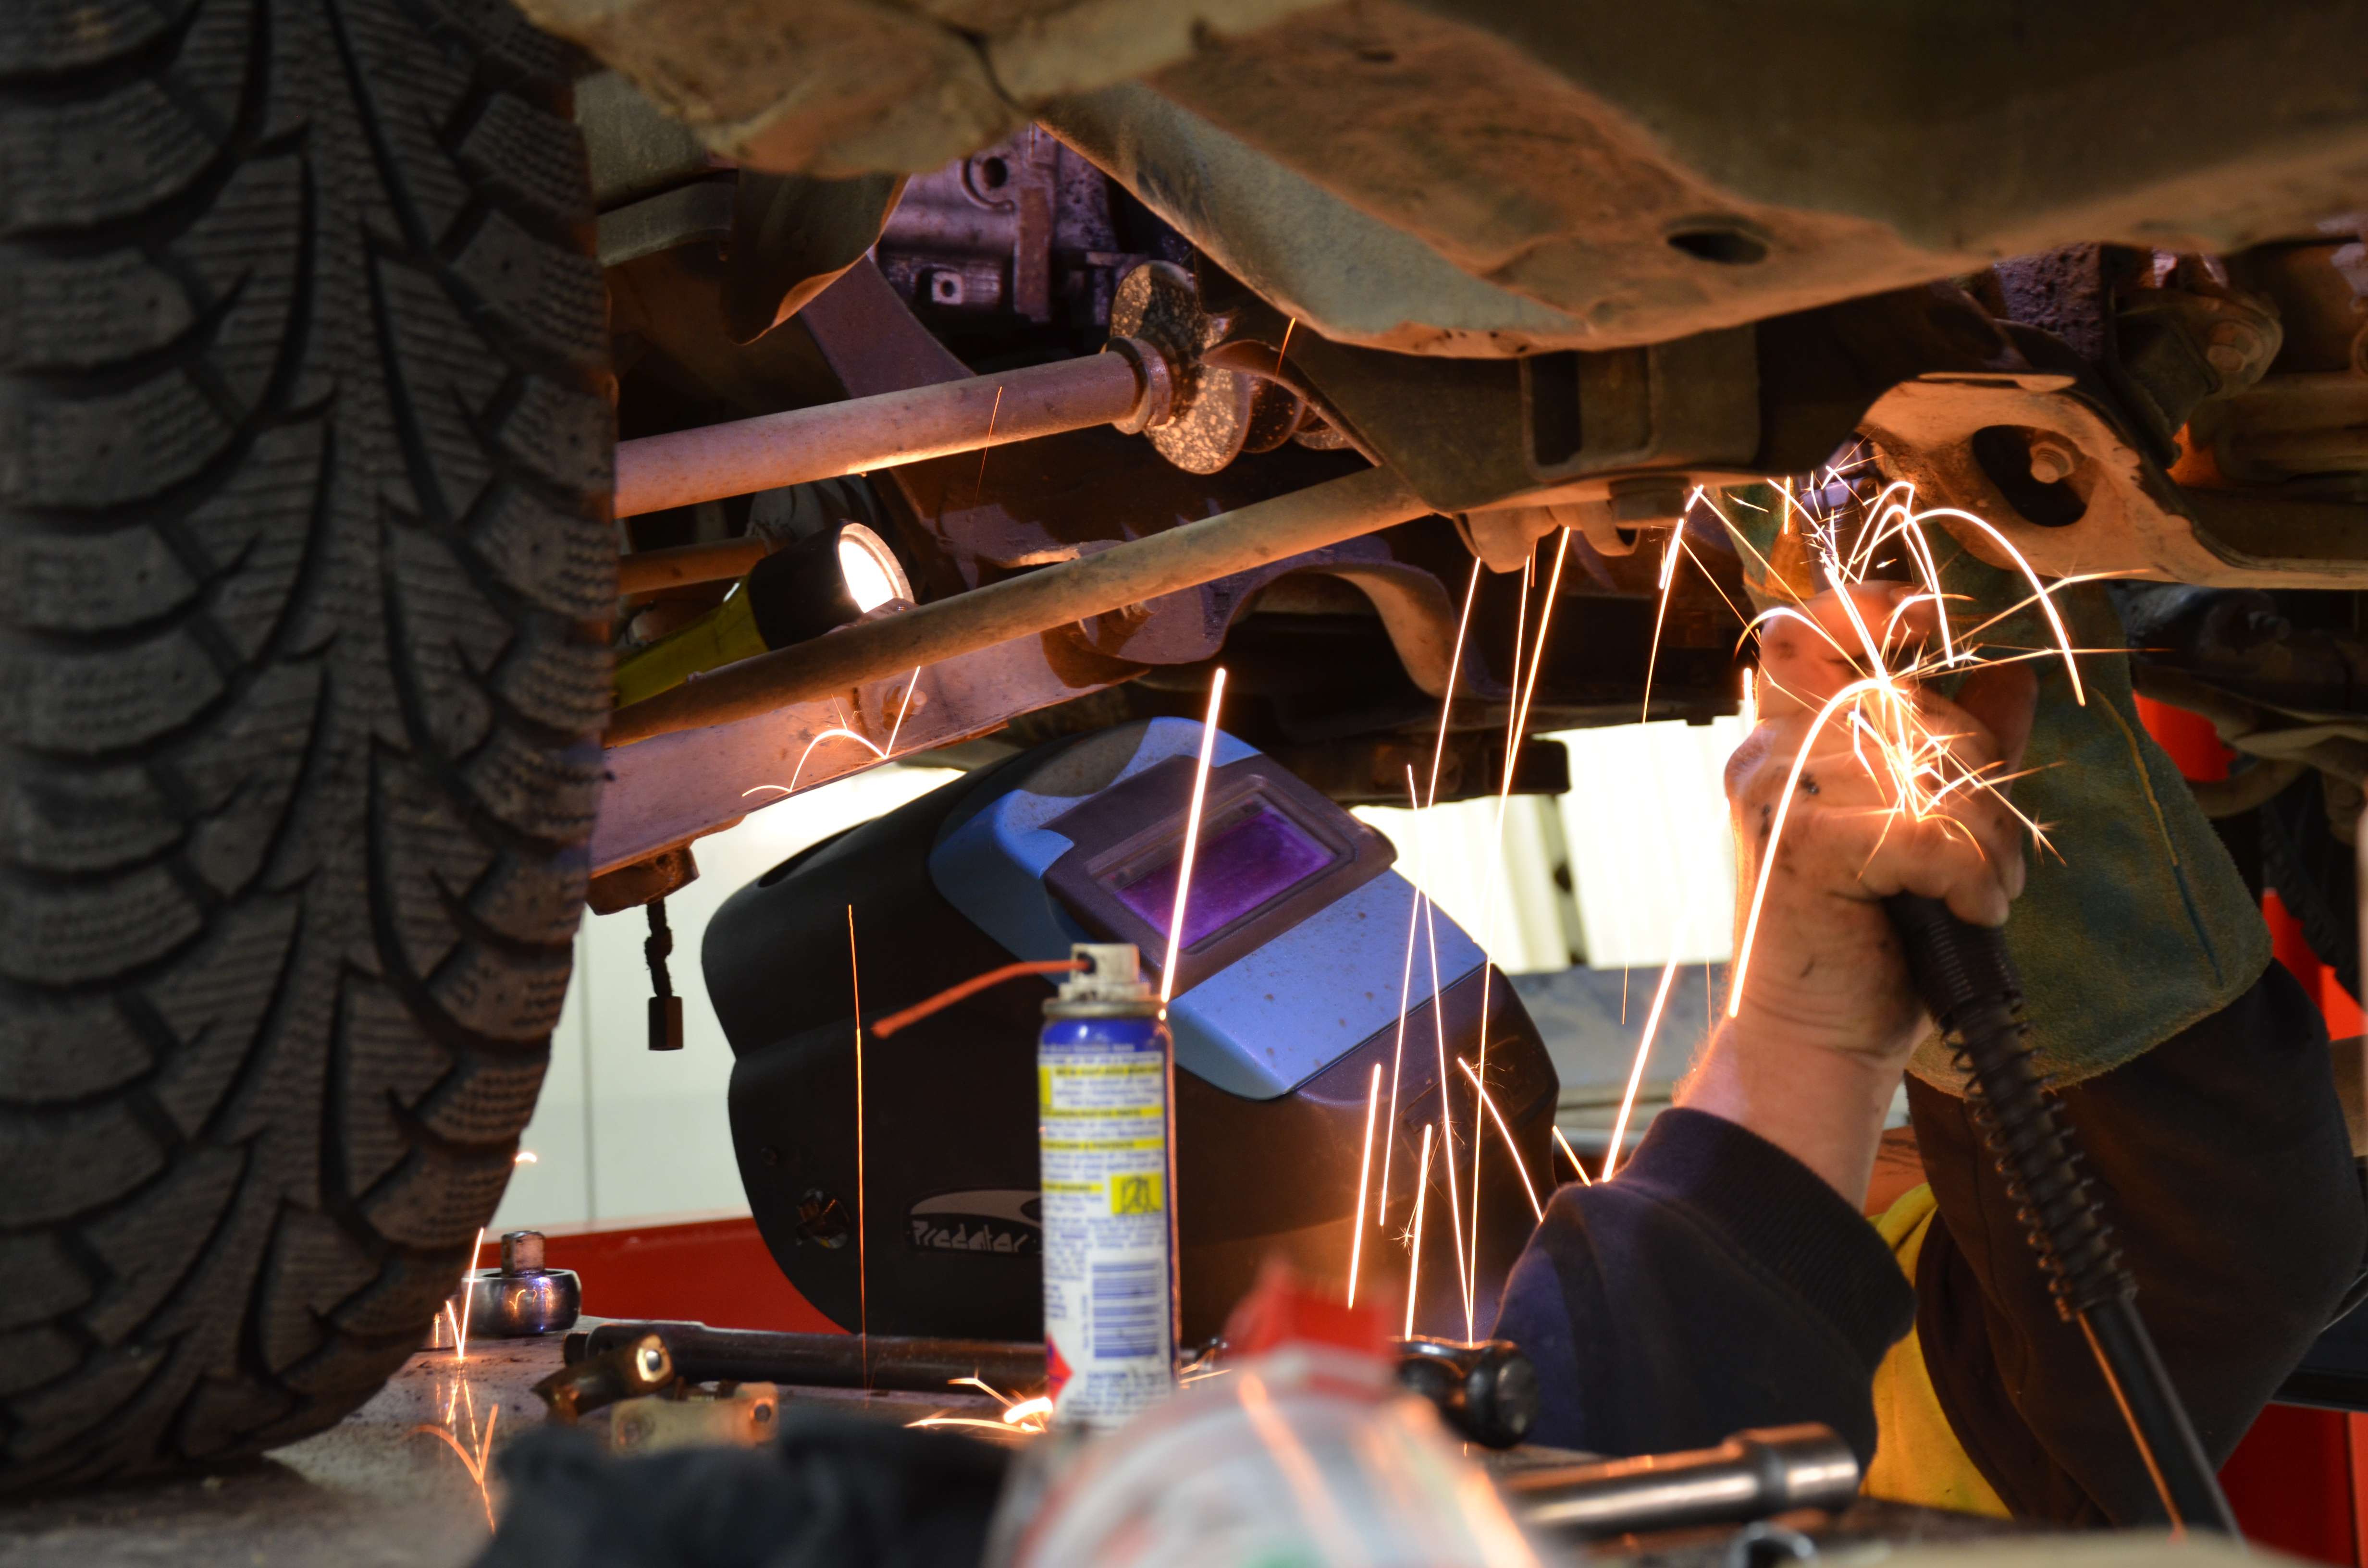
The front LHS being welded:

dsc0826g.jpg


Not the prettiest welding, but being upside down while doing it using a Mig I wasn't expecting a great looking weld:

dsc0842h.jpg


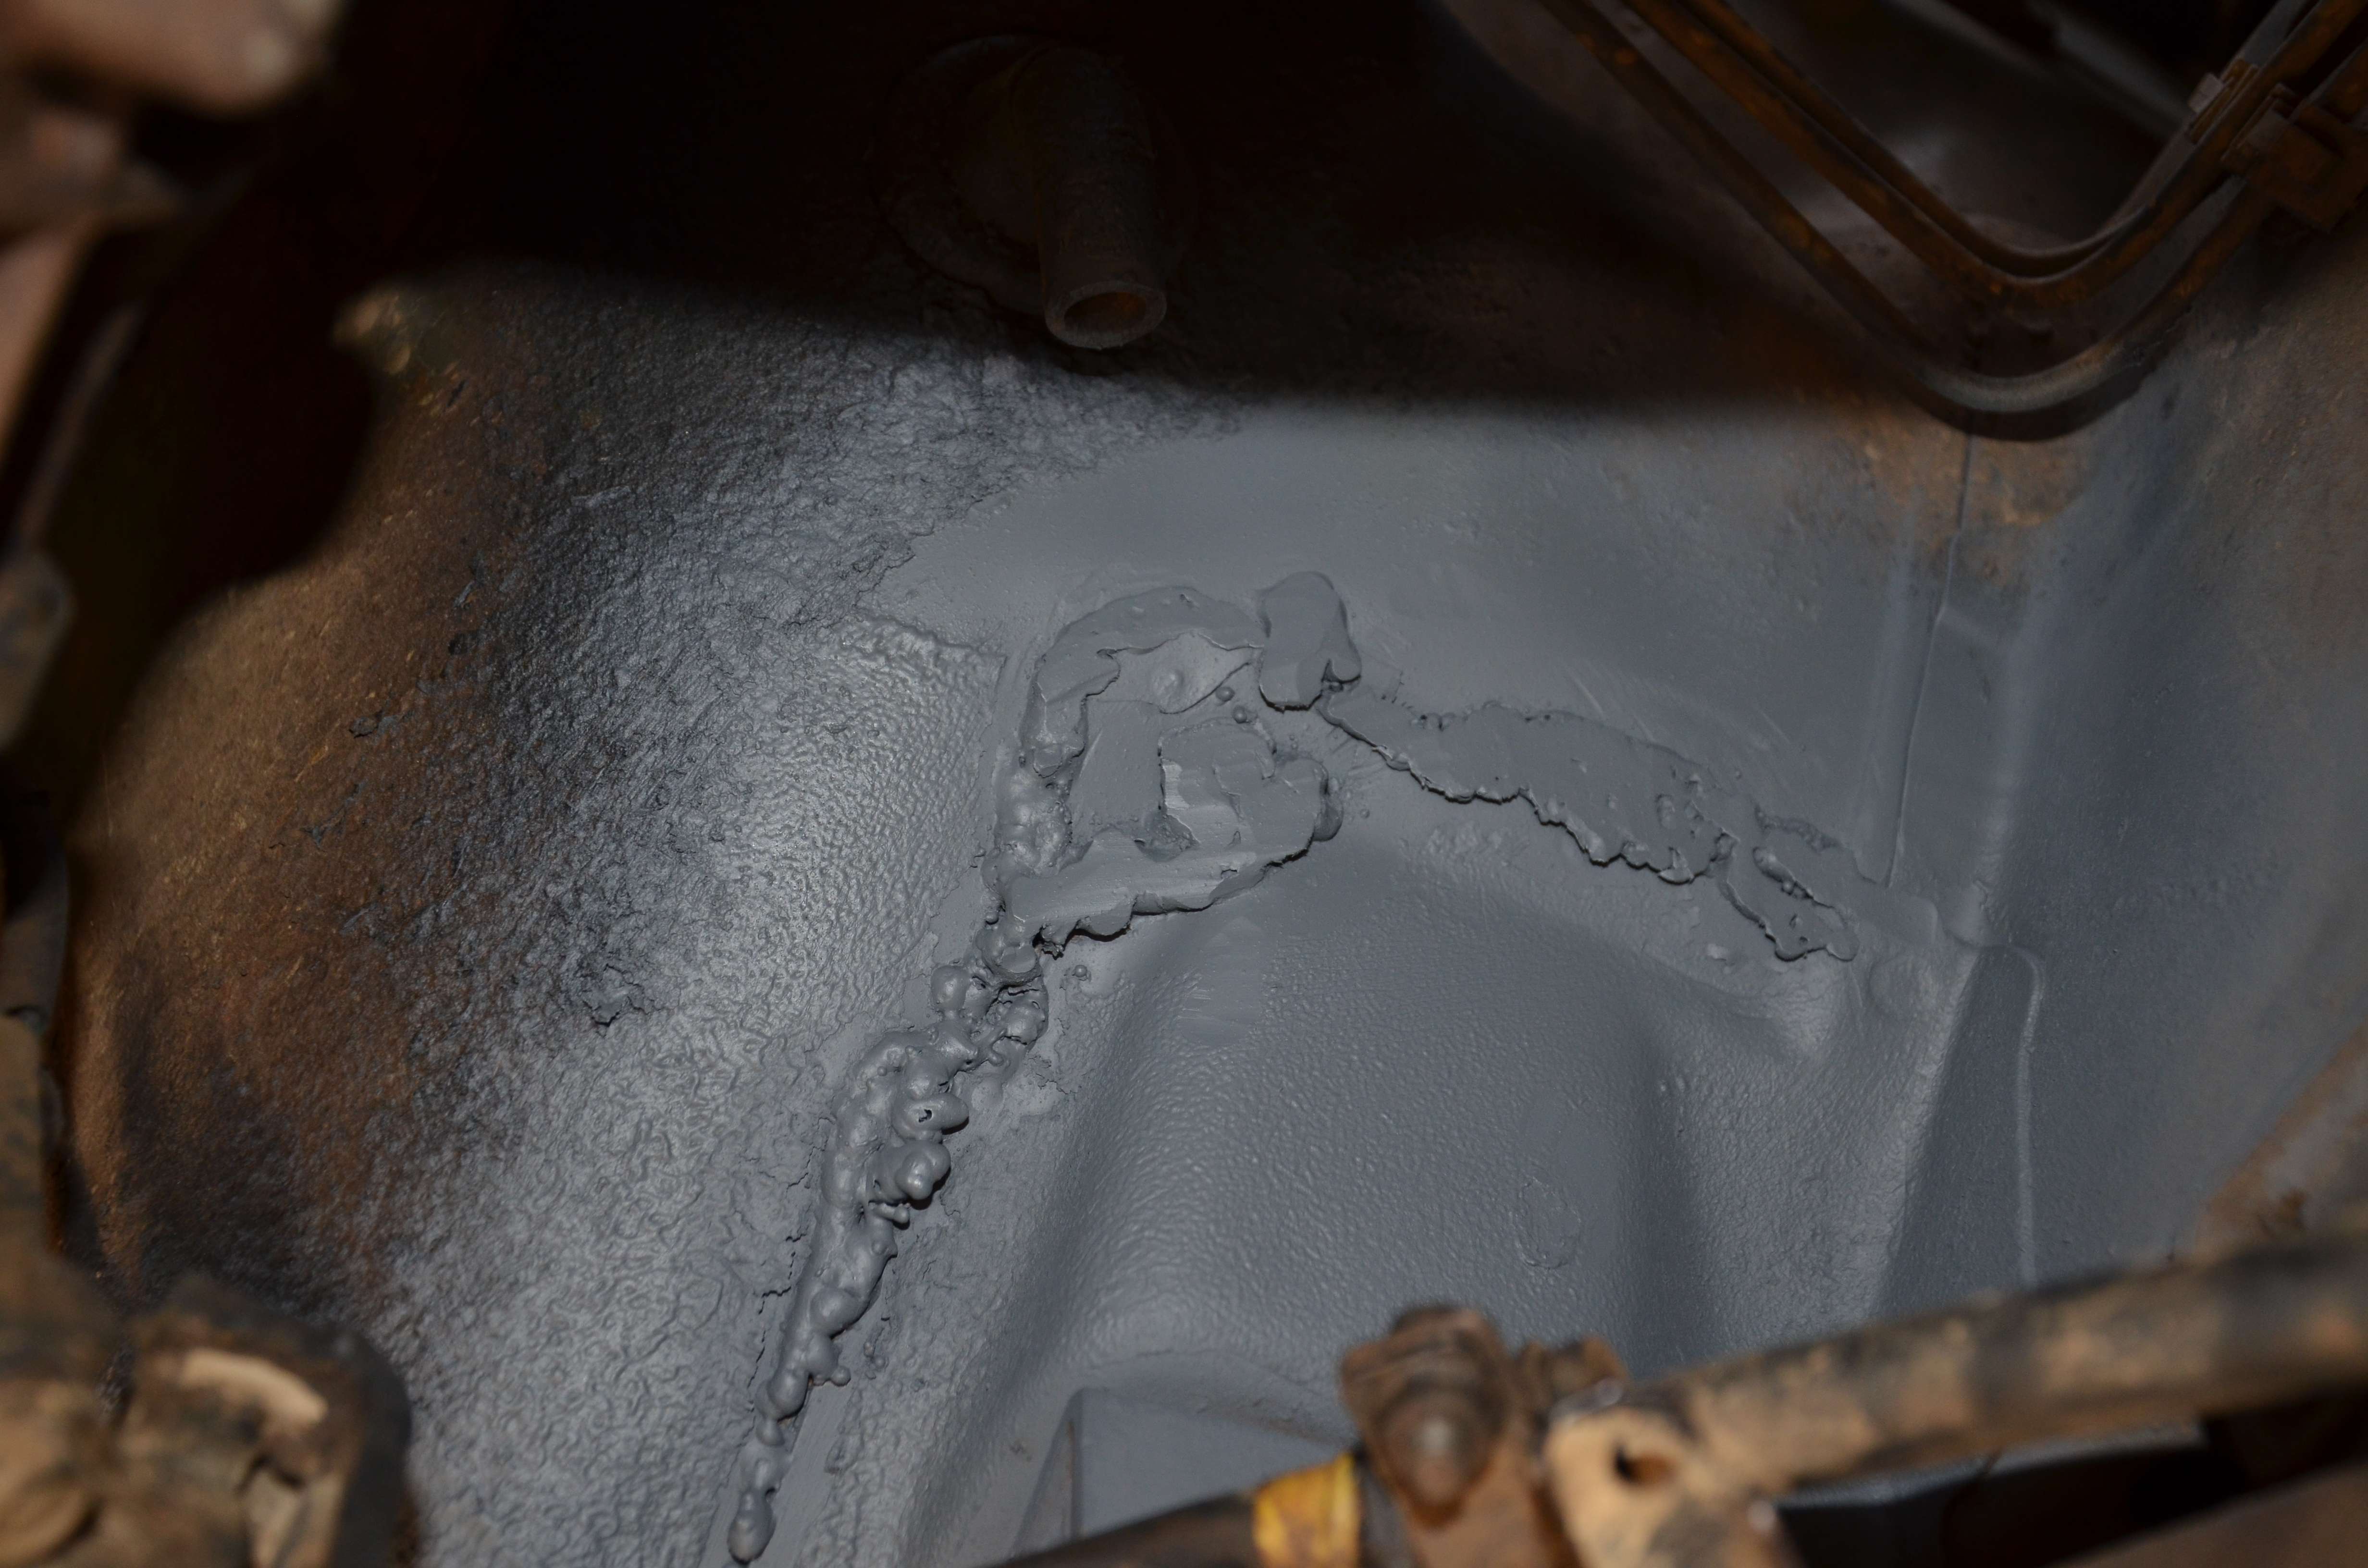
Rear left all welded up, ground back and sprayed against rust:

dsc0847n.jpg


Very happy with the finished product - Ruby Scoo now feels very tight on the road and doesn't float around which I thought was a worn component on the front end, so I wasn't really worried about it. Now to monitor the whole thing and make sure it doesn't happen again or start to crack again.

Needless to say I'll be taking it easier on unknown roads to avoid the same situation.

HUGE shout out to Jimmy for his help and the use of his vast facilities! His hoist really helped out with the job, that thing is an amazing piece of kit! And good times had catching up as well - been too long between drinks for us!

Cheers

Bennie
 
That could of ended bad if it hadn't been noticed and you still kept driving her...

Considering it could have been there since May this year, yeah I was really lucky! And I'm very glad to have her back as she should be, feeling very tight like a new car :D

Looking forward to getting her off road to see if it holds up, I'm confident it will but as I've said I'll have to monitor it.

Cheers

Bennie
 
Sounds like you were very lucky :iconwink: Just as taza said, it could've ended up a lot worse :cool:

Regards
Mr Turbo
 
Kevin, this is more involved I think, not meaning to put your damage below mine but this really scared the **** out of me

Jeez, I'm not surprised it scared all those asterisks out of you! :eek:

Happy you found it in time!
 
The guys on USMB are all saying that I now need to weld a plate over the welded areas to include more strength, while they're probably right I'm reluctant to do this at the moment - last weekend was pretty epic as it was. And realistically I would need to gut her out, make a rotisserie and weld with the aid of gravity to get a good job done. If I was to do this I'd be doing some stitch welding in other areas too - that would really secure Ruby Scoo's future. I'm just keen to see her to 500k then look for another with much less k's to go the whole hog on!

Cheers

Bennie
 
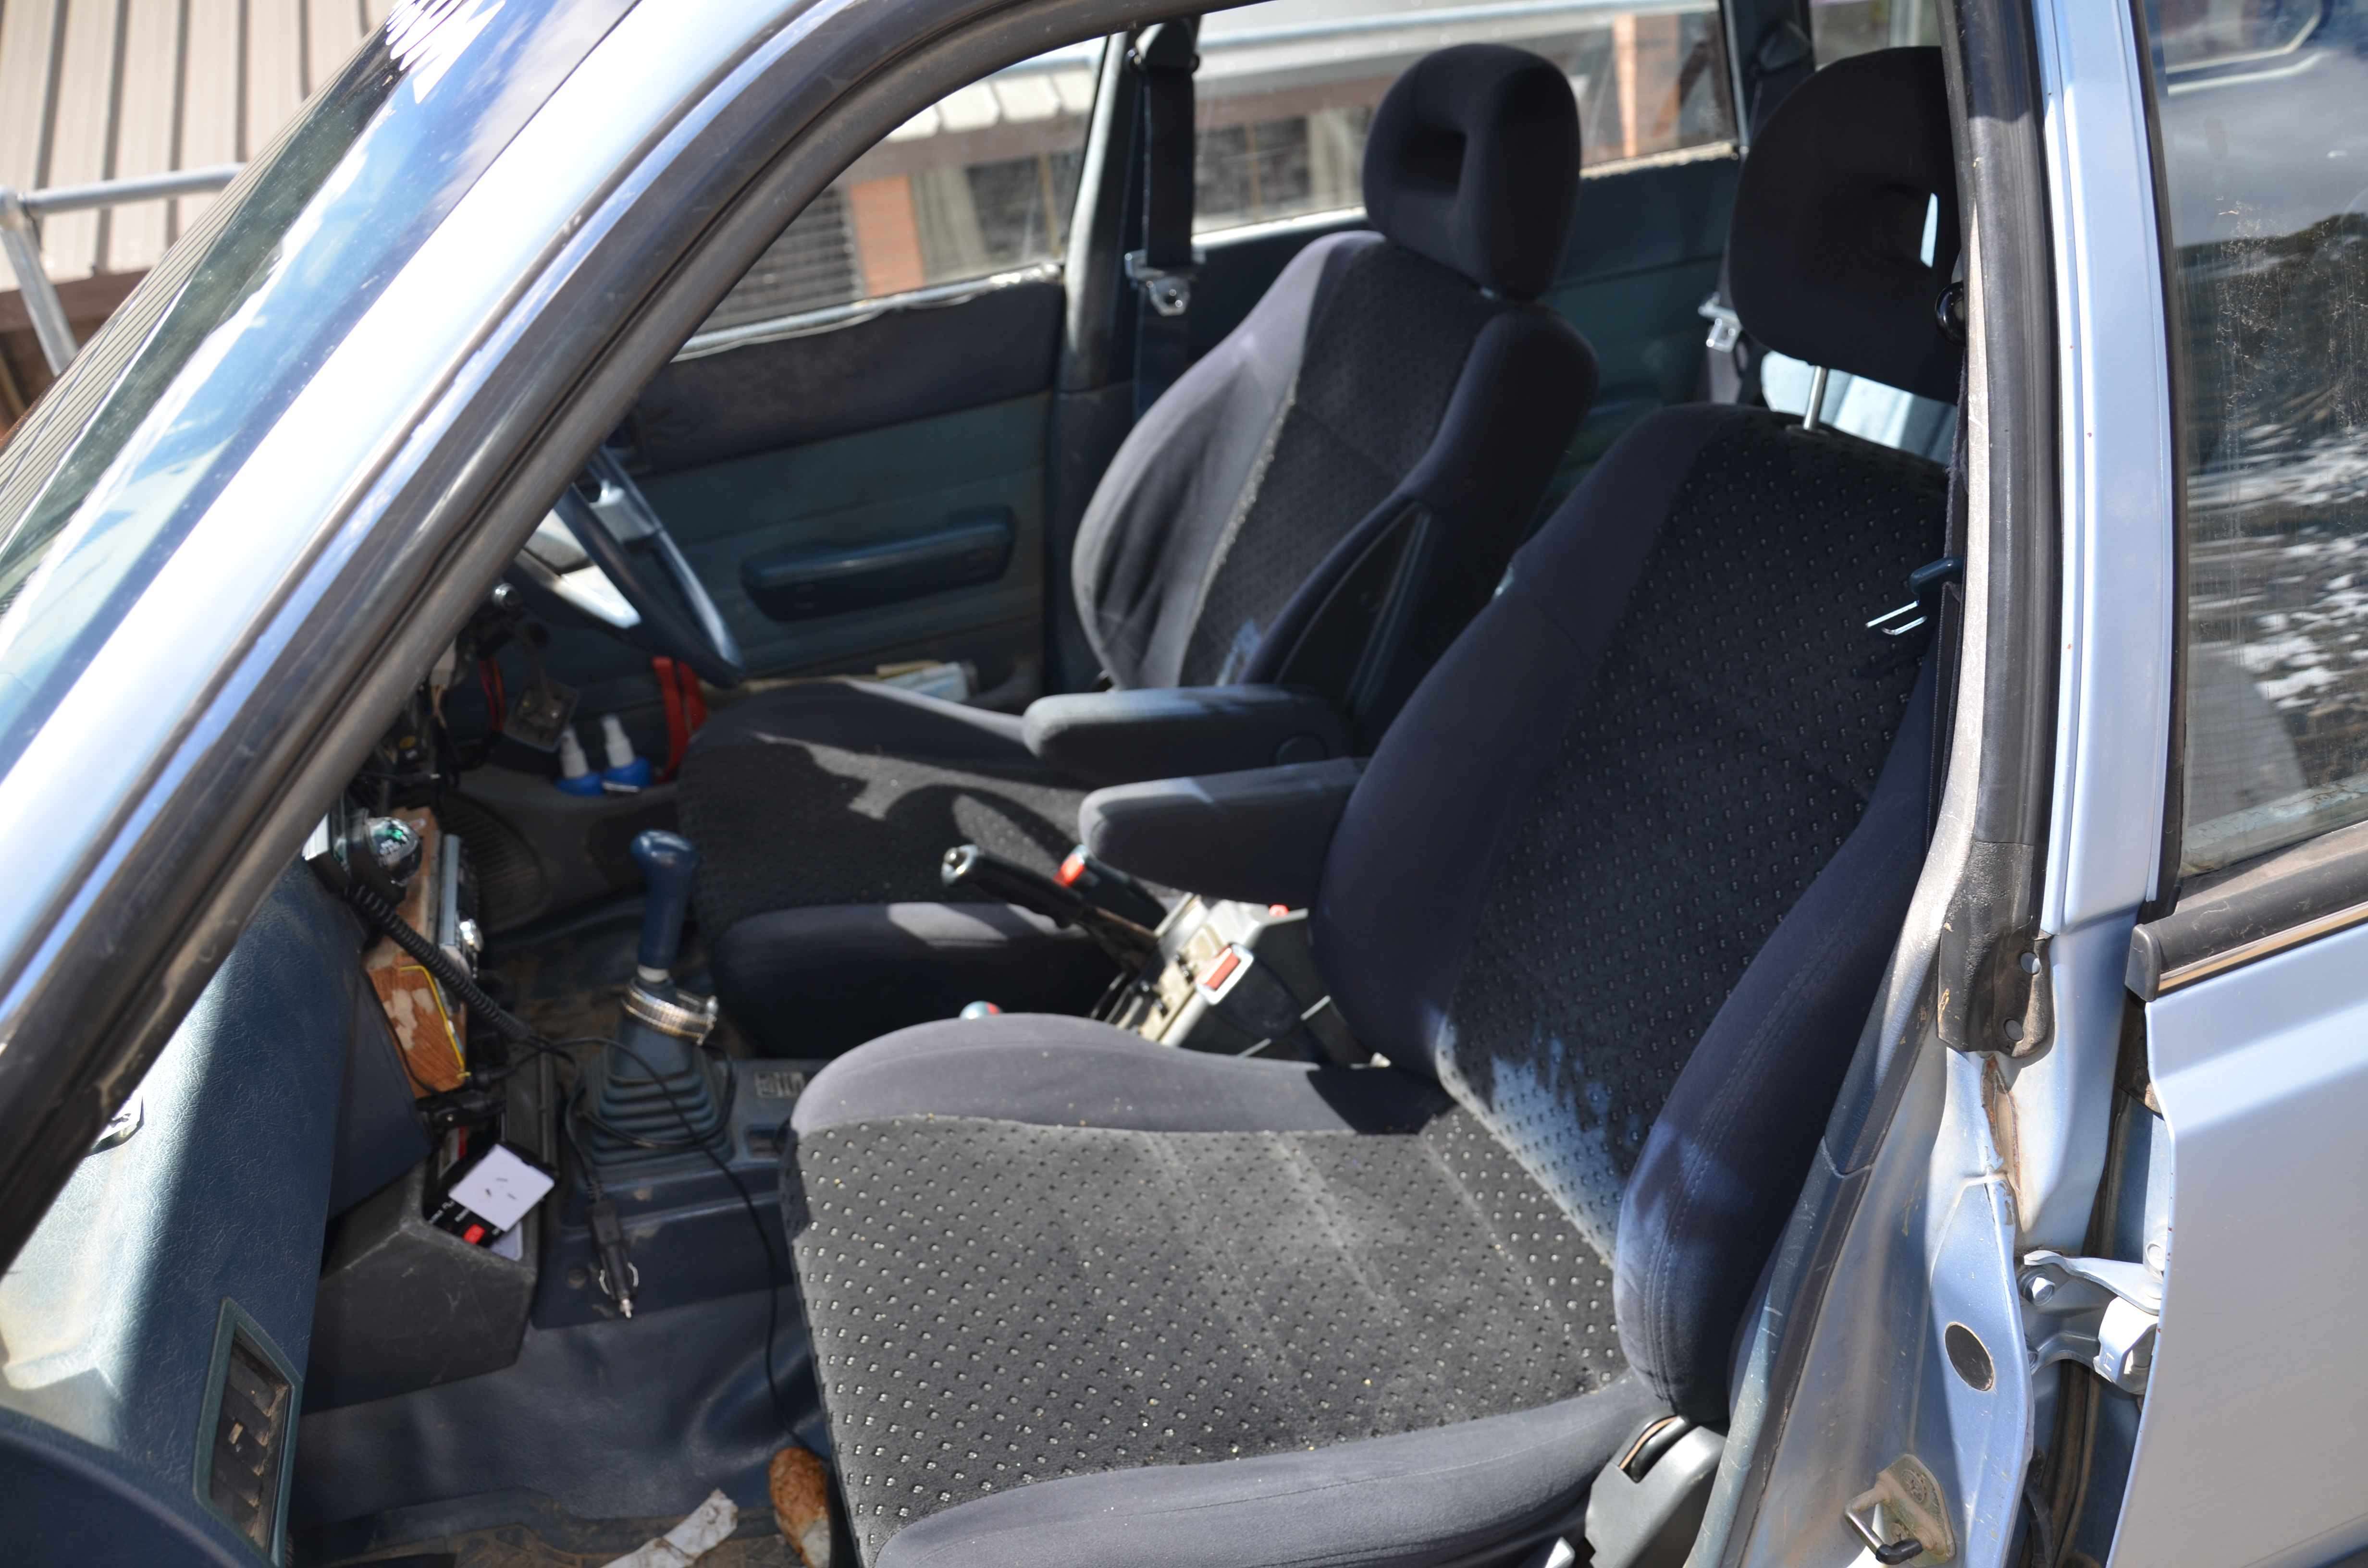
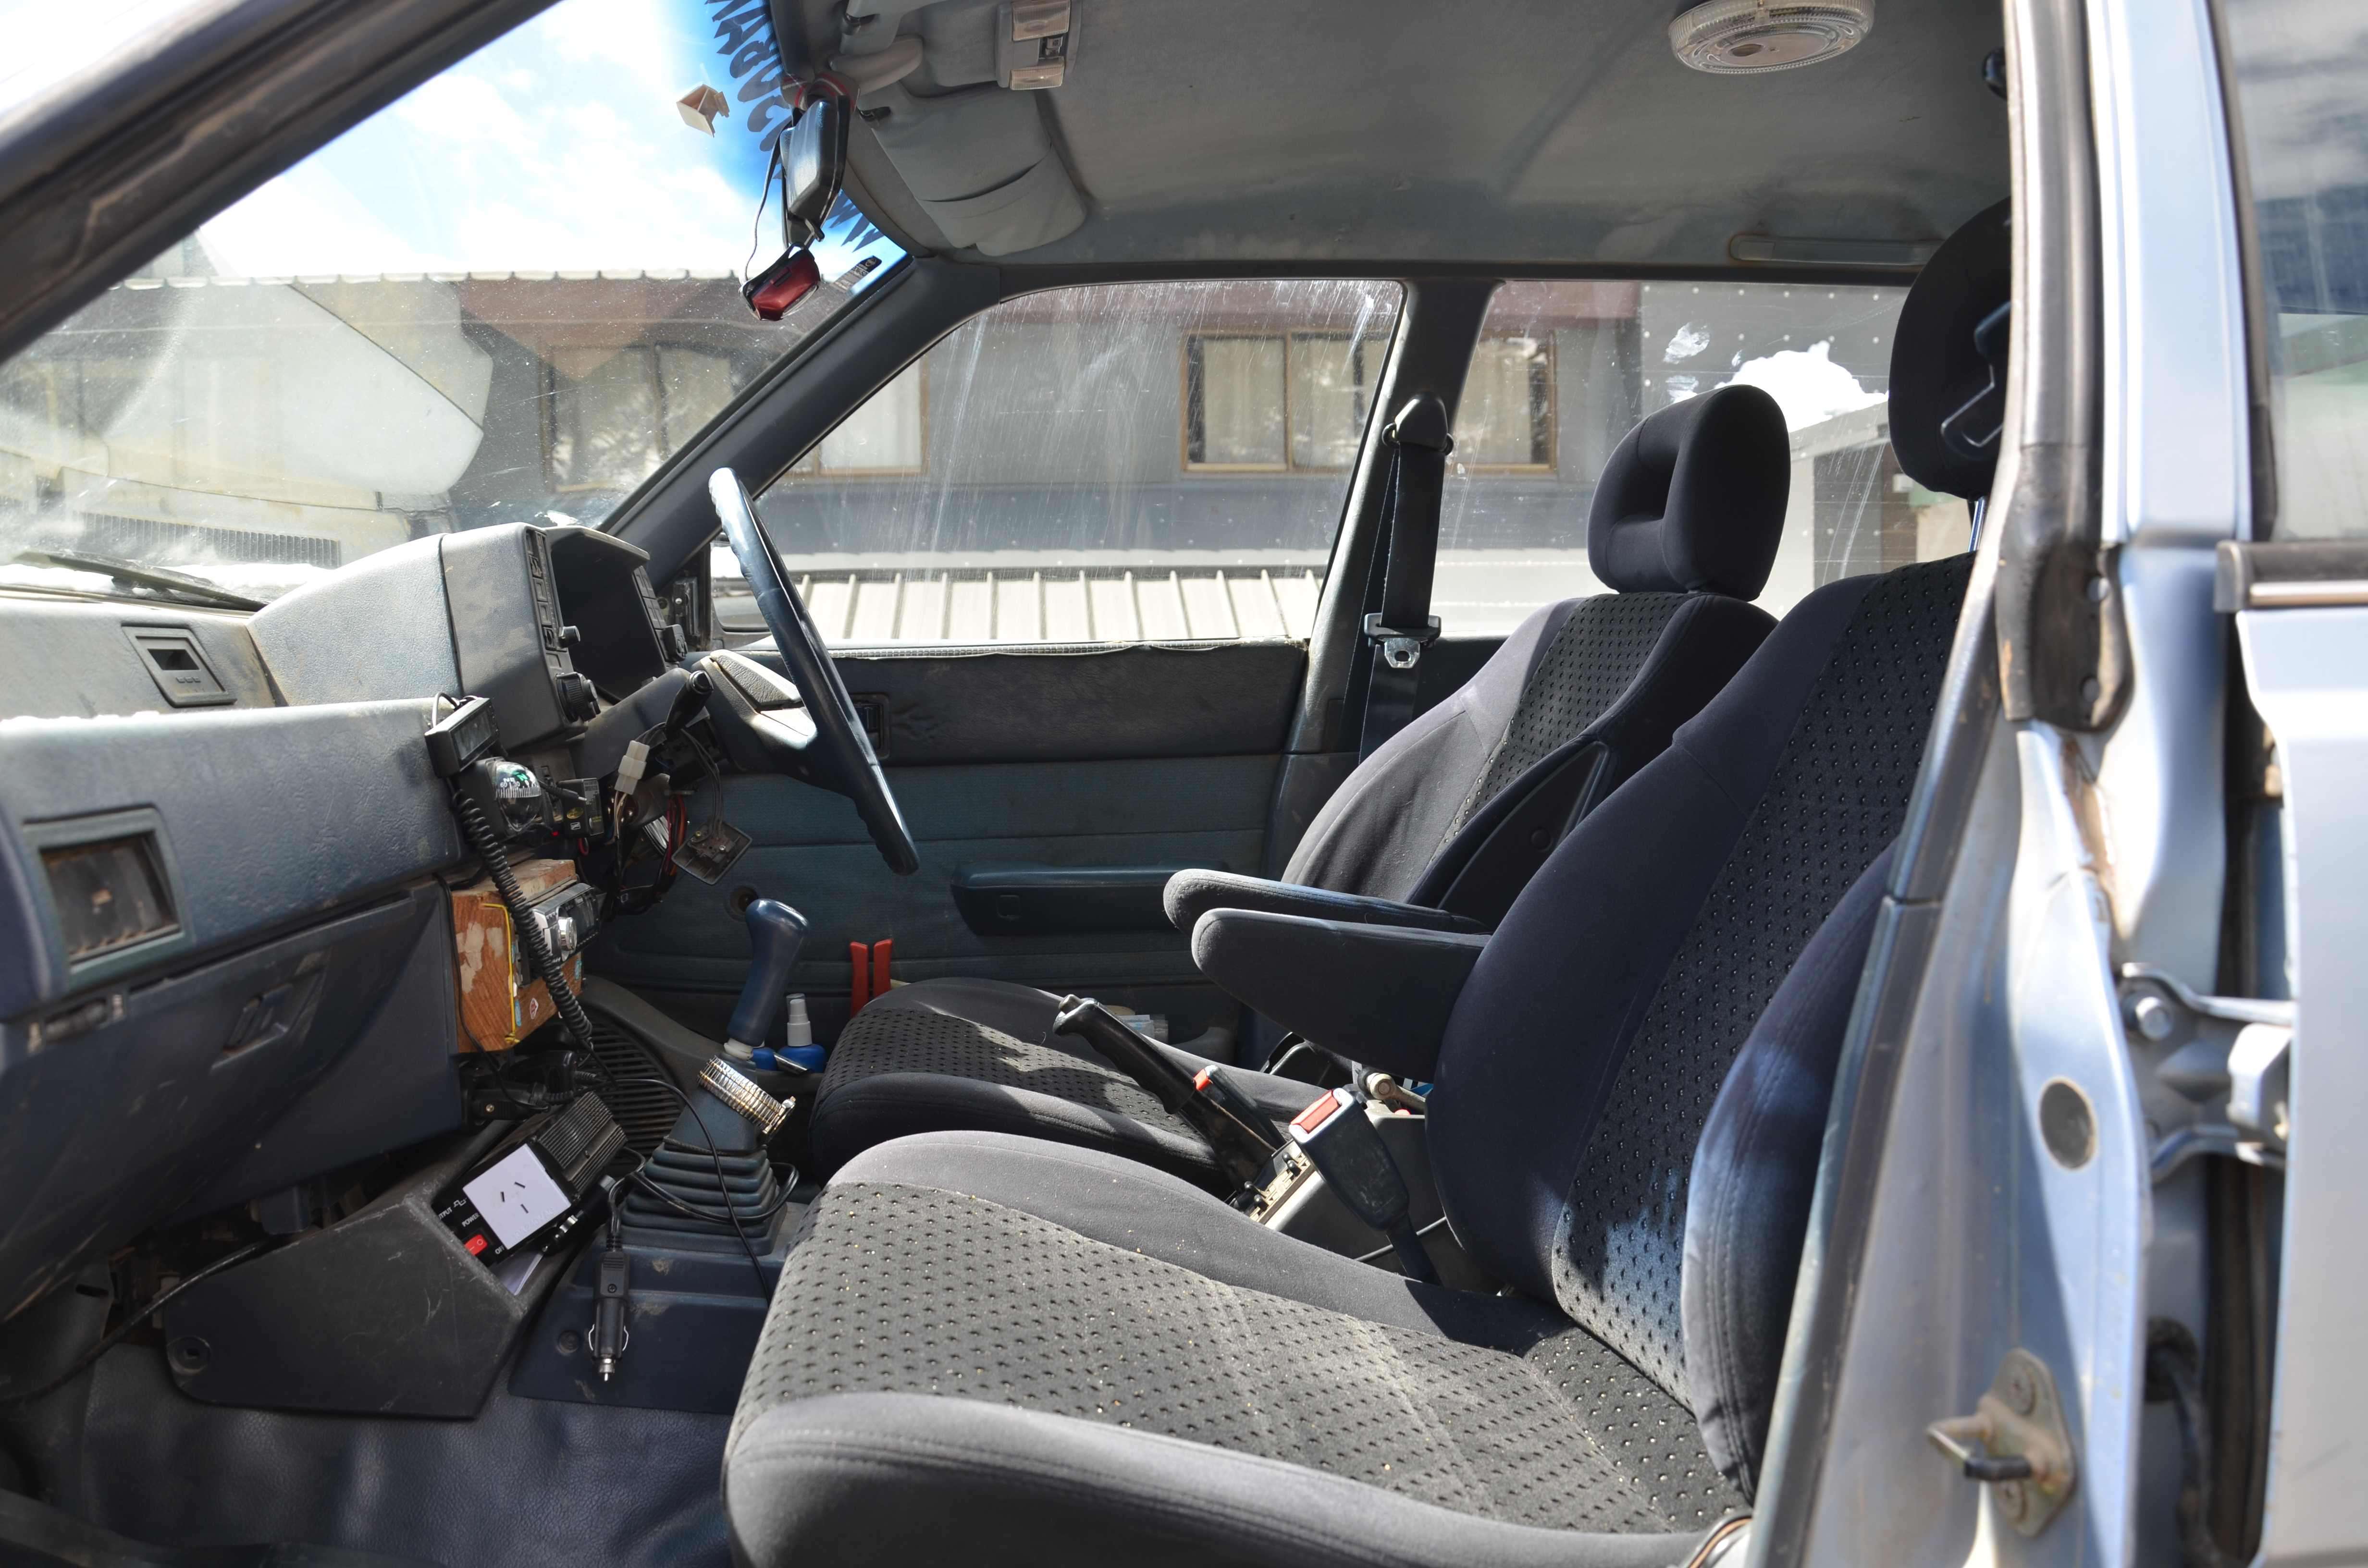
Well I've got them done, the seats that is:

dsc1305ruby.jpg


dsc1306ruby.jpg


A fair bit of cutting and welding went into the process of fitting them as I tried to drop the seats as low a possible to make up for their height difference against the stock seats, I got 15mm cut out and they're still higher.

Great seats, very comfy and they've got the approval of the other half which is awesome. And I'm getting used to the extra height in them :D

Full write up about it here

Cheers

Bennie
 
Well the seats have checked out on our 2 week tour, no back pains after sitting in them like my old seats, and that's for kez and myself :D

On the tour Ruby Scoo went VERY WELL! I'm very happy the way she's come together, just some small things to do now, one of the larger things is working out a better setup for the rear struts so I can jack them up when I'm loaded so I don't hit full compression on the spring and knock the lower hat off again. Other things include a bonnet vent, snorkel and getting a rear cargo storage setup going so I can load it in for the touring/camping and not have to work out how I'm going to fit everything in every time we go out...

In other news, last thursday the PS pump shagged a bearing spraying oil everywhere. I drove off the mountain without an operational alternator in search of a belt that only services the alternator. By the time I got to Bright which is about an hour's drive, ~55km I only had 10.3 volts in the system :( And I found out in Harrietville that I failed to turn off my cabin fan! I'd tried not to use my brakes on the way down due to the use of the brake lights.

So I dug up a belt in Albury and had to wait 5 hours for it to arrive in bright. I've been meaning to get one of these for ages but never got around to it yet.

I thought I'd put the belt part number in here for those who want to get one them selves, it should work for any EJ engine :D

So 4PK685 is what I got but a 5PK685 will do the same thing, the difference is the number of ribs on the belt, the first being a 4 rib the second a 5 rib which is what the subarus run with, but the 4 will do.
Other belts that would apparently be suitable are the 4PK695 and 5PK695, they're just a little longer.
Best to order them as they're not a common belt size, I got lucky as there was only one in stock between Bright, Wangaratta and Albury!

Cheers

Bennie
 
What's next for Ruby Scoo?

Well Barry, I'm glad you asked :raz: As you know she's in a state of "heavy maintenance"...

dsc8110rubyrepairs.jpg


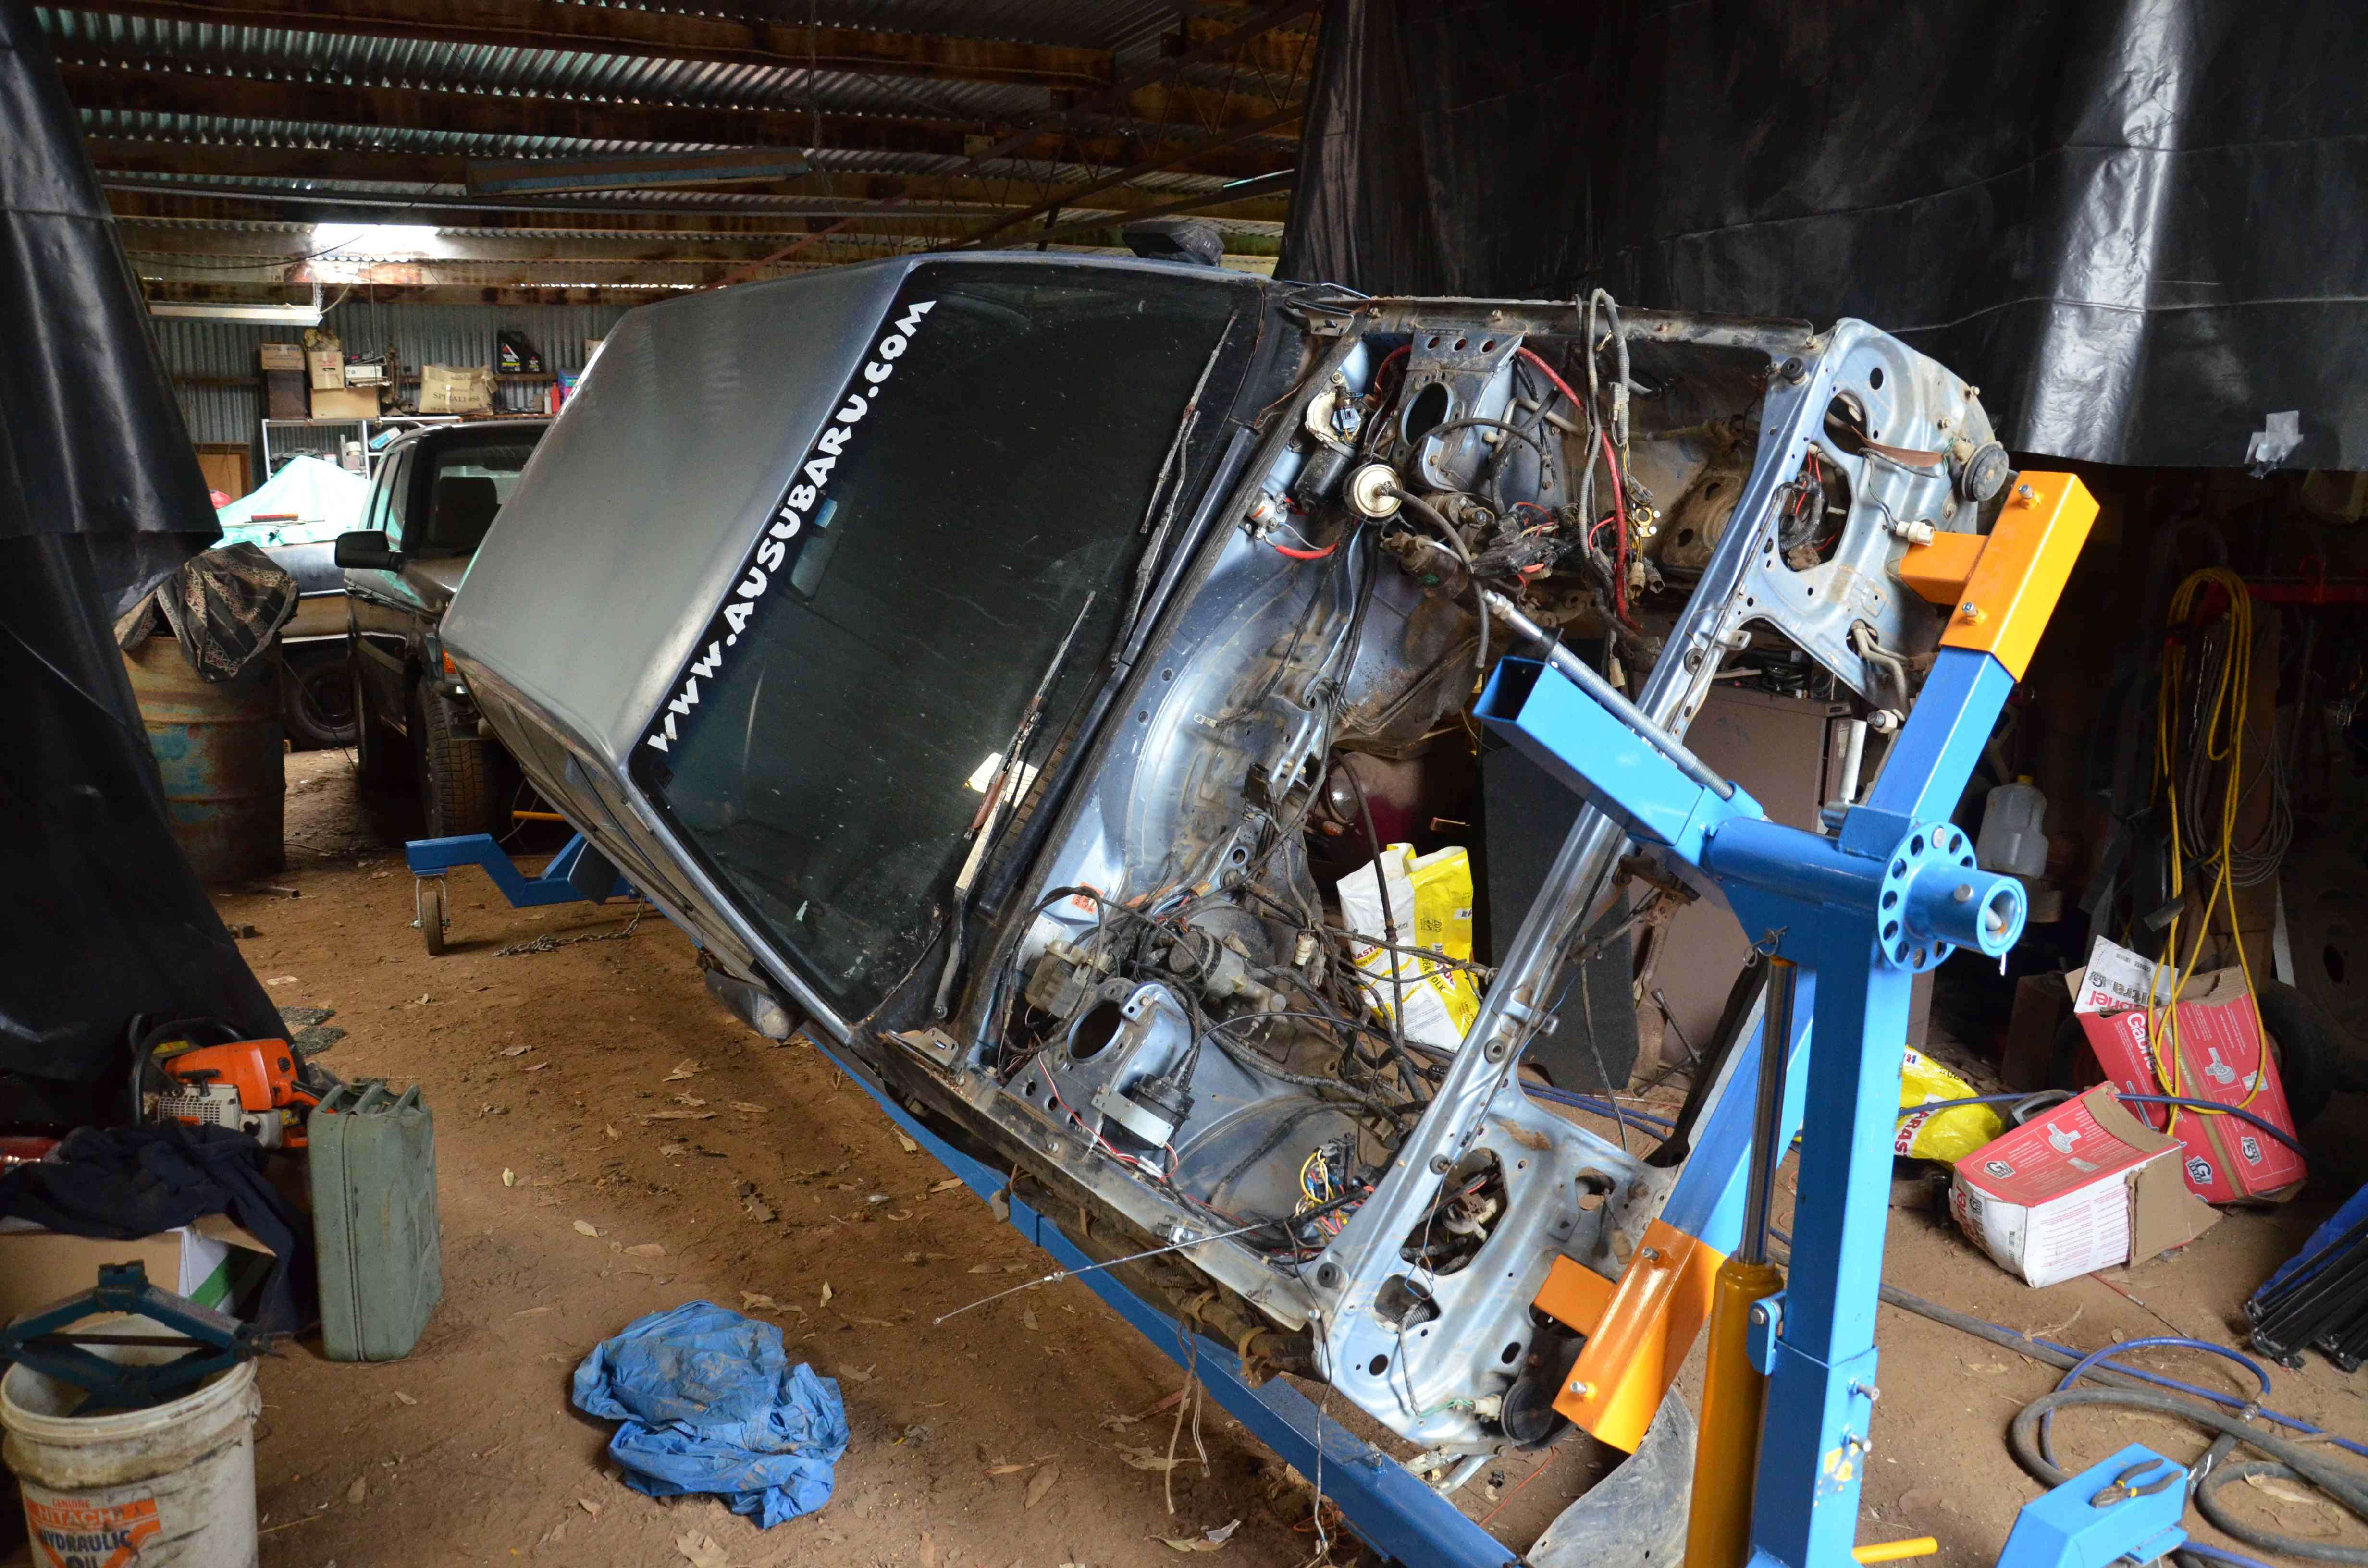
So everyone remembers the fix job we did when we found the radius rod plate had parted company with the fire wall, here's a pic of the fix:

dsc0826g.jpg


^ My best mate Jimmy doing his best upside down - glad he's got a hoist otherwise this would have been a nightmare!

Then a few 4wd trips forward and I had packed Ruby Scoo for the Mt Cole trip in November 2011, a week early to avoid an un-necessary trip back to mum and dad's. Just before we were about to leave we checked out a squeaking noise we'd been hearing. Turns out it was this same bloody plate!

So an assessment was made and I decided to purchase a fleabay rotisserie - cheaper and more sophisticated than one I could build! Now she's in the shed, she was gutted in the yard then wheeled in on the rotisserie.

This is what I'm up to with her now:

dsc7470rubyrepairs.jpg


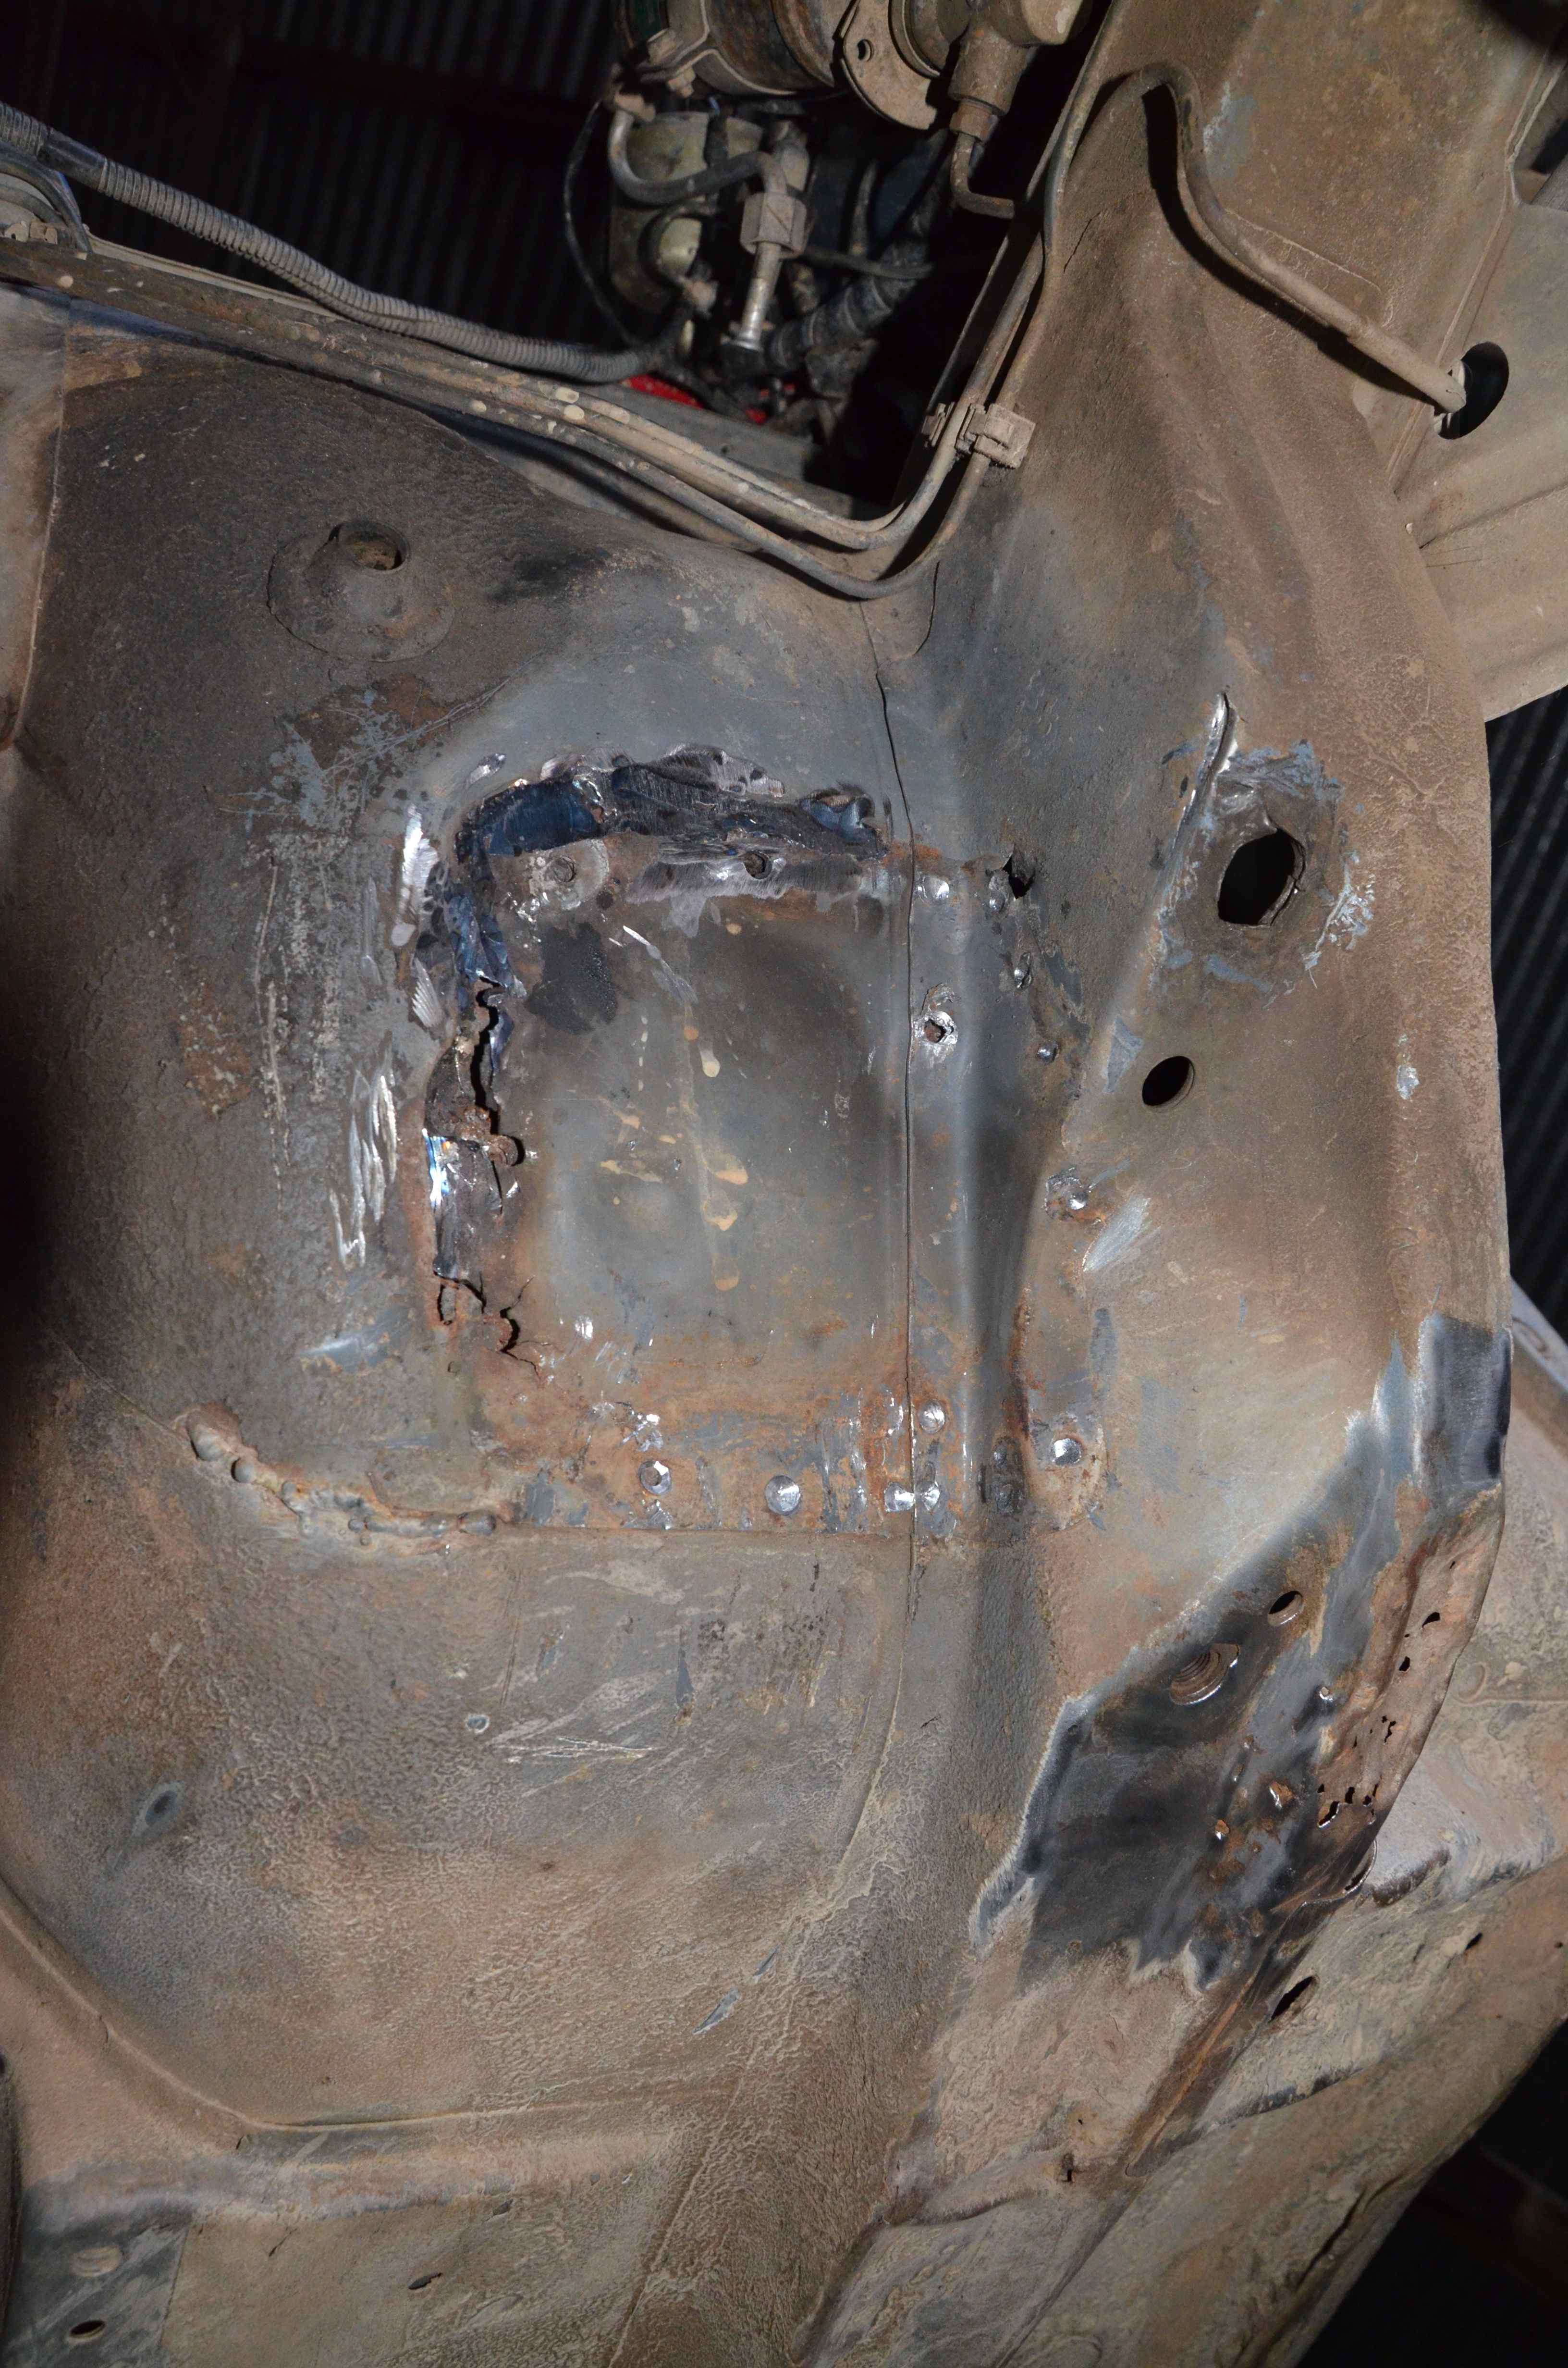
The damage:

dsc7785rubyrepairs.jpg


^ I ripped that captive nut out when it snapped it's weld while undoing the bolt, I decided to rip out the nut than cut the bolt and have to get a new one...

dsc7817rubyrepairs.jpg


^ and there's the real damage we couldn't see.

dsc8081rubyrepairs.jpg


^ the crap form the damage cut out. I found out that I didn't hit the firewall out far enough last time. New panelling required, plus I wanted to add some bracing:

dsc8096rubyrepairs.jpg


dsc8085rubyrepairs.jpg


^ This is how I've replaced the captive nut, had to do some more welding this morning, it's all closed up now - more pics on that later.

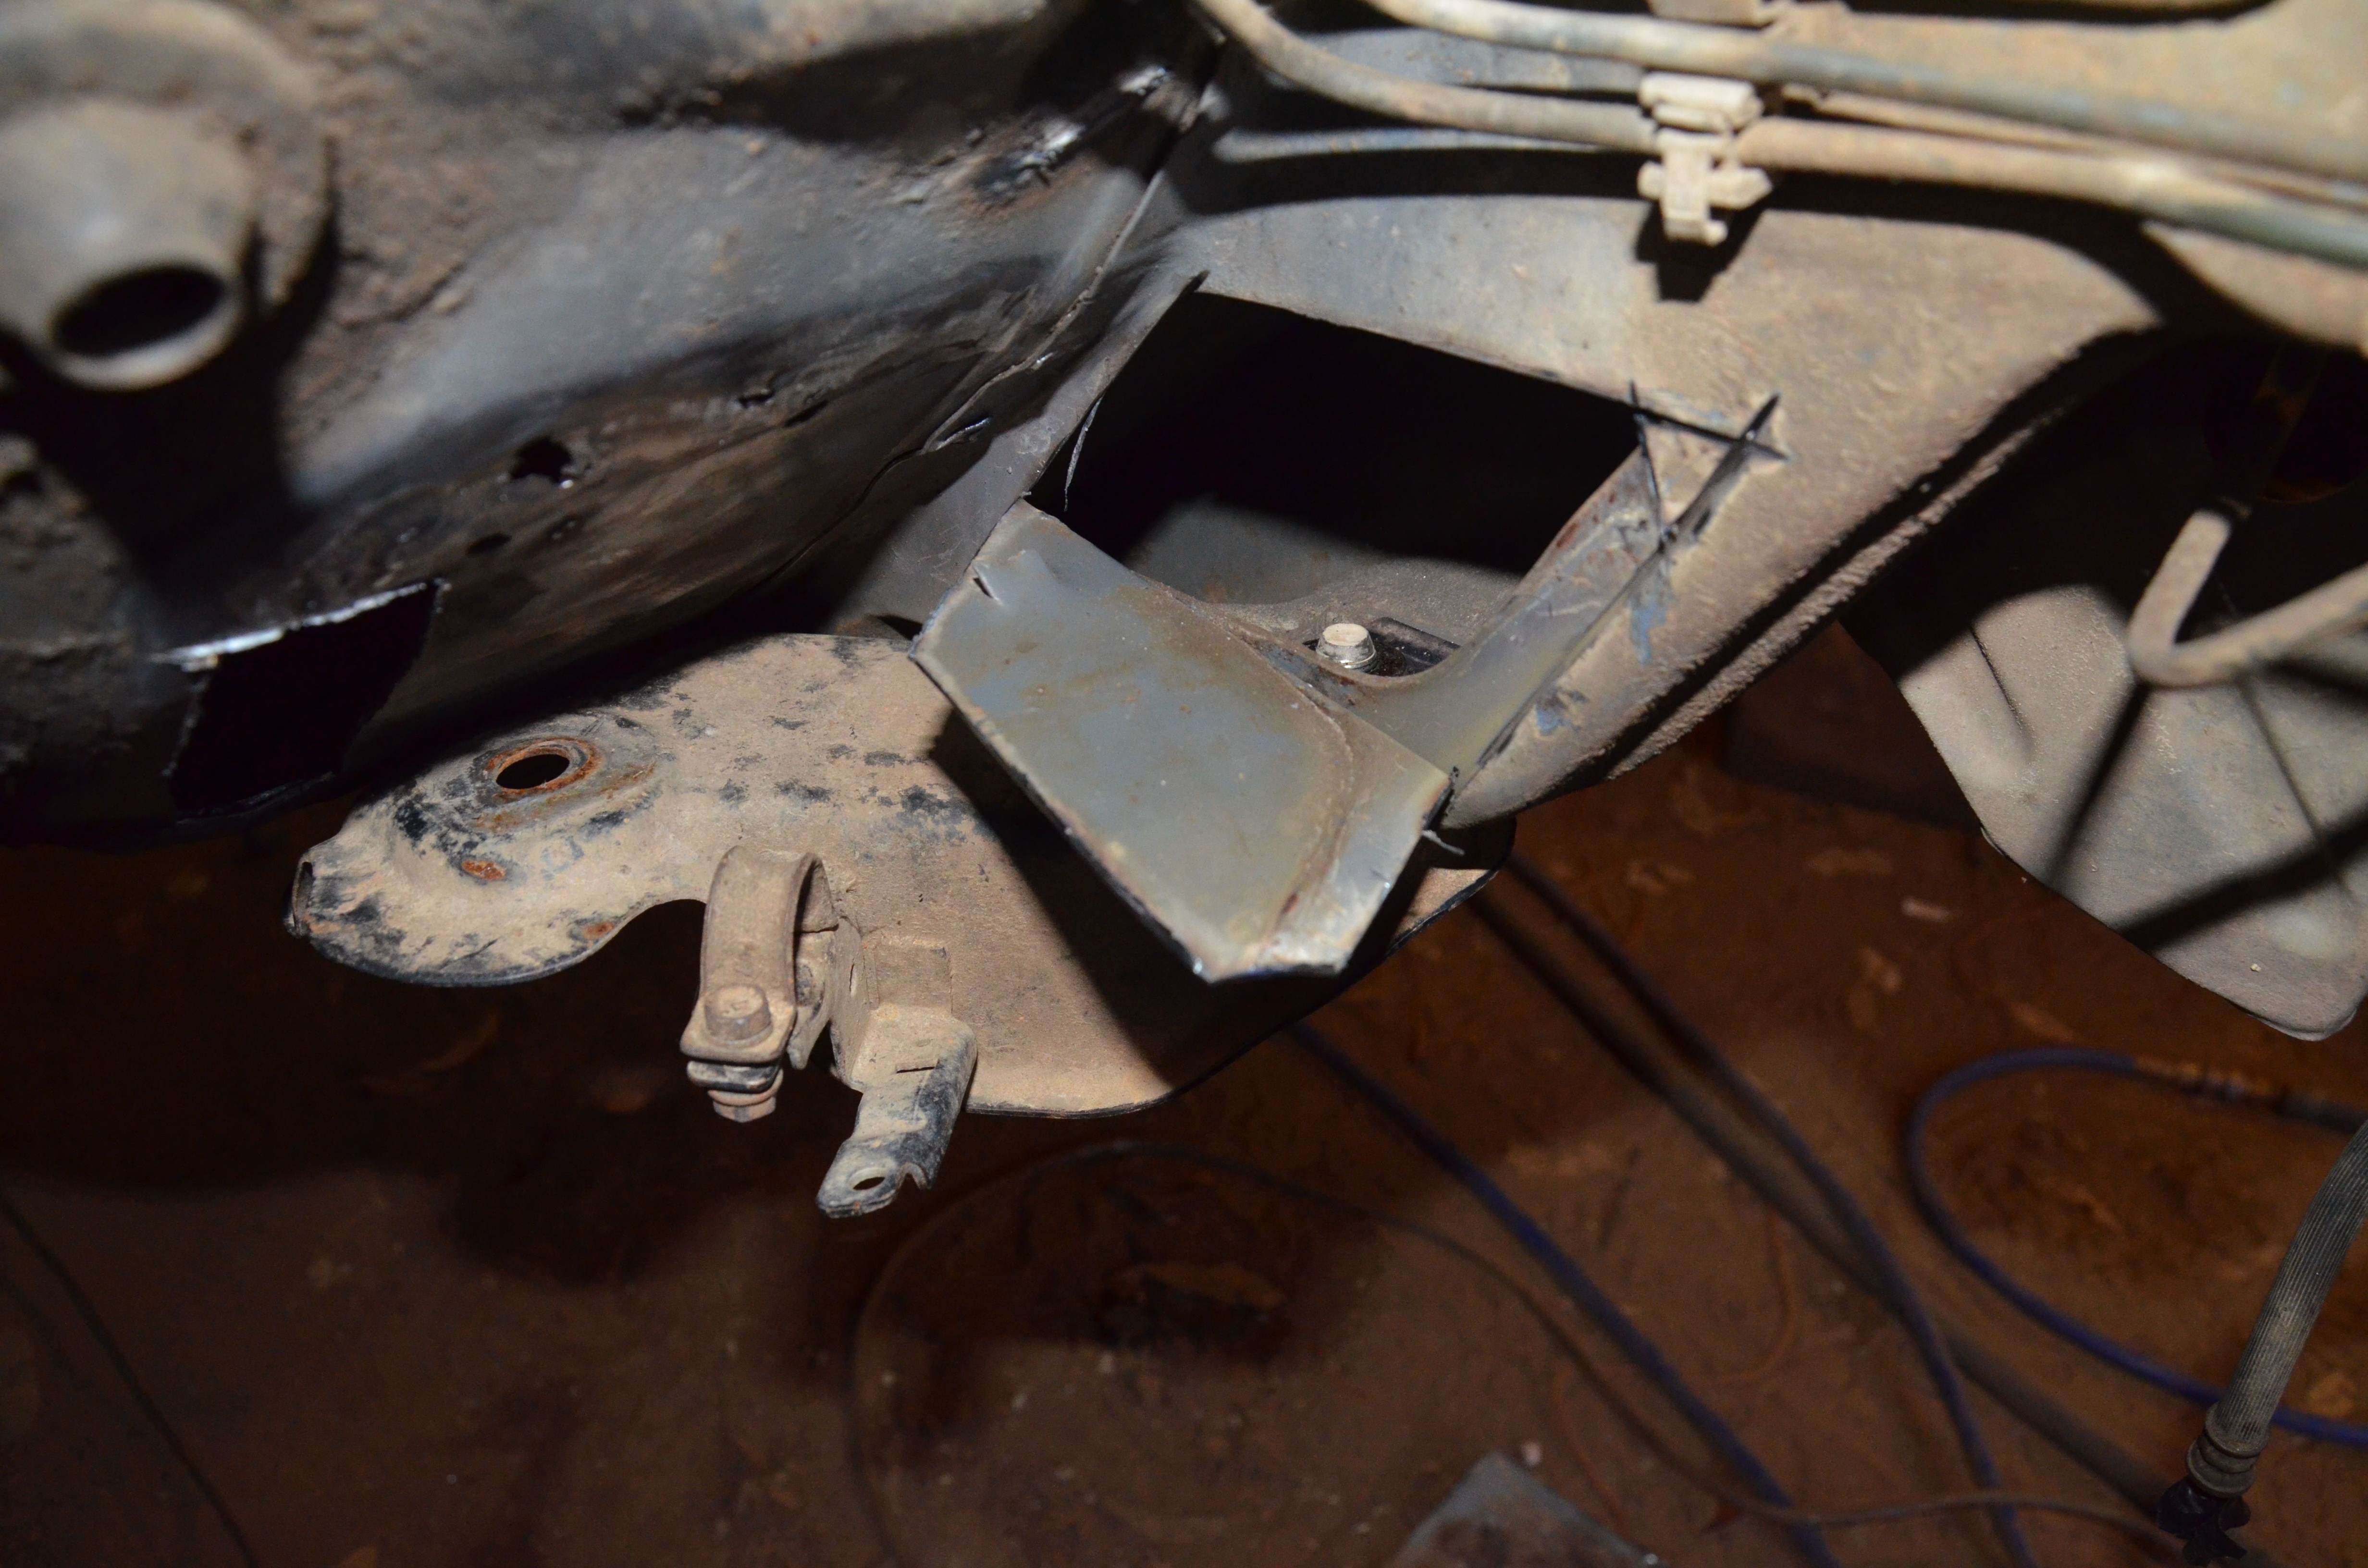
Now on her left side for the replacement of the floor section and the captive nut plate:

dsc8106rubyrepairs.jpg


Here's the work on the captive nut all closed up:

dsc8112rubyrepairs.jpg


The replacement plate dummied up to be welded in:

dsc8124rubyrepairs.jpg


^ The donor subi was an '84 L series sedan, It took some time to cut the floor section out! Turns out the floor pans are different shapes in this area, the '84 being a flat panel where this plate was welded on where as Ruby Scoo's is curved...

And here it is welded in:

dsc8127rubyrepairs.jpg


Now I'm welding in some plates to help with further strengthening this area, but ran out of wire less than halfway through... Bloody Murphy is all I can say!

dsc8131rubyrepairs.jpg


Part of the rear end is going to get the same treatment with the plates, they're just waiting to be welded in.

SOOO can't wait to have her back together again to go 4wd'n/camping/cruising
/all of the above

Christmas got in the way BIGTIME :( Since gutting her a couple of weeks out from the silly season I've done more work on her in the last 7 days than I've done previously on this project...

Cheers

Bennie
 
A "state of transition" lol.

Looking good Scott. Glad to see you're overengineering the repairs...it cant be too strong! :twisted:
 
Glad to see you're overengineering the repairs...it cant be too strong! :twisted:

Yeah it should be good! Looking forward to a nice rigid body :D

I don't think it would be too hard to fit to my next L series with a lift - when ever that's going to be... Hopefully a long time after all this work!

Cheers

Bennie
 
Wow - big job! Progress looks good Bennie.
 
Thanks guys. The welds are no where near perfect but they'll do the job for what I want.

I can now see the end of the welding, which is a good place to be. Still got quite a bit to go though.

Today once the wire rocked up it was all go for welding - I ran out last night when I was about to start a decent weld session. Had a good day at it once the new reel was loaded up:

dsc8137rubyrepairs.jpg


dsc8140rubyrepairs.jpg


dsc8144rubyrepairs.jpg


dsc8145rubyrepairs.jpg


dsc8149rubyrepairs.jpg


^ Once this is touched up it'll be time to rotate the other way to do the other side, then level out for a few other pieces - and knock up some plates according to these:

lseriesreinforcementpan.jpg


Link for the whole document about setting up an L series RX turbo for rallying here

Got them printed and they've come out rather un-pixelated compared to what they look like on screen :D

Getting there.

Cheers

Bennie
 

I like this photo, gives a good idea of the scale of the work you're doing. Extra welding on the rails & right along the seams plus panel joins on the floor. That really is a lot! Cant wait to see how you're doing the rear but perhaps finish the front first lol ;)
 
Back
Top