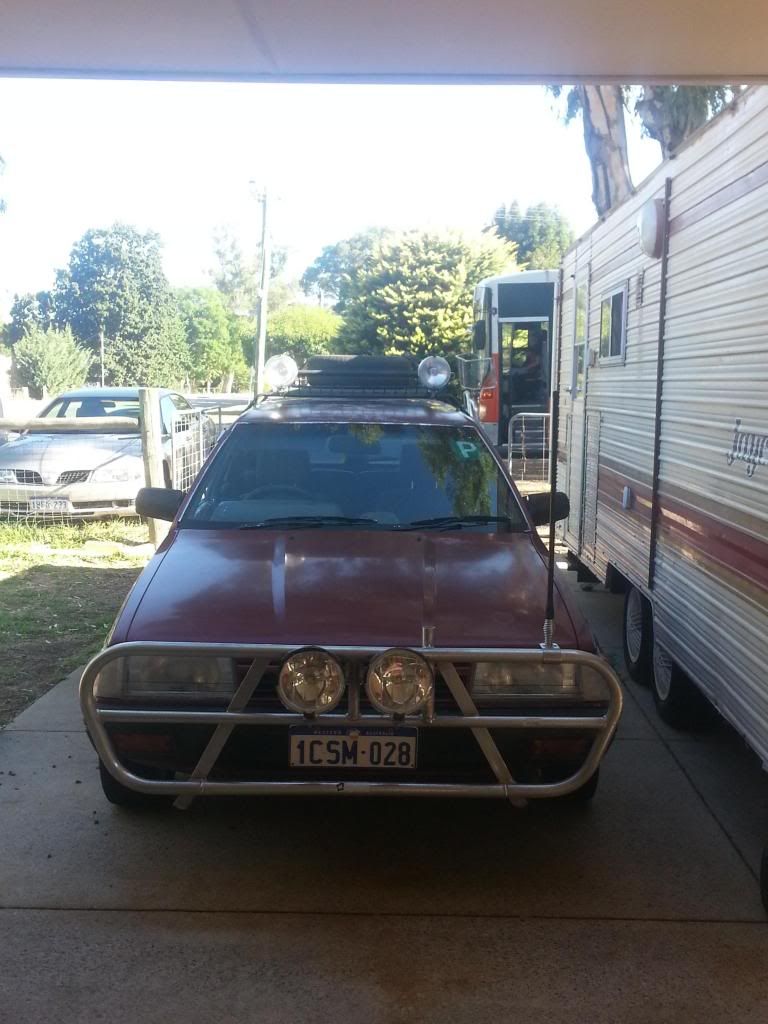
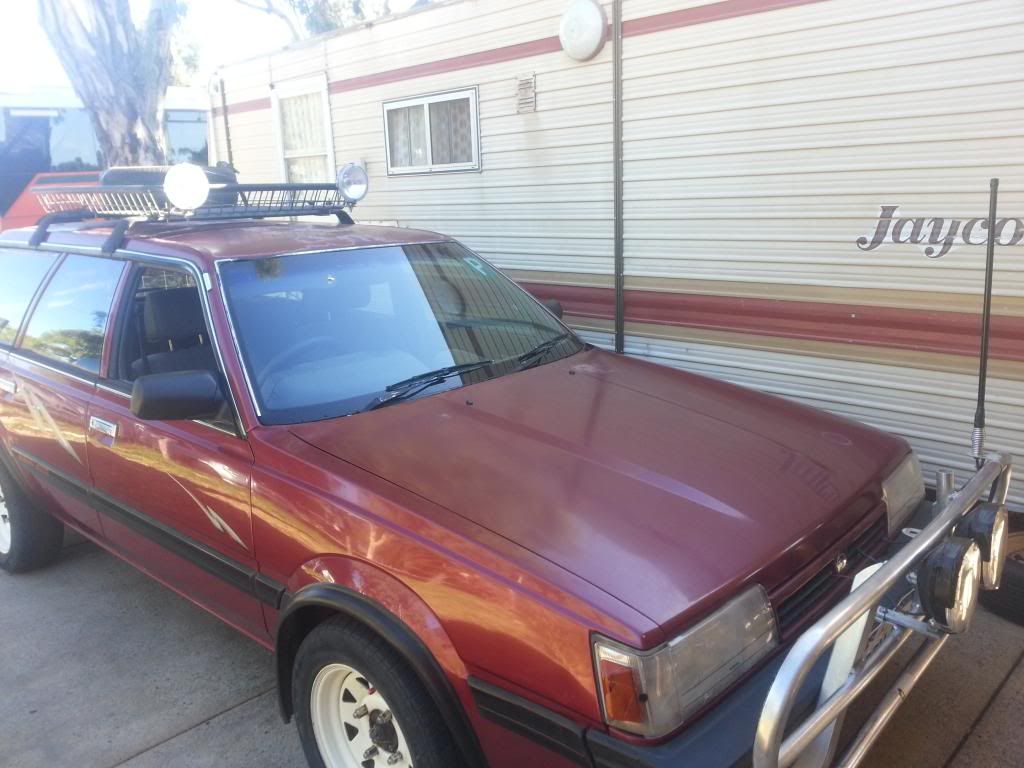
What have you done to your car today?

crisis solved, Anyone trying to put these *******s in or even just your trailing arms back on,

1. disconnect sway bar links.
2. jack the car take the wheel off.
3. place jack under the hub where the trailing arm attatches.
4. Jack up the hub slowly, as you do this it'll move forward and line up perfectly.

Made it a 10minute job, I really shouldnt work all day to install a lift kit and make the trialling arm spacers from scratch then try and put them in.


So far this lift kit has cost me a grinder and a chunk of my finger, It it better be worth it! :lol: Not counting the $40 of mig flux core mig wire as i don't have my gas rental anymore. shield core 15! expensive crap but doesn't spit like most flux cored. that was only a bloody 9.kg spool! god dam bunnings extortion.


EDIT!!!!

oq7e.jpg


Front: 50mm block, 35mm raised king springs, 12mm lift from A/t
Rear: Same but strut block is 60mm.

Off for wheel alignment
 
Last edited:
Nice work idw :biggrin:

Bugger bout the finger. Bunnings can be good for some things, got a very nice Kinchrome multi piece ratchet screwdriver from there for under $10! But they can be such a rip off in other ways :(

I used playdoh on my Foz today. Dont worry, its says ages 2+ so I'll be fine
icon_razz.gif


When I get a chance I'll reveal all in the Sealing the Cabin from Water Ingress thread
icon_wink.gif
 
Came back from the tyre shop as aligned as it could be. +1.5 degree front camber and +2 degree at the back. Drove up the mount to the cross and back on the black top and i'm reasonably happy with it all, a touch slower but handling is still ok.

300mm clearance under the front and at the back under the diff gaurd, 280 under the exhaust.

And the I'm happy the 13mm toe out is gone, was an interesting drive to the type place trying to go straight.
 
Last edited:
Welcome to the higher club idw :ebiggrin:

Your Forry looks great now that it's been lifted too I must say :raz:

Regards
Mr Turbo
 
Ewww :eek::(

Did you put much camber offset into the blocks? You need aftermarket camber bolts in the rear, not sure if you want 2 lots of camber bolts up front
 
Scooby2 got the once over - scrubbed and detailed. Fixed the loose windscreen wiper, replaced one headlight globe, adjusted the rod holders. She's real pretty tonight! ... and... declared all good for the Potato Point fishing classic in a few weeks time ;-)

Best regards,
 
Started my light installation today, never realised how much Plastidip and Loctite was involved in putting spotlights on my roof :-\
 
Gave Blinky a clean, got off most of the wombat mud. Pressure washed the engine bay as well still looks dirty, but got off some of the oil and crap.

Got a big bush stripe on the side out on saturday which after a clean isn't really noticeable, a good polish should make it disappear.
 
If you're still available bro I'm completely stumped I really need a h?and
 
Twinklz got me thinking with the roof lights, so I made up some brackets from scrap to see what my pencil beams look like up there... what do we think?

20140226_1626171_zps64a3426b.jpg


20140226_1626261_zpsf438598c.jpg
 
If the pencil beams fit inside the roo bar, what about putting them there & the bigger lights up top? They seem a bit vulnerable poking out the front.

But perhaps WA drivers are a bit better than Melb drivers lol :shake::rolleyes:
 
Unfortunately, I got hit by a Prius that tried to pass me on the right while I was turning right into my driveway!

All my suspension work on the right front, AND the new powersteering rack were undone. It's a crying shame, but unlike the owner of said Prius, which was brand new...

At least I don't need a whole new car. :V

And thanks to a very kind and agreeable adjuster who had an equally big bone to pick with the insurance company, my car will be more than fixed after all of this. The H6 swap will be back on track as well, so more updates and pictures to come!
 
Back
Top