Lol, they would be awesome if someone wanted to design & fabricate them for less than a few grand :rotfl:
I got my clutch kit, looks good!
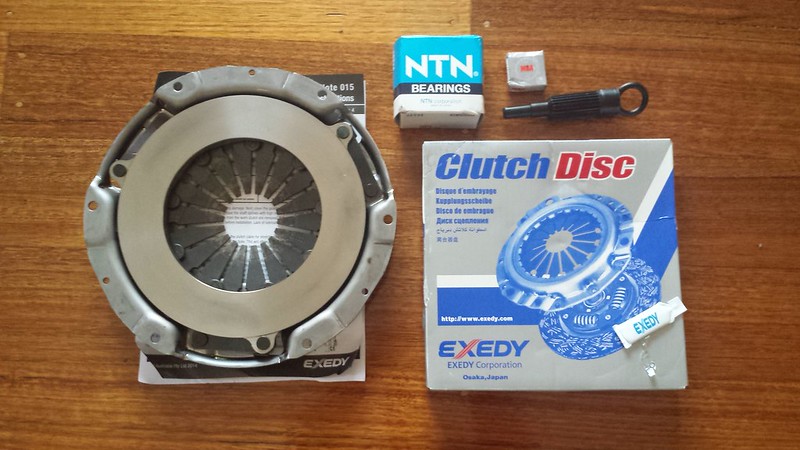
I got my clutch kit, looks good!

 :rolleyessarcastic:")
")
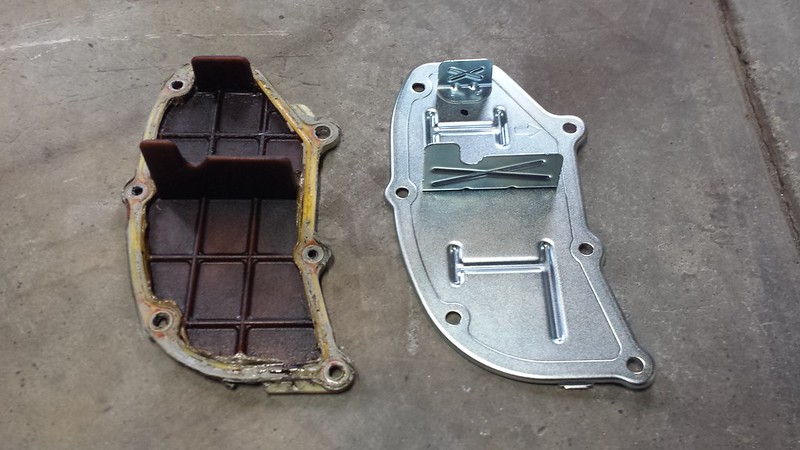
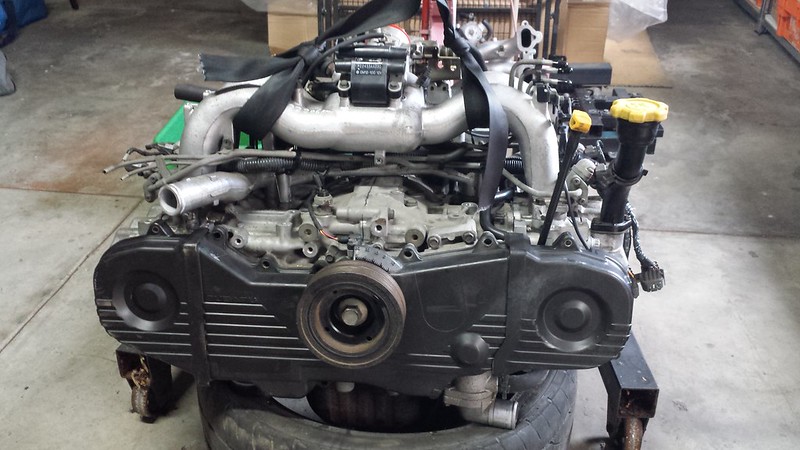
Lol, should have time tomorrow to do the timing belt. I think I'll also remove the sump & give that a clean. A few more bits to collect
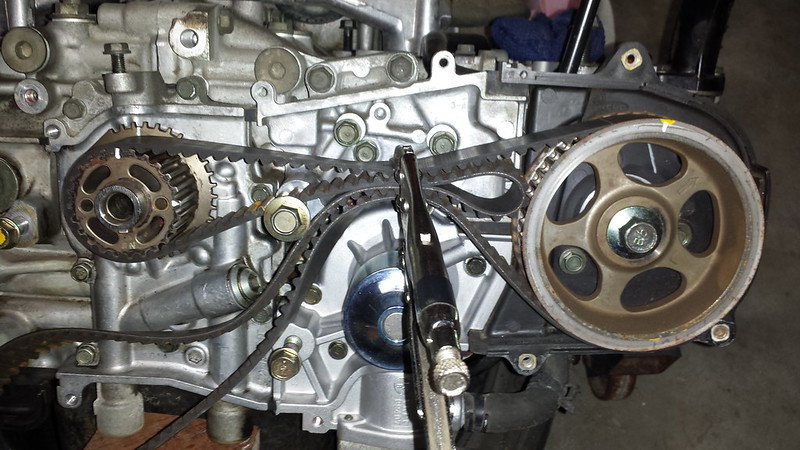
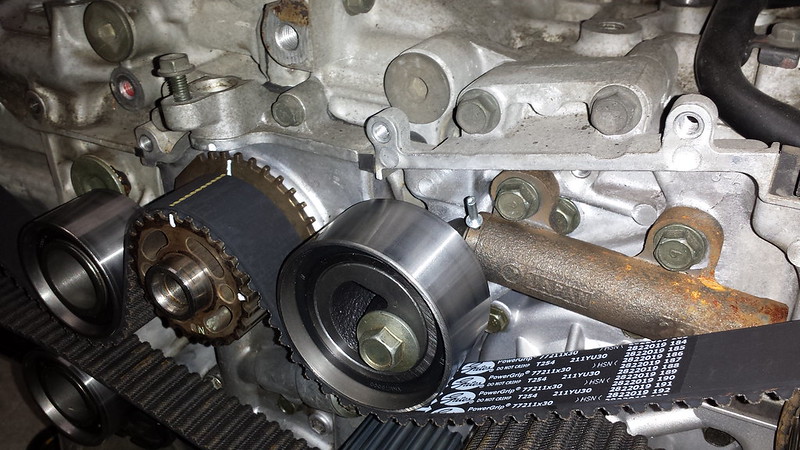
This is how I held the cam sprocket in place while I torqued the bolt. Using the OLD timing belt lol
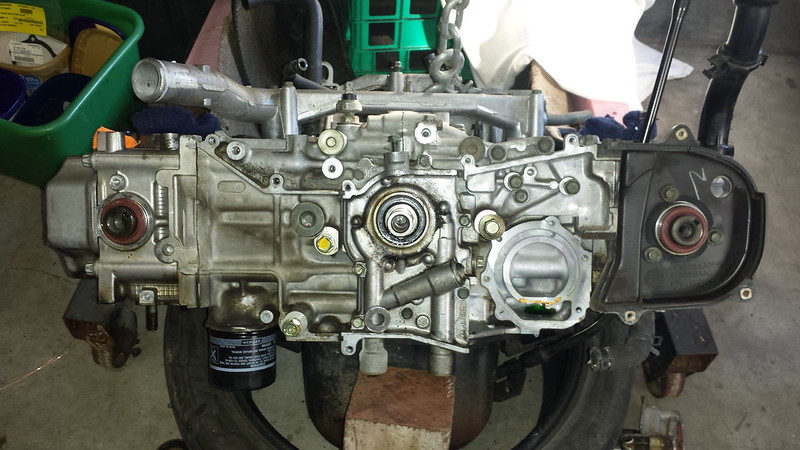
Are you removing the sump completely? If so be very very careful not to distort the sump getting it unstuck from the engine. When not perfectly flat I have heard they can be impossible to reseal.
^ use a wide (3" or so) paint scraper to break the seal all round (gradually ... ).
If I were to do this sort of stuff again, I would put a thin layer of Silastic on one side of the gasket before fitting ... it's a great product. It would even prevent BMC rocker cover gaskets from leaking oil. Nothing else would ...