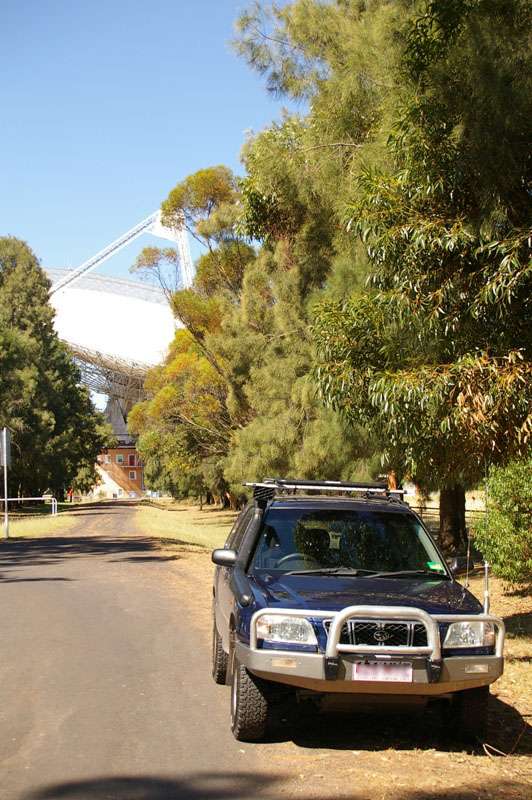
Dulagarl: the Lifted H6 Forester

Well, I bought it, and I have to say that what SKT has done is truly inspired.

It’s a freaking rocket on the bitumen, and it has an enormous amount of grunt offroad.

Engine transplant thread is here:

https://www.ausubaru.com/forum/showthread.php?t=16564

Here’s a little log of bring it home, and it’s first offroad trip once home.

Jan 29th I flew to Coolangatta. Scott picked me up at the airport and we went for a drive. It didn’t take long for me to be convinced that I should buy this. Sure, it had a couple of issues, for example some worn out bushes in the front end, and a cooling issue, but I could tell that this was a VERY serious vehicle.

Brought it home via Lismore and Casino and then to Tamworth for the night. Next day was Tamworth to Narrandera. Narrandera to Melbourne on the Minday was relatively easy after all of that.

Saw some amazing country in the process. Didn’t have time for many snaps, but here are a few…

Some of the country just into NSW after casino…
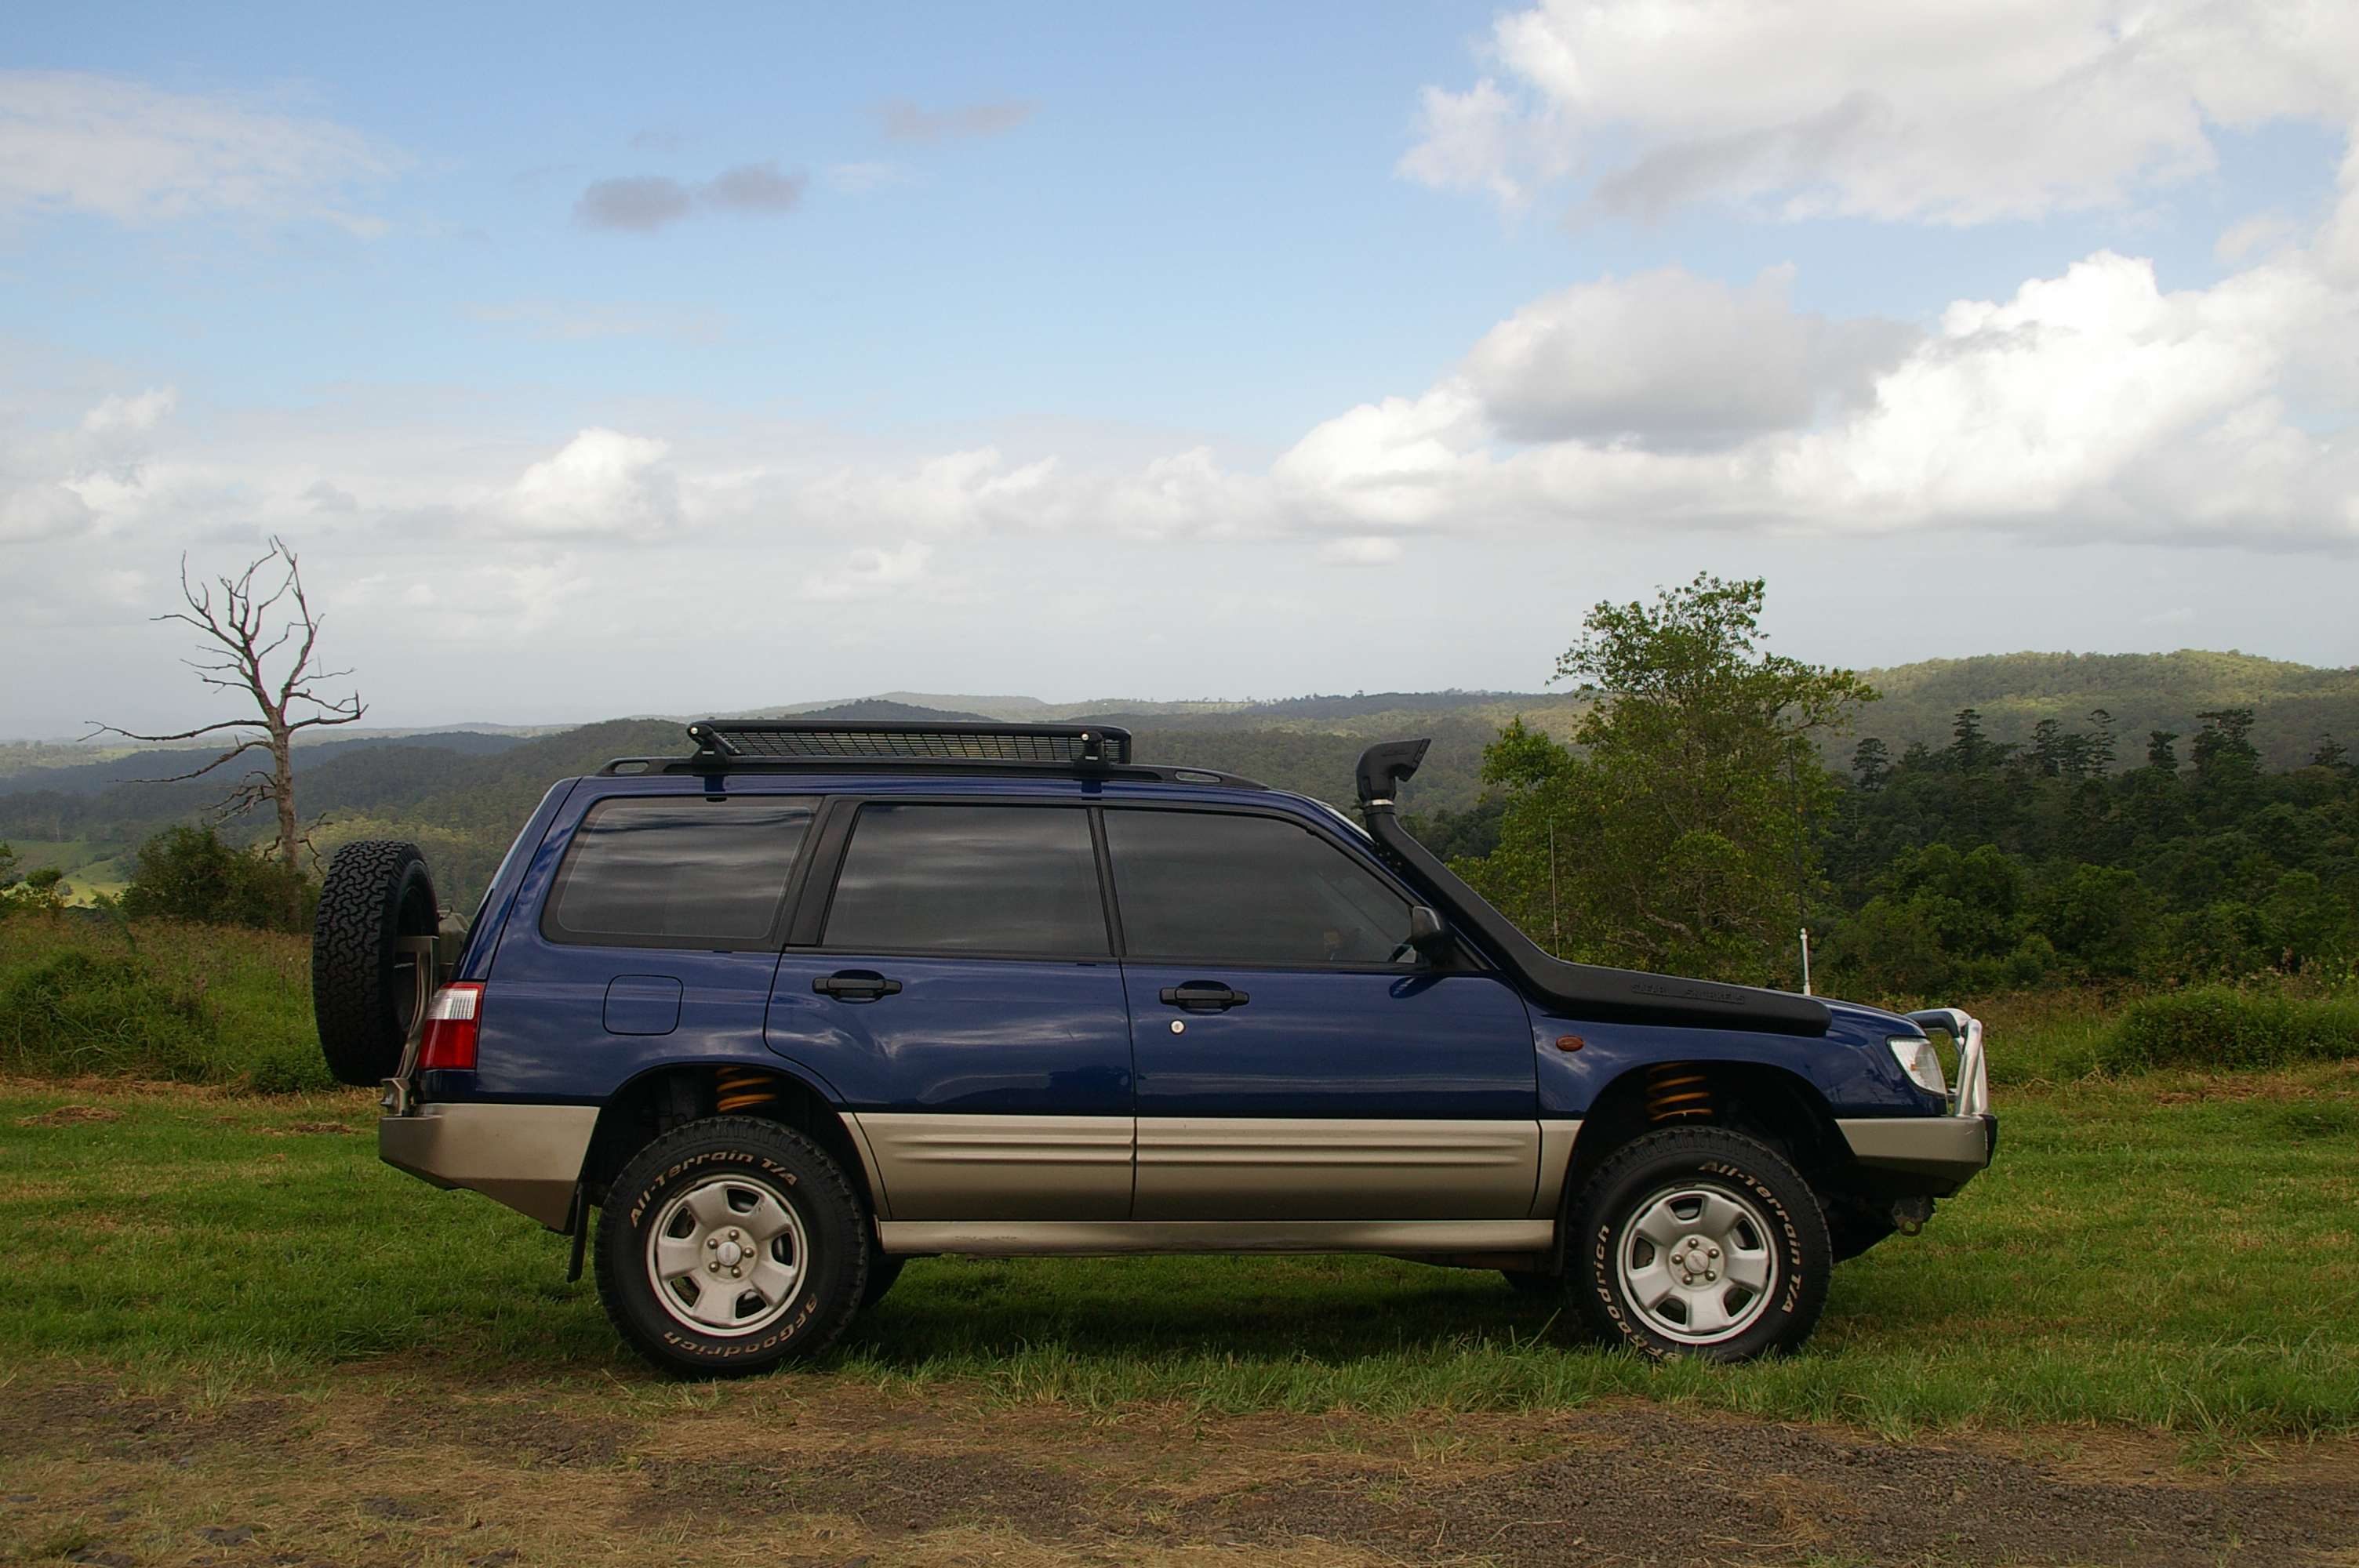
imgp1367a.jpg


Took a detour via the outer solar system…
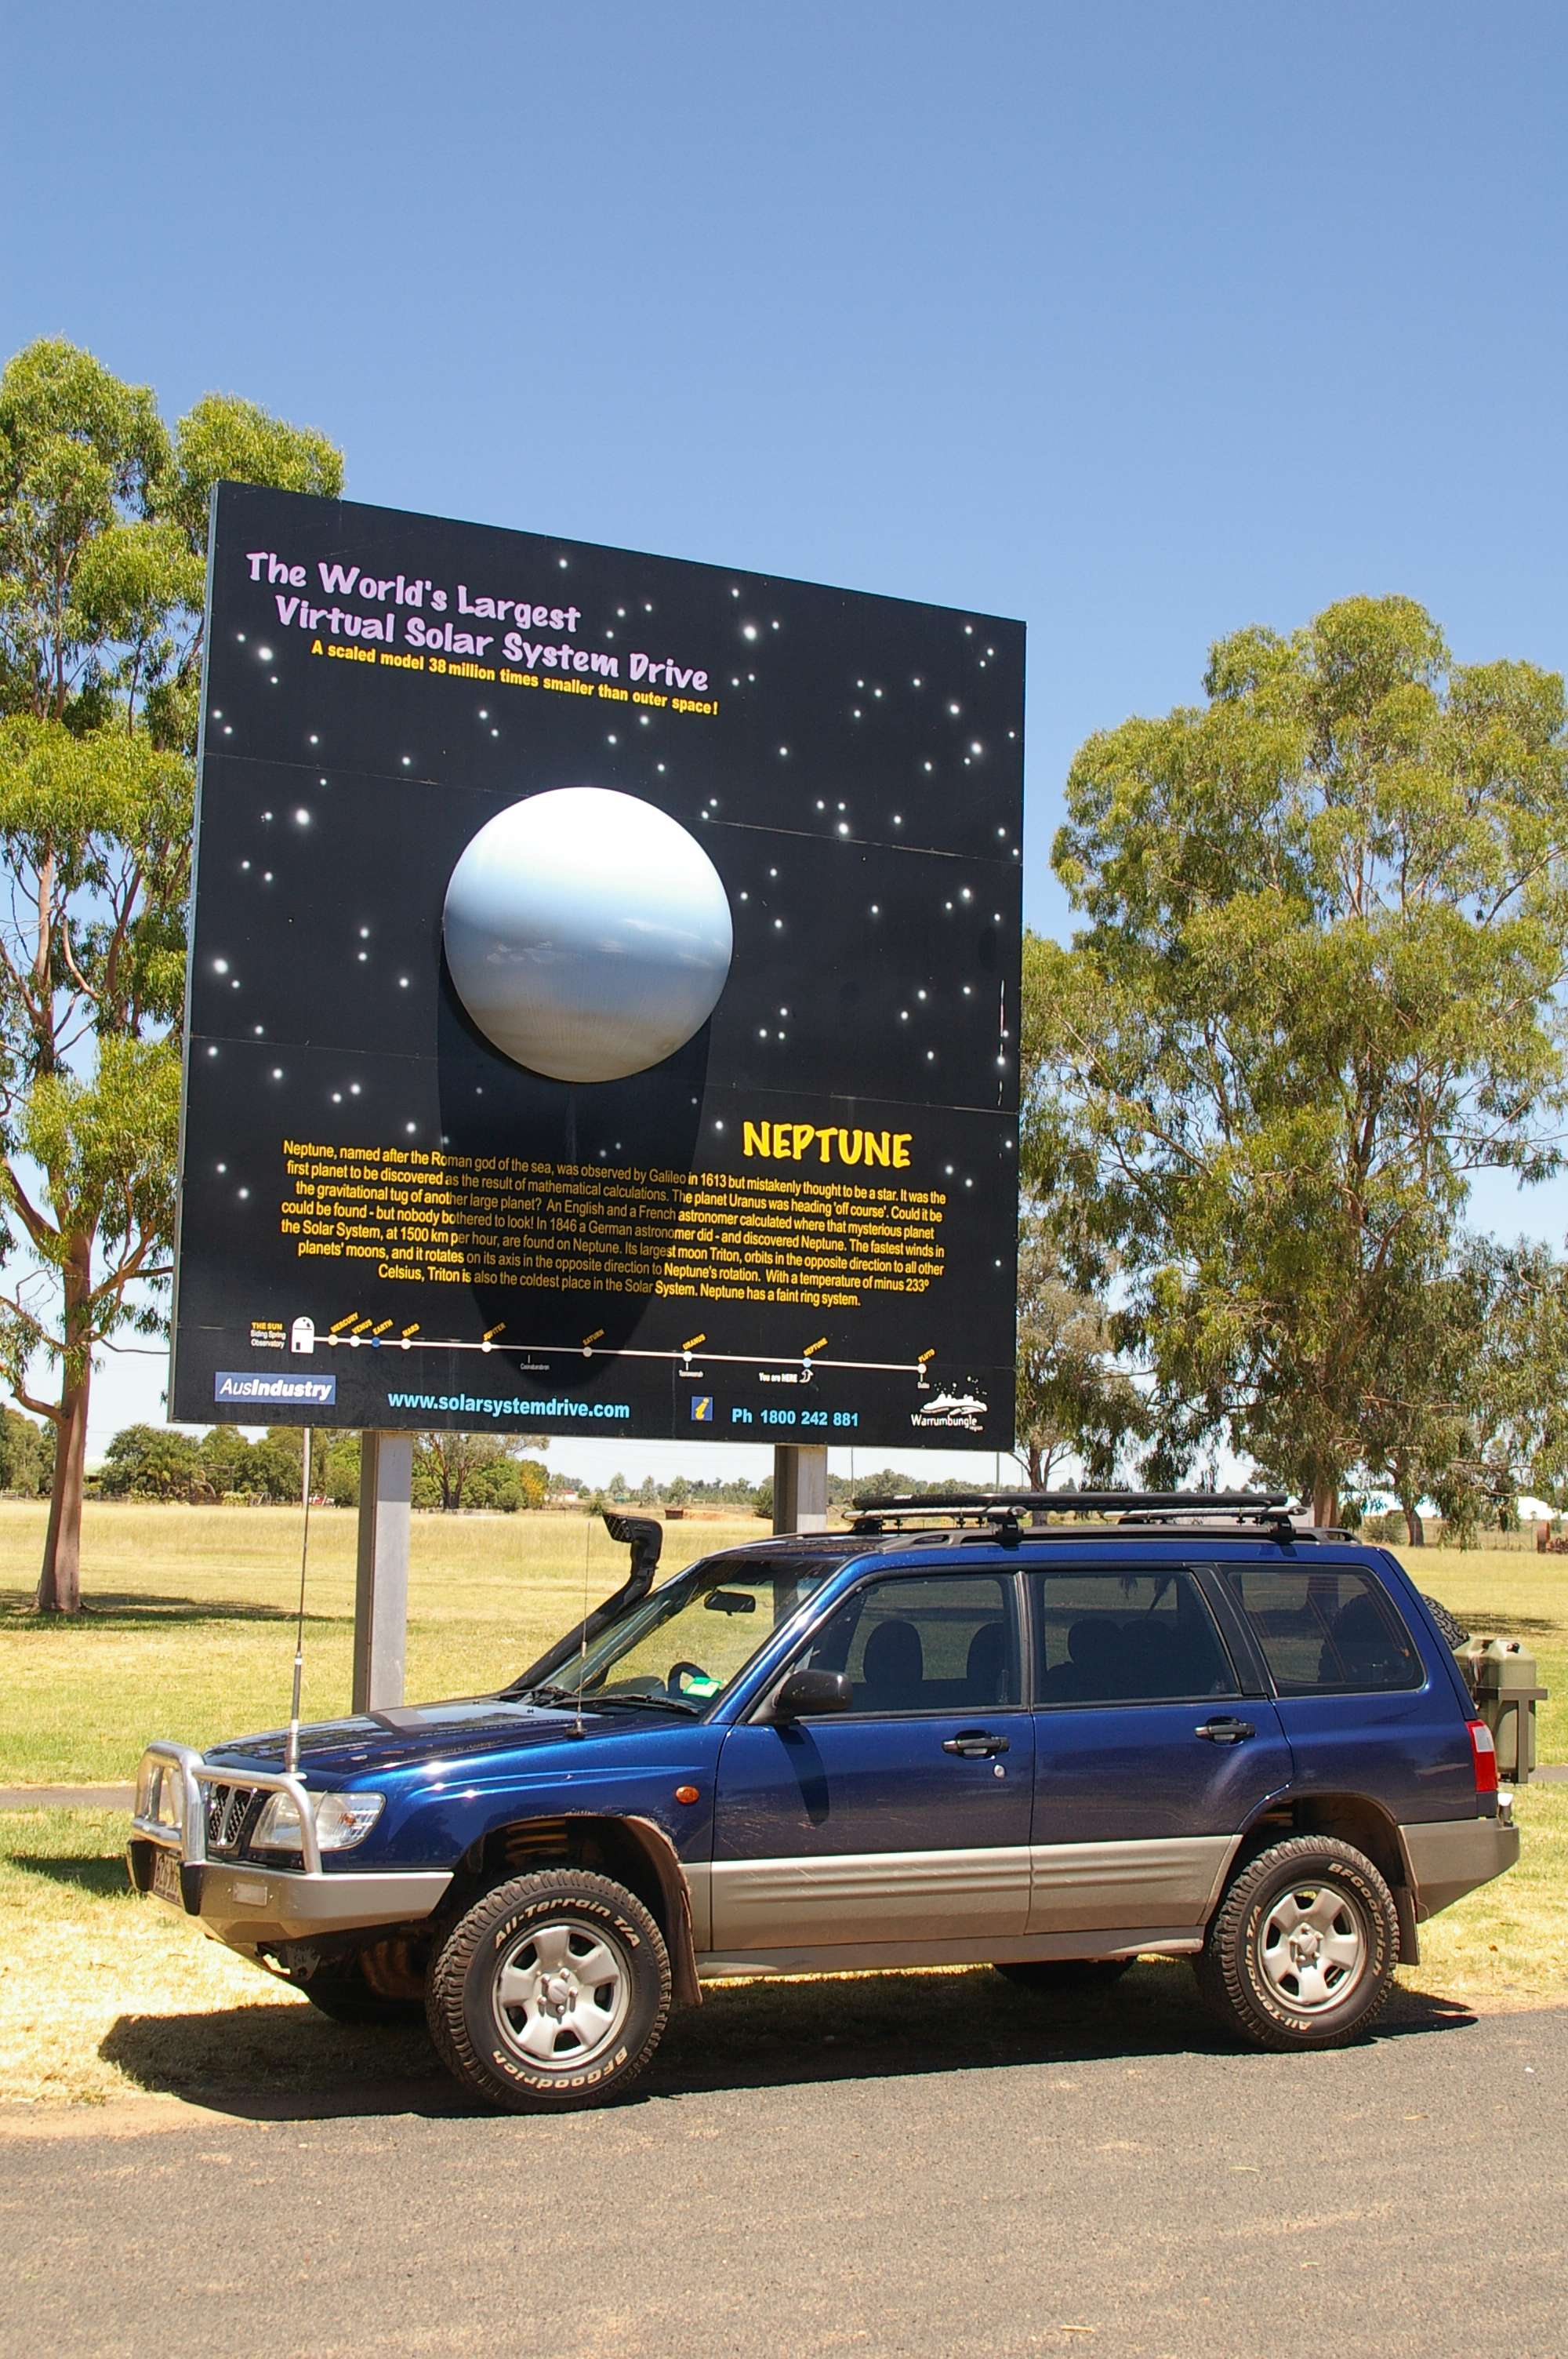
001solarsystem.jpg


Actually, that virtual solar system drive from siding spring observatory is a good idea. That pic was taken in Gilgandra.

While on the space bent, couldn’t resist a couple of pics with the Parkes Radio Telescope…

002dish1.jpg


003dish2.jpg


It was 38 degrees Celsius when those shots were taken, and it didn’t get cooler for hours. Unsurprisingly, the vehicle got a bit hot just south of Forbes.

004southofforbes.jpg


A bit further south past West Wyalong, and there was still water around from December. Ridiculously flat country with paddocks turned to lakes…
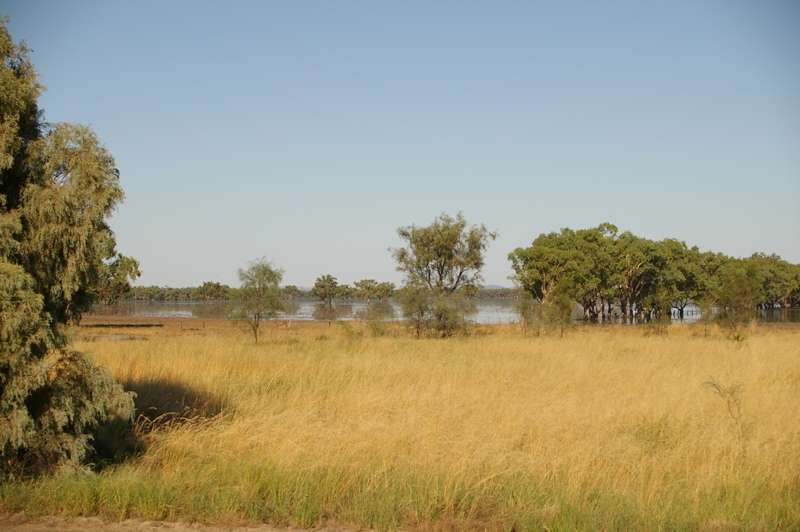
005southofforbes.jpg


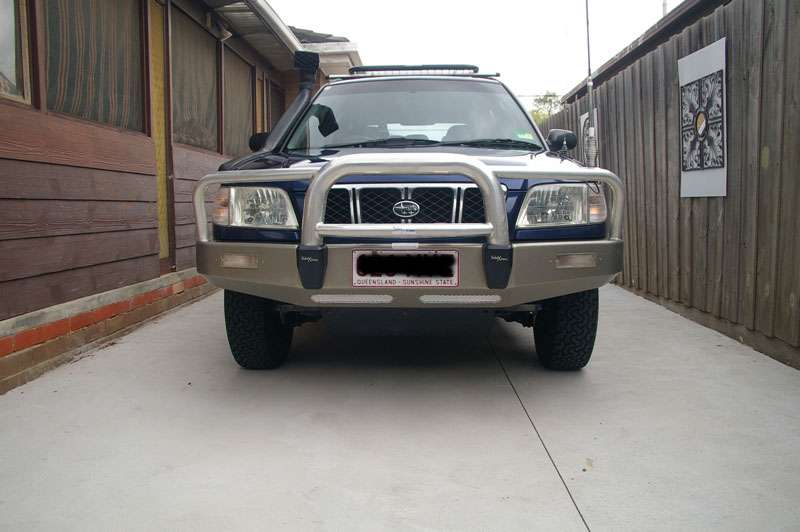
So, when I got home, I went straight to the mechanic and got an aircon service. I also consulted about improving airflow to the radiator. I looked at pics of offroad bars on Outbacks on the Subaxtreme site, and also the bar on the latest Forester. Armed with that info I decided to cut some holes in the bulbar, and this is the result…

001grille.jpg


002front.jpg


Gotta love the grille mesh from supacheap auto!

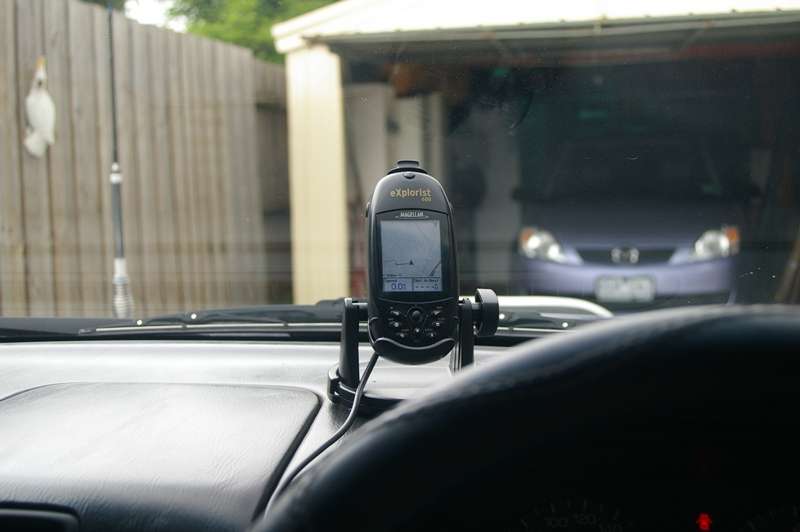
So, I then set up the GPS on the dash with some adhesive Velcro…
003gps.jpg


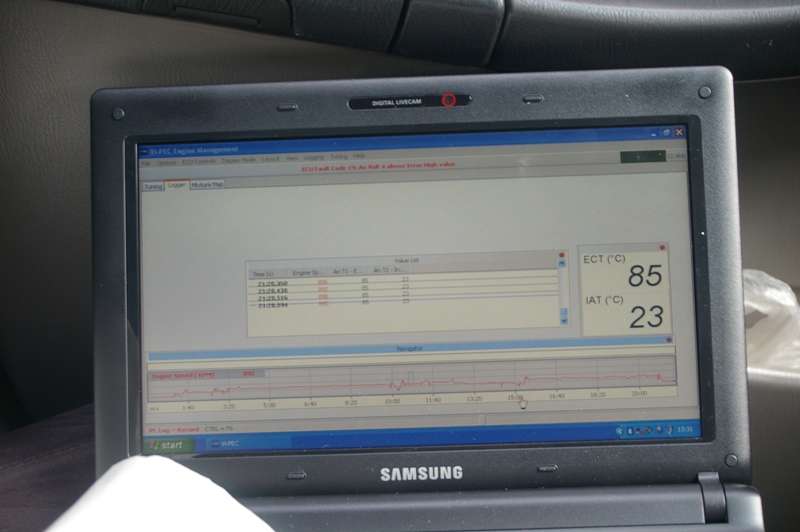
and connected the ECU to the laptop to monitor engine performance and temperatures.
004ecudata.jpg


(BTW: I think I might have resolved the “cooling issues”!)

... part two to follow
 
Last edited:
Cool :cool:

Gotta love the sound of that EZ30R :lildevil:

The credit for the 'note' should def go to Al at AMAuto (Sunshine Coast,Qld).
Not only did he shoe-horn the motor in he hand shaped the exhaust right back to the angle pipe flush with the rear bar matching the departure angle. Tucked up neither I nor Greg could rip it out. It is truly a WRC sound and I've heard nothing like it from any other offload Suby.
 
Performance report on the audi rims.

Overall, they could look like giraffes or vampire bats and I would keep them: such is the difference they make to the car's performance.


A few stats:
  • At 5.8 kg, each wheel is about 5kg lighter than the steelies I had. That's a reduction of 20 kg in unsprung weight.
  • The car accelerates with less effort now, coasts better, cruises better and brakes better.
  • I can drive up hills in 5th, fully loaded, that previously I had to change to fourth. I can do things offroad in third gear where previously I used 2nd. I can almost completely stop in 2nd gear and take off again.
  • Running the ecu set for closed loop lambda operation on the O2 sensors gives me a fuel cut of up to 15% at cruise speeds. Previously ibn 5th gear it would not trim all the time, but now it trims for longer periods with even with minor changes to throttle. Simply put, the engine does not have to work as hard to turn the wheels.
  • Going from 48 offset to 35 offset means the the track is now 26 mm wider, or about an inch. Aside from making the car look more aggressive, this has profoundly affected handling. I don't have a rear sway bar, but it now sits much flatter through corners. Steering feels lighter because I am turning less weight.
  • The suspension feels much more responsive. It deals with situations more quickly. Overall the car feels a lot more stable both on road and off road. It has made a huge difference with corrugations.
  • Fuel economy, based on the figures for one trip of over 1000 kms, has improved by about 10% on the highway. It is a thirsty car, but whereas it was getting just under 8 km a litre, it is now getting about 8.7 km a litre. This extends my tank range by about 40 km. Offorad economy seems to have improved as well, but I cant give a final figure on that yet.
The car feels a lot better for having these wheels.
 
They sure sound great :) My biggest concern is... What about mud? From the looks of them, it seems like they'd get filled and it would stick in there fairly quick...
 
That sounds great :lildevil:

Makes me wonder bout the handling aspect of my rims going from +48 to +52. Only 8mm combined though
 
Interesting stuff about the effect/s that the very light Audi rims have made to the Dulagarl, Greg.

Basically bears out what I have said all along about the effect/s of decreases in unsprung weight (none of what I have said is original from me, all learned from other people/books since my interest in cars hotted up at around 13 y.o. ... ;) ).

It is easy to see how the Subie alloys are so much lighter than the Subie steelies, but how in blazes have Audi managed to shave so much weight off the weight of an OEM rim? Higher magnesium content perhaps? Do you know, or have any thoughts on this?

BTW, I agree with you about the looks. I have always been more interested in function over form; but if one can combine both, so much the better. Unfortunately we are going through a period of history where form is valued over content in very many areas ...

Your observations also possibly go part way to explaining many differences that various people observe in their own cars. e.g. A 2.5L N/A SG Fox with steel wheels compared with the same vehicle with OEM alloys will also behave quite differently, going by what you have observed.
Even though the weight difference is less, it is still very significant - 11+Kgs for the steel rim and 8Kgs for the OEM alloy rim; both bare, both 6.5" x 16" 2006 OEM rims.
 
They sure sound great :) My biggest concern is... What about mud? From the looks of them, it seems like they'd get filled and it would stick in there fairly quick...

Mud seems to just drip off them. Was out with Venom and his wheels were about 5 times dirtier than mine.

Here are some pics from after the trip. We had been driving through some decent mud holes along the Wimmera River, and the mud there tends to be pretty sticky.

As you can see below, there is a fair bit of mud in the wheel arch.

if97.jpg


and here, the whole wheel doesn't look too bad

bfgy.jpg


Close up of the wheel itself, and you can see through the holes to the inside.

5ctc.jpg


They weren't very hard to clean either: just high pressure wash and done.

Ratbag: I think the fact that they are so light comes from them being forged instead of cast.
 
Last edited:
Now that I've got these rims, I'm thinking about my next set of tyres.

Since the offset brings them out further, I can afford to go a wider tyre becuase there is more clearance between the inside of the wheel and the strut.

there seem to be thre options.

BF Goodrich All Terrain: 235/75/15: but this might just be a little too big. With an aspect ratio of 75 that means a section height of 176.5 mm, which is a fair bit higher than the current 161.25 of the 215/75/15 that I have.

Cooper AT3: 225/70/15. 1 cm wider than current tyres, and with a section height of 157.5 are about 3.75 mm smallr than current. This could be the go.

Can't really find much else around. At least I have some time to make the decision becuase I reckon I have about 10,000K left on my current rubber.

Would be nice to find a 235/70/R15. This would be 2 cm wider which would be great on sand, and only a height difference of +3.25mm on my current, which I am pretty comfortable with.
 
Last edited:
^ With the tyres I am running 225/70R15 and was looking to change to 215/75R15 soon. I considered 235/75R15 but it might cause more problems than benefits. I have the Dunlop AT3's and they are ok but I wouldn't get them again. I'm looking at the Hankook Dynapro TM's (All Terrain) in a 215/75R15 or Toyo All Terrains in a similar size.. I am finding there isn't too much available in these sizes and I don't want to go a mud terrain or BFG's.
 
^ thanks Taza.

I thought you had said you had 225/70 r 15, but couldn't see where.

I reckon I wont have rubbing problems with them given the wheels are + 35 offset. This gives me about a cm more lateral clearance inside the wheel.

I will do a test fit before I buy, but I'm fairly confident it will work out.
 
Do you have any rubbing with your 215/75R15 and audi wheels? Just curious as they aren't much bigger than 225/70R15.
What tyres are you planning next when your BFG's run out?
What's it like on fuel around town too? Would you say you'd get 400km to a tank or less?
 
Do you have any rubbing with your 215/75R15 and audi wheels? Just curious as they aren't much bigger than 225/70R15.
What tyres are you planning next when your BFG's run out?
What's it like on fuel around town too? Would you say you'd get 400km to a tank or less?

Nah, don't get any rubbing at the moment.

next tyres? Maybe Cooper 225/70/r15, or something else in that size. I'd like a slightly wider tyre if I can, now that I have a better offset. Will trial fit one of venom's when I see him next. The other advantage is that while I'd lose a little (maybe 5 mm height), it should reduce rolling resistance a little.

EDIT: Here are my thoughts on that from a previous post:

Now that I've got these rims, I'm thinking about my next set of tyres.

Since the offset brings them out further, I can afford to go a wider tyre becuase there is more clearance between the inside of the wheel and the strut.

there seem to be thre options.

BF Goodrich All Terrain: 235/75/15: but this might just be a little too big. With an aspect ratio of 75 that means a section height of 176.5 mm, which is a fair bit higher than the current 161.25 of the 215/75/15 that I have.

Cooper AT3: 225/70/15. 1 cm wider than current tyres, and with a section height of 157.5 are about 3.75 mm smallr than current. This could be the go.

Can't really find much else around. At least I have some time to make the decision becuase I reckon I have about 10,000K left on my current rubber.

Would be nice to find a 235/70/R15. This would be 2 cm wider which would be great on sand, and only a height difference of +3.25mm on my current, which I am pretty comfortable with.

Fuel? around town? would struggle to make 400 kms a tank. It would have to run empty and even then might not make it. Open road is much better. I think I actually get better economy offroad than I do around town. This might have something to do with the nice noise the car makes in 2nd gear when it hits 4,200 rpm. I don't do this often anymore, but gee it sounds good.

I have read about H6 motors being very thirsty when idling. I have also read that running the air conditioner can improve this. Doesn't make sense to me.

Fuel economy is the one thing I would really like to improve on this vehicle.
 
Last edited:
Struth :eek:!

I have just ticked over the 400 kms mark in Roo2 on this tank, and have almost 2/5ths of a tank left to go - maybe 40 litres used. About 1/3 on freeways, the rest on ordinary suburban type roads.

Must admit, I have been trying to keep it under 6200 rpm in first and second over the last 3 months or so. Even more important, I reckon, is learning to feather the electronic throttle. I find that if I lean on the pedal slightly (not enough to increase speed ... ), my fuel economy around town goes out the window ... :(.
 
I thought I'd get around to listing the mods on this vehicle, so here goes:

sltm.jpg


That's the main stuff anyway.
 
^ just realised that that pic has the old wheels.

anyway, here's some other news.

Following a recent drowning in a mud hole, it was time to conduct a thorough cleanup of the interior. My old carpet was worn out anyway, and my front seats were pretty worn out as well.
To start with, there was a fair bit of mud in the interior…

nrfs.jpg


Once the seats were removed, the extent of the mess was apparent

mrc7.jpg


I ripped the carpet out

jt7m.jpg


And it was time to pop the plug holes and hose out the inside

3im9.jpg


Luckily, I had a nice hot day to do this.
The boot area also needed a clean: not because there were leaks in it, but because when I went uphill out of the mudhole the water flowed back into the spare wheel well and quarter panel

o1x1.jpg


5z69.jpg


The doors were also full of sand and soil: not just from this even, but accumulated from the 13 years that the car has been on the road. This was an opportunity to remove the door cards, clean the inside of the doors by hosing them out, and renew the plastic lining.

The best way to clean the inside of the door was to use an old fashioned dish mop and a bucket of car wash and water.

The clean doors looked like this:

j1gw.jpg


The cleaning included the part of the window that sits below the top line of the door. Remove your door card and see for yourself how filthy this gets.

6mc1.JPG


It also included cleaning the weather seals. Have you ever washed your car, and then wound your window down and up again and it got dirty? This is because there are two weather seals: one on the door card and one that clips onto the outside of the door. These are effectively tow felt coated rubber channels. The one on the inside of the door card cleaned up like this:

gk4l.jpg


It is well worthwhile removing the door card and the exterior weather seal from time to time and cleaning them!
So, all nice and clean like a new car, it was time to re-line the doors with new plastic. I did this by using a heavy gaffa tape and some plastic supplied by my panel beater:

a2gk.jpg


With everything clean it was time to start re-assembly. Step one was to reline the floor. I opted for vinyl that was “moulded to the floor pan” shape. I also opted for a waterproof underlay.

The underlay is a blue foam, as distinct from the old underlay which looks a bit like the lint that accumulates in the filter of a clothes dryer. You use the old underlay as a template to cut the new underlay to shape. Here’s an example of a section that goes on the “hump” in the centre of the car, around the heater duct which takes air to the rear passenger area:

Cut to shape:

zqa2.jpg


Placed alongside the duct:

9ykg.jpg


And put in place over the duct:

5p0y.jpg


1i5h.jpg


An area that needed attention is the firewall lining. I opted to not replace this (because it would be a lot of work). Instead, I dried it out completely and used more gaffa tape to cover any cracks.

8ycj.jpg


(continued)
 
Fitting the vinyl didn't work out: it really wasn't fit for purpose. There were way too many creases and it was very difficult to fit.

ajny.jpg


vn08.jpg


s0yy.jpg


stbe.jpg


I contacted the supplier, and he agreed to replace the vinyl with carpet. Luckily, I hadn’t glued the underlay to the back of the vinyl, so I didn’t have to replace that.

Here’s some pics of fitting the carpet: a great product and much easier to fit than the vinyl:

iiz8.jpg


i8oh.jpg


e85b.JPG


A tip for beginners. There are a few carpet retainers that screw into the floor pan at the front. Don’t do what I did and lever them out: screw them out instead: the clip looks like this:

s5jj.jpg


And where it screws in looks like this:

1fqk.jpg


I’ll have to replace these at some point: will get some from a wrecker.
I also took the opportunity to replace my front seats: like the carpet they were pretty much worn out before the mud hole drowning, and it was cheaper to source some from a wrecker than to get them re-upholstered. I got a pair of seats from a liberty for $180 the pair, however the forester seat rail makes the seat a little higher than the liberty seat. I simply swapped over the seat rails. Here you can see the difference in height of the two types of seat rail:

66f7.jpg


So, in the end, my old worn out carpet was replaced with new carpet, and the whole interior got a thorough scrub. The end result is like a new car. It really looks terrific, but you’ll have to wait until tomorrow (or later today) for the end result pics.
 
Struth, Greg, that's one heck of a lot of work!

Shows what fluffing just one mud hole can do ... :(.
It doesn't matter if one is in a Subie or a LC, once the interior trim gets a hammering, it's big bucks and a lot of work to rectify.

I bet it looks fantastic with the new carpet in.

I agree about the vinyl - those kinks and bad fitment would drive me nuts :puke:
 
Back
Top