Venoms lifted H6 Gen2 Lib

Hey guys,

Thought i might share the details of my car around on here ;) I bought this in March. Flew up to Al's from AMAutos place in QLD and drove it back to Victoria with my girlfriend co-driving. This was Als personal car which he converted to a EZ30D. Pit-stop at Bennies to show off on the way back of course. I had a month wait to get into the engineers, which was worth it. Only changes required were a padded steering wheel and a quieter muffler, easy :D I had to change to stock shocks and springs for the RWC which i wasn't happy about because they were engineered.

Current specs are:
2003 Outback H6
V3 STI gearbox
4.44 ratio diffs
Front LSD, clutch pack Rear LSD on my desk
277mm WRX front brakes

Fuel use has so far averaged 9.53L/100km over 5 tanks of fuel. It is very efficient on the highway and around town if driven appropriately.

Plan is to build this into an off-roader.

H6Gen2007.jpg


These are Als pics from the sale and his posts on the conversion process.

H6Gen2001.jpg


H6Gen2002.jpg
 
Last edited:
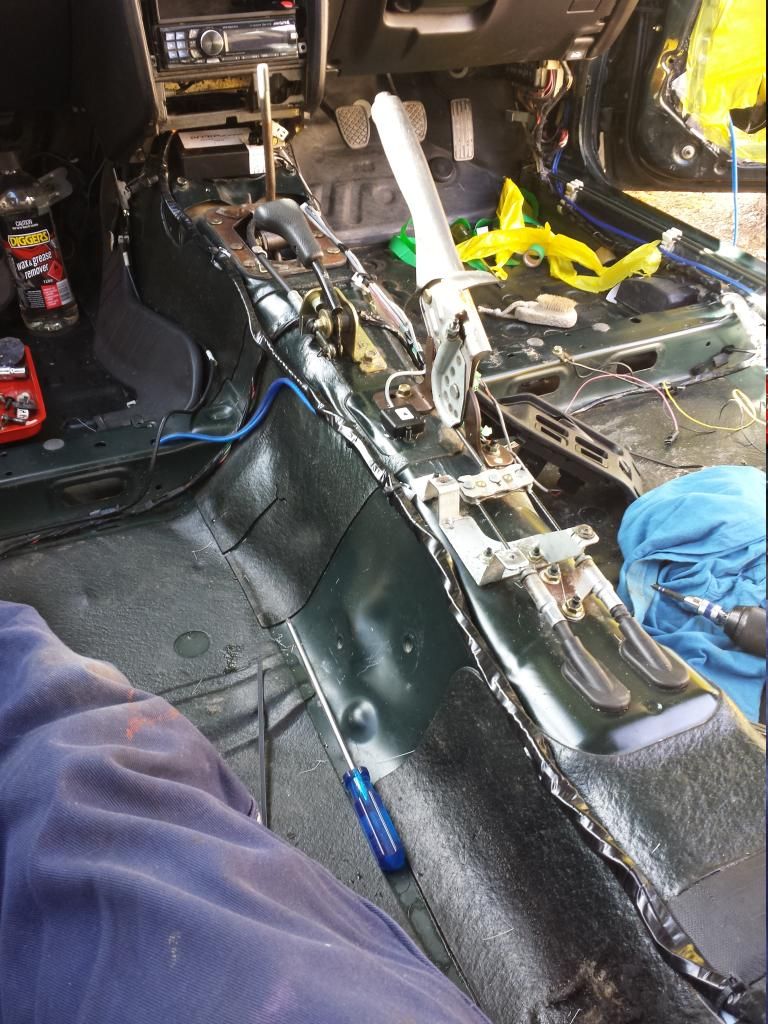
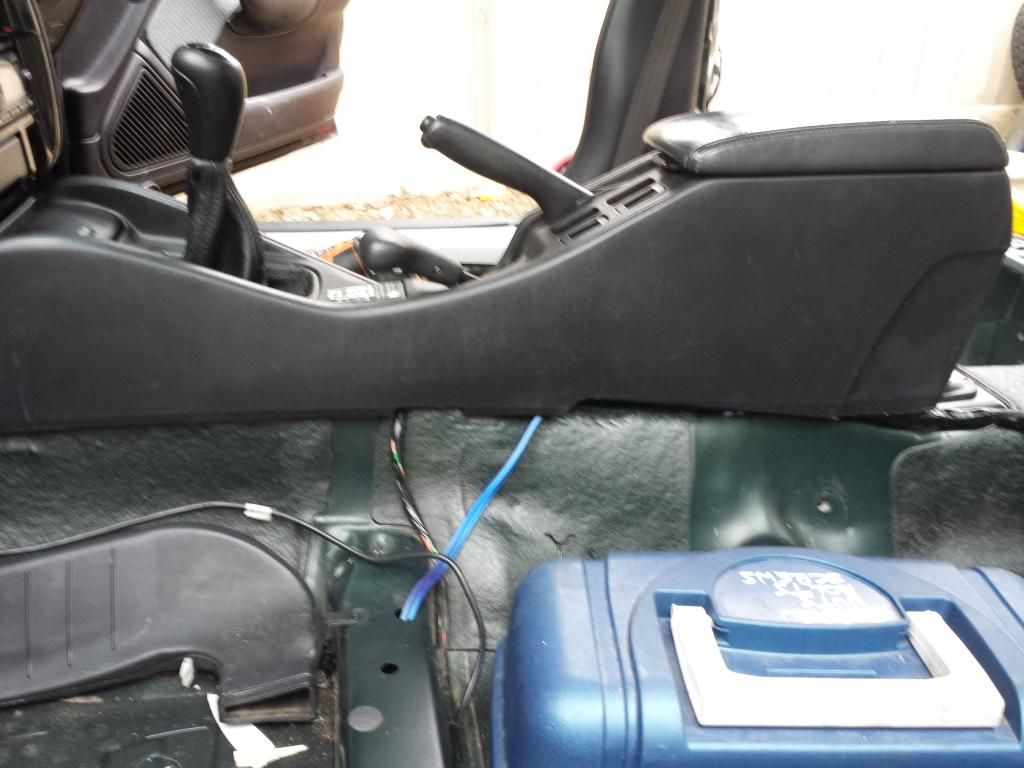
RCA cables taped up and sorted out. Had some screw in cable tie mounty things which came in handy. Can also see where the DCCD g-sensor has been mounted next to the handbrake. Oh and the DCCDPro controller under the stereo where the factory airbag controller would be if I had any.
IMG_20140805_110756.jpg


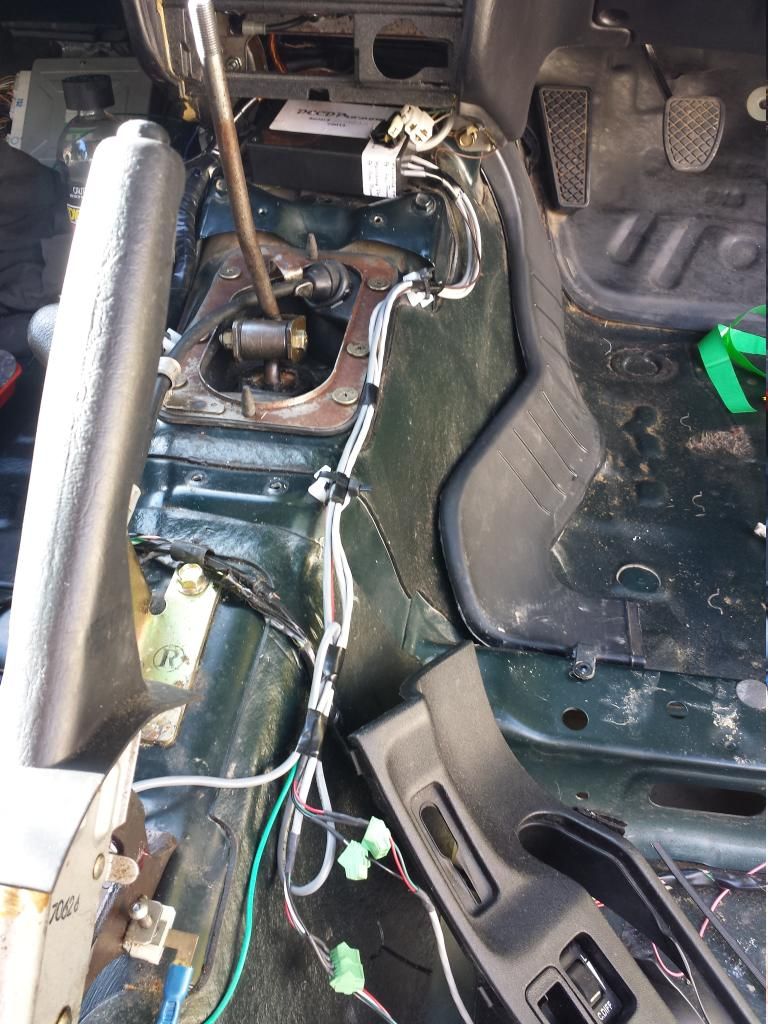
DCCD cables fixed down and neatened up a little.
IMG_20140805_110839.jpg


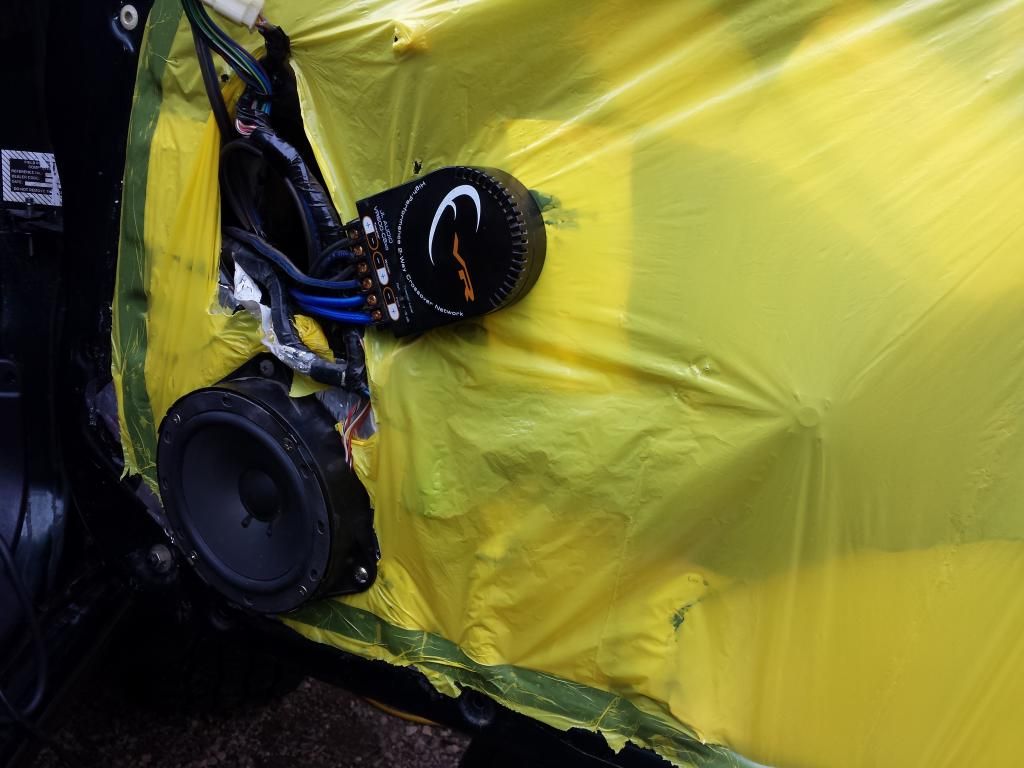
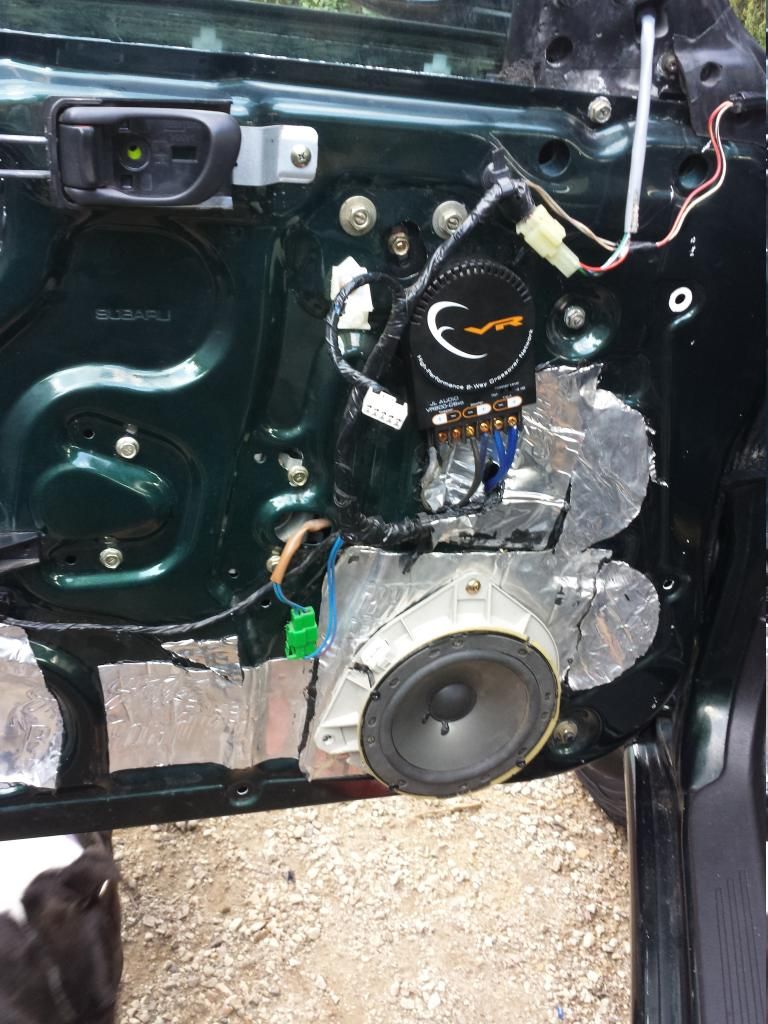
Crossovers moved from inside the door. Positioning isn't great, fouls on the interior door panel by about 5mm. Might move it later when I redo the plastic door linings.
IMG_20140805_130644.jpg


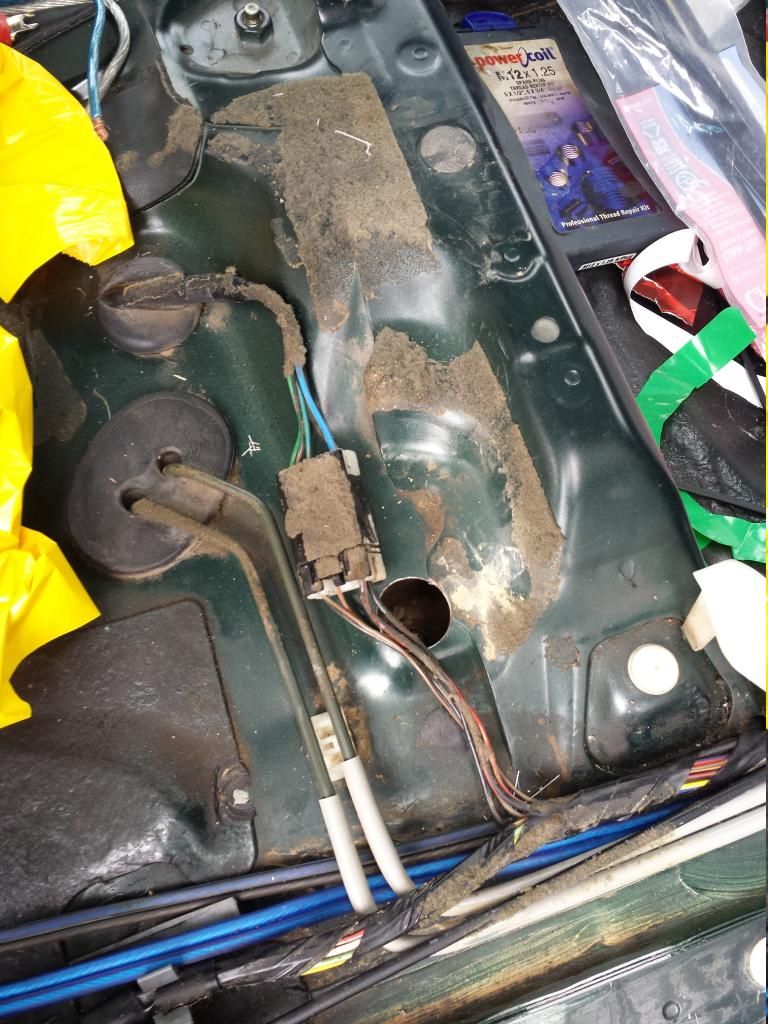
DCCD cables hidden away nicely.
IMG_20140805_142452.jpg


Same with the RCA leads.
IMG_20140805_142535.jpg


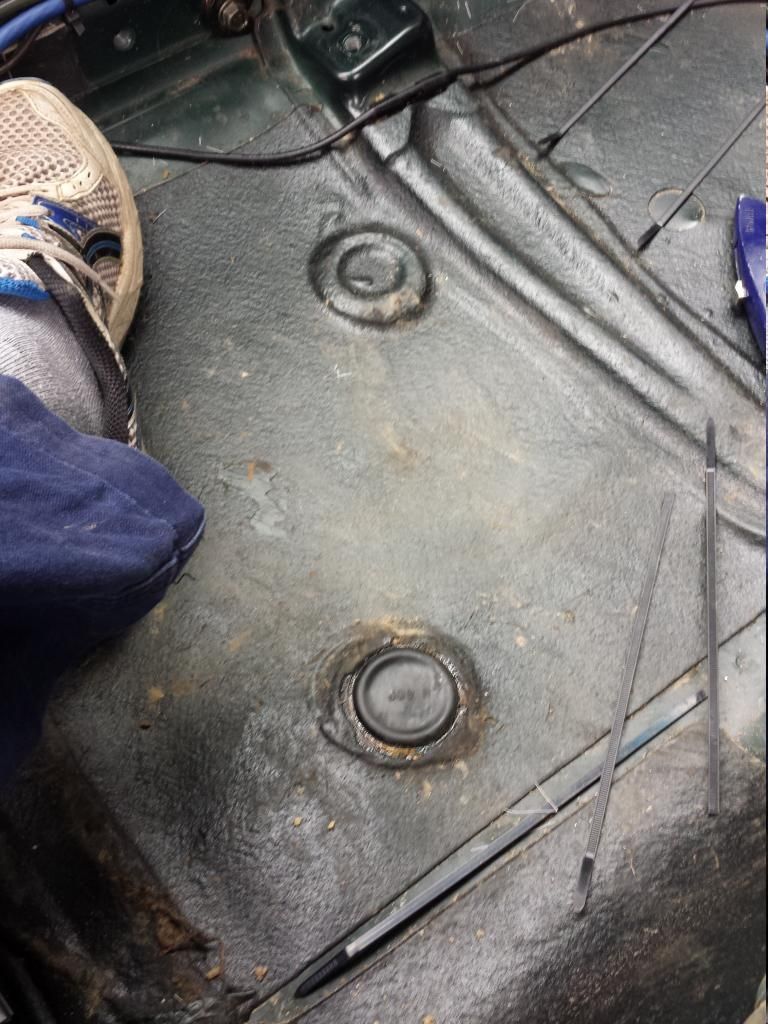
Found this bung had been knocked out and was letting water in. Replaced it with a rubber one I had.
IMG_20140805_144443.jpg


Water also had come in through this hole. I drilled this out to access a broken captive nut on the trailing arm mounts. Will sort out something for it later.
IMG_20140805_144458.jpg


This crossover position worked out better.
IMG_20140805_160144.jpg


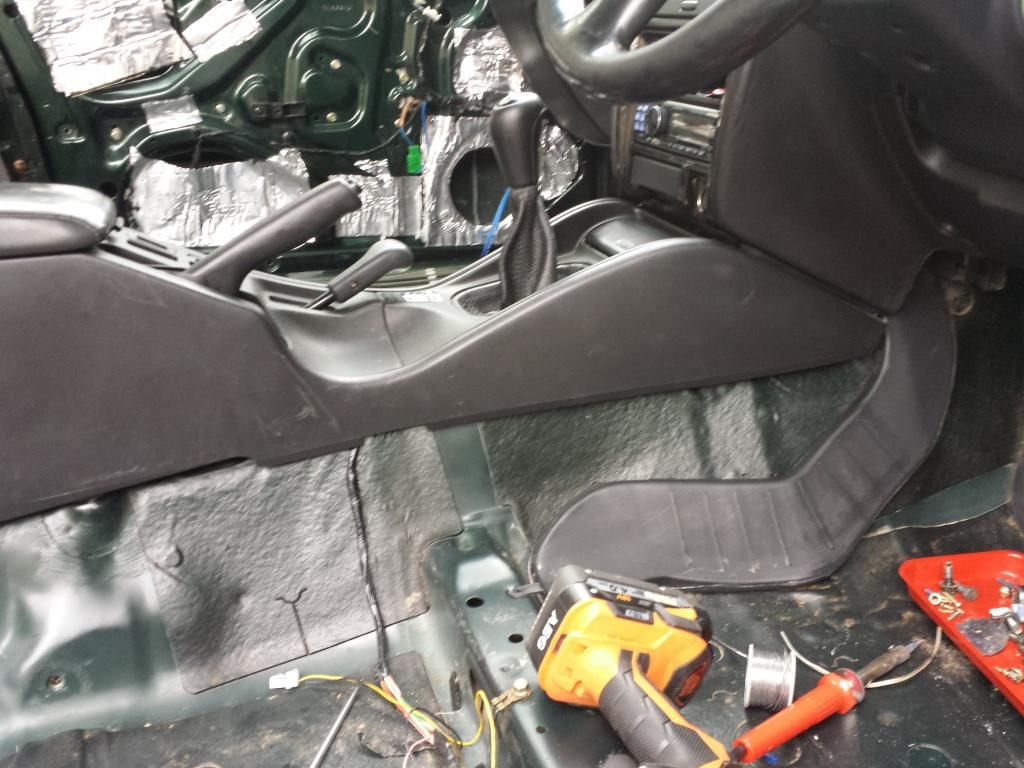
Seats and sill trims all refitted. Stereo cables have all just been run to the back and ready to wire up another day.

Going carpet-less for a while to see how I like it. May end up doing a bed liner. I like the idea of been able to see any water for an easy clean up. Really don't see the appeal of carpet bar noise insulation, which a proper ben liner material will do as well.
 
Last edited:
Gidday V

Regarding the last half dozen posts, mate ... I can only stand agog at your heroic efforts!

Hope you get it all how you want it, eventually. Looks like a really mammoth job. Glad that you're doing it, not me ... :iconwink: :lol: :biggrin:
 
Thanks RB, I do tend to get a bit carried away :ebiggrin:
 
^ Just a tad ... :poke: :iconwink:.

Keep up the good work, mate.

I finally got my trailer tent nailed to the top of my trailer today. That was a Herculean effort on my part! Wouldn't have been possible at all without my mate JB's help :ebiggrin: :biggrin:.

Where would we all be without friends, eh?

I can feel my Brissy etc trip becoming a reality rather than merely a distant pipe dream ... :raz: :ebiggrin:
 
The plot thickens...

RT that is the input shaft. The thrust bearing slides on a sleeve around the input shaft which is called the snout or quill. Bennie made a good point on Ausubaru, the D/R g'box already has a bolt on steel sleeve as you can see in my pic. That thrust bearing sleeve is to fix the aluminum quill on the single range gearbox which is part of the casing.

Can just see the bolt heads for the steel quill of the D/R box.
20120918_121146.jpg


And the single range
PDMLogo2.gif


Different, but the symptoms suggest mine is still worn. The fact it's steel probably explains its longevity despite the problem. Will get a new bolt on quill for when I do the clutch though, it's been through a lot regardless :iconwink:


I found those pix I mentioned of a sleeved quill and the oversized TO bearing.

Here's my stocker single range USDM 95 legacy 5MT aluminium quill shaft
P1030012.JPG


here's a USDM single range 99 OB 5MT with the steel sleeved quill shaft
P1030011.JPG


and here are the TO bearings, I noticed the different retaining spring placements but that could be an artifact of aftermarket clutch kit TO bearing.
P1030014.JPG
P1030015.JPG

P1030016.JPG

Subaru spec fin for retaining spring
NOT found on Toyota oversize bearing

I found some info that the oversized TO bearing had toyota roots. . . .

I think oversized TO bearing is on left above. i was happy about the retianing spring as I had lost one of mine. Mine were paired springs and one had gone missing through time. . . .

(maybe not discernable in this pic, but you get the idea)
P1020634.JPG


at any rate, that's what i have to help you on the steel sleeve and oversize TO bearing story.

:cool:
 
Last edited:
Did you seal up any of the holes, esp the big ones where the seatbelt attaches at the bottom of the B pillar and the the front kick panel? Might be an idea with the vulnerability of your ECU...

Great work btw :biggrin:
 
I haven't, wasn't on the agenda and I had no gasket goo on hand. Without the carpet though it's all easily accessible. I will look at it when I do a floor covering of some sort.
 
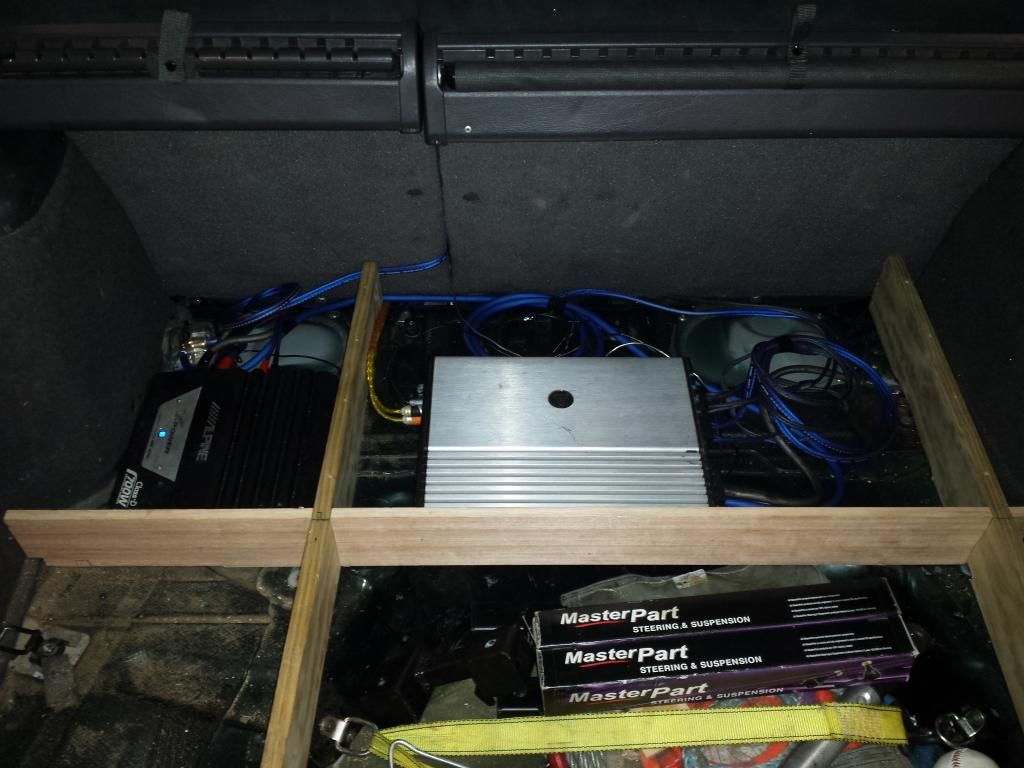
Amps finally installed and wired up.
IMG_20140808_154847.jpg


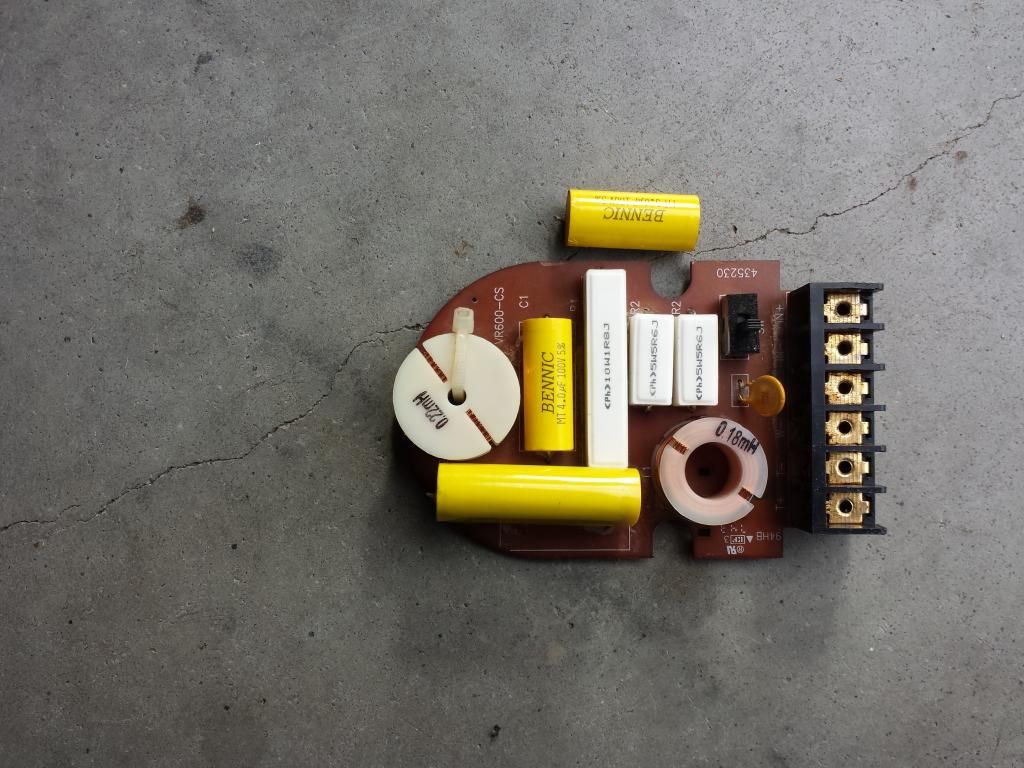
Had a capacitor fail on the drivers side crossover, so a quick trip to JayCar for a newie which was a fair bit bigger (250v to 100v, same specs though).
IMG_20140808_142908.jpg


Killed a lot of time to diagnose that failed capacitor :evil: Accidentally picked up the soldering iron by the hot end while replacing it!

No real change in audio quality, just more stealth and better location for the crossovers (one of which was nearly full of mud).

With the rear seats folded down there's only about a 2cm height difference between the seat back and my false floor, pretty good. Also occurred to me that the new floor probably provides enough height for a second battery to stand up in the spare wheel well.

Cleaned my IACV today. Literally blew chunks of carbon out of it with carb cleaner and a soak in petrol. Also installed a new IACV gasket, because once taken out they always farking expand and never go back in.
 
Nice, can't wait to see it in person! :monkeydance:

Is there enough cooling for the amp (airflow)?

Bugger about grabbing the wrong end of the soldering iron, hope its not too bad!
 
Burns not too bad, hot enough it didn't hurt i'll put it that way.

As far as air flow goes for the amp, we'll see. It can draw air up from the wheel well, which it partially sits over. The body itself should act as a heat sink as well. I could actually just drill some smallish holes at the top of my framework which would allow hot air to circualte out, so I might do that.

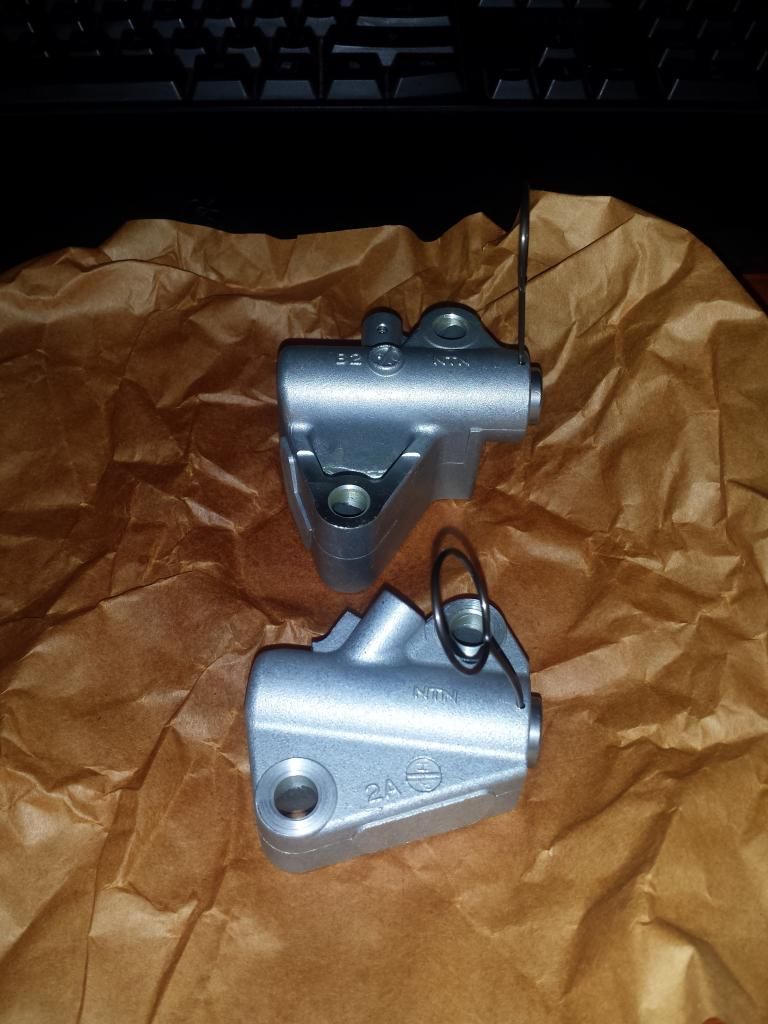
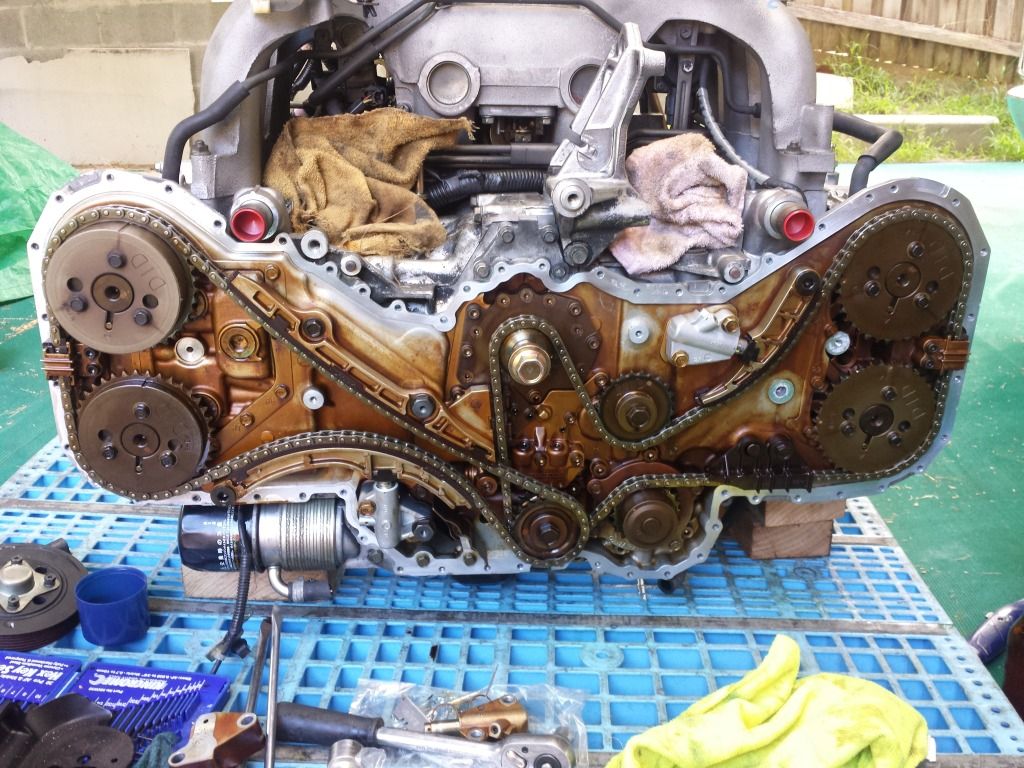
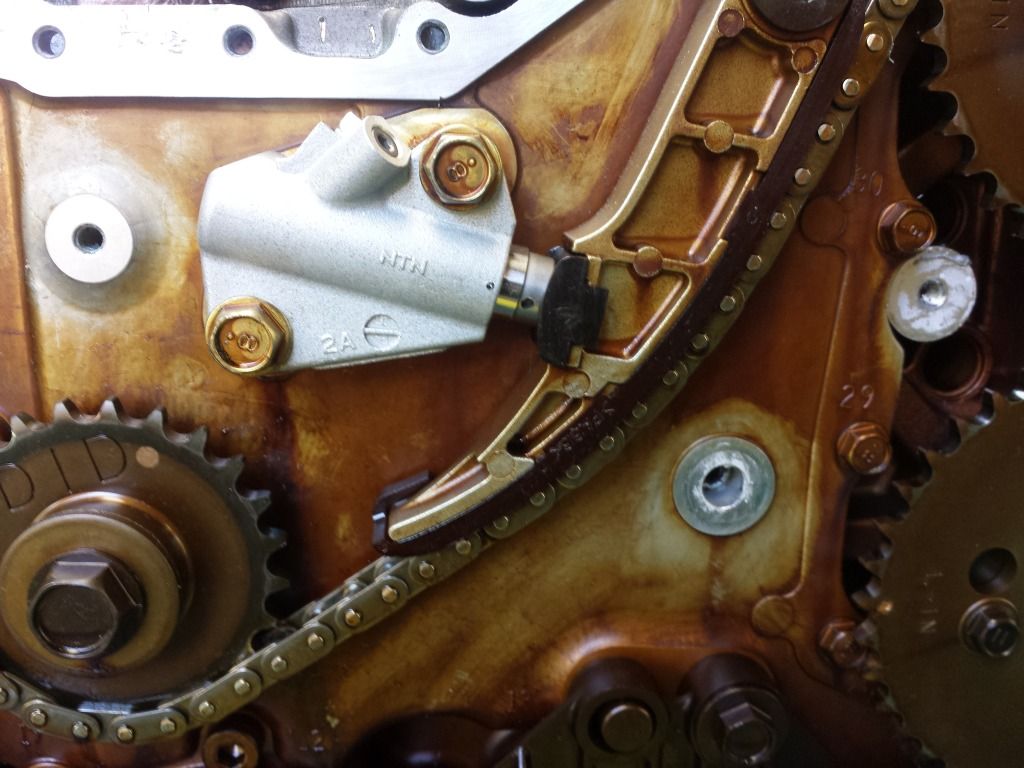
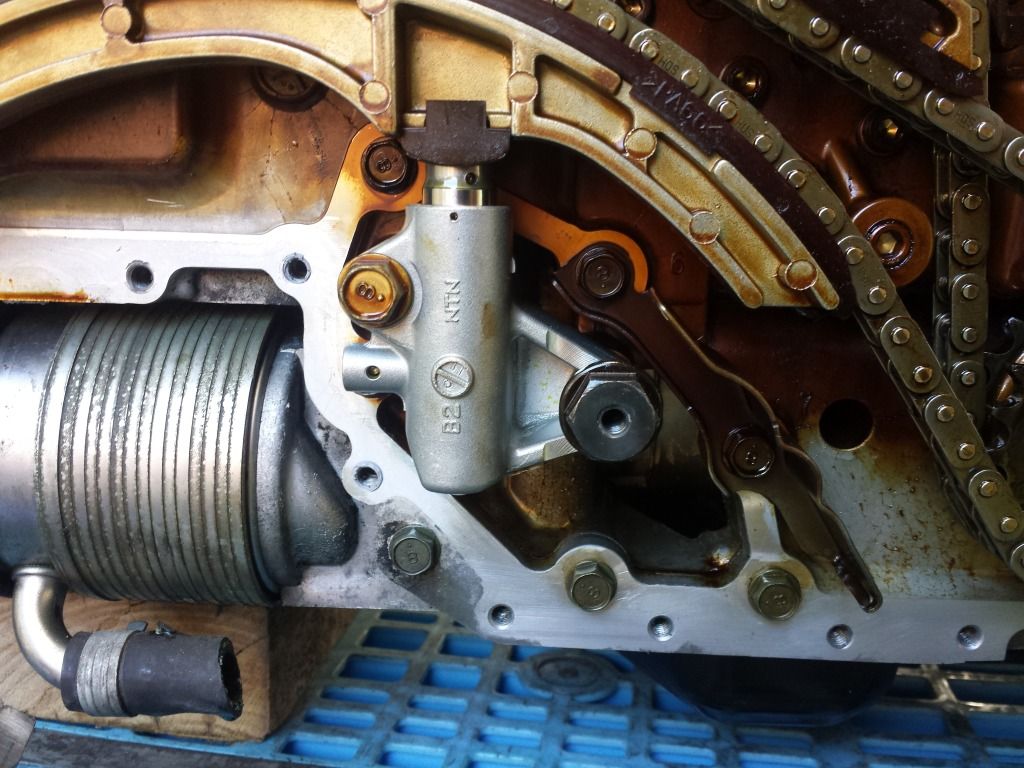
Some more love for the new motor. Set me back a fair bit, but feeling good about replacing these tensioners. Suspect that with the H6 motors any wear or damage to the timing chain guides (not uncommon) etc results from the premature failure of these tensioners.

IMG_20140811_181110.jpg
 
I think its good insurance to replace these bits now while the engine's out & easy to work on :iconwink:

Some ventilation holes in the framework would be pretty easy & shouldnt affect the strength
 
Venom,
This is a fantastic build. I've just read through all 26 pages. Wow. You got it already built (H-6), that you've gone through 4 gearboxes figuring gearing and a few iterations of front, center and rear diffs is a lot of time, effort and money no doubt. It's great that the info of these different bits and combinations is now out there.

I'm impressed with the level you're taking into this rig and more impressed (from the few videos out there) at its capability and power!

Others really need to photo and video when you're out there so more of its capabilities can be viewed. Although, I know its tough to get those shots when you're just out for a run, or in the moment...

At any rate, great work sir.

BTW, although you've got the 2" lift and it's driveline lowering compensation, are you still running the liberty trailing arm bracket, or is that drop compensated for as well?

pic from new bushings update:
C360_2013-02-08-14-14-02.jpg


ciao!
 
I'm impressed with the level you're taking into this rig and more impressed (from the few videos out there) at its capability and power!

Others really need to photo and video when you're out there so more of its capabilities can be viewed. Although, I know its tough to get those shots when you're just out for a run, or in the moment...

here you go, a seriously steep gravelly climb:

[ame="https://www.youtube.com/watch?v=2vvQXX0Fnok&list=UU_Ur8qisfU4M57B0e3oC7ng"]Subaru Liberty on SM Fireline, Warburton 02 - YouTube[/ame]

:monkeydance:
 
Thank you for the kind words Superu. I am running the outback trailing arm mounts to centre the rear wheel.

There is no doubt plenty more photo and video of my car stored away on other peoples computers. I've been meaning to collect them for a while now. I am generally lazy with that sort of stuff, taking and archiving photo' and video included. Some parts of the build were completely missed, are missing or very poorly documented.

I've tried to be more diligent with photo's lately. There are some great build threads that inspired me to start modding my car, and I think it's really important to continue that cycle regardless of skill or modification level. To me the build threads/journals are the core essence of these sorts of forums and what distinguishes them most from things like Facebook.

Cheers
 
^ I could not agree more, V.

Just love that "sewing machine" note your car makes. It just isn't the same recorded as it is IRL ... ;) .

From my Batphone
 
Wheel alignment and camber bolts done by TruTrack. Car came up great. Muuuuuuuch better around corners, with less turn-in/out influence from the front LSD with power off/on.

STI group N transmission mount put in yesterday, partially dampened some of the shuddering I've been experience. Good little mod, shifts feel tighter and clutch operation smoother (my car is very finicky though) and power more direct.

Duracon STI gearknob fitted up too. Was in a rush so no photo's as yet. Looks a lot cooler than worn out old original.

RallyArmour uni mud flaps to go on at some point too... actually don't want to because I don't like the look of mud flaps at all but I'm sick of the mud, dirt and paint chips from having insufficient flappage ;)
 
^ Good to hear that it's all coming together for you, V ... :).

Looking forward to some more photos :iconwink:.
 
Been slack with the new motor. In two minds about valve shims, $400 on the proper tool or taking the motor somewhere to get it done. Anyways new timing chain tensioners fitted:
IMG_20141025_161235.jpg


IMG_20141025_161244.jpg


IMG_20141025_161250.jpg


This was followed by hours of cleaning the gasket surfaces. Again. Didn't reinstall the timing chain cover though because some of the bolt heads are now stripped so I'll price up a fresh set.
 
Investigating a heavier flywheel. My stalling issues are almost identical to what people experience sometimes with the lightened flywheel. Stock is 7 - 10 kg, bigger WRX upto 11 ish I think. Thinking something around 12 to 14 kgs? Not cheap. Cheaper than aftermarket ECU.

Those ****ing timing chain cover bolts... Try $300+ from Subaru for the set. Really relunctant to put what I have back in, corosion is pretty rife and a lot of the heads are on the way out. M6 1.00mm thread with a flange head are tricky to find. Motorbike spec stainless stuff up to $10-12 per bolt.

Ended up buying a set of flanged hex head ones so 8mm socket to replace the allen key ****e, anodized black aluminium. Look pretty trick. Allu should be fine for this low toque spec application, 4-5nm from memory.
 
Back
Top