Venoms lifted H6 Gen2 Lib

Hey guys,

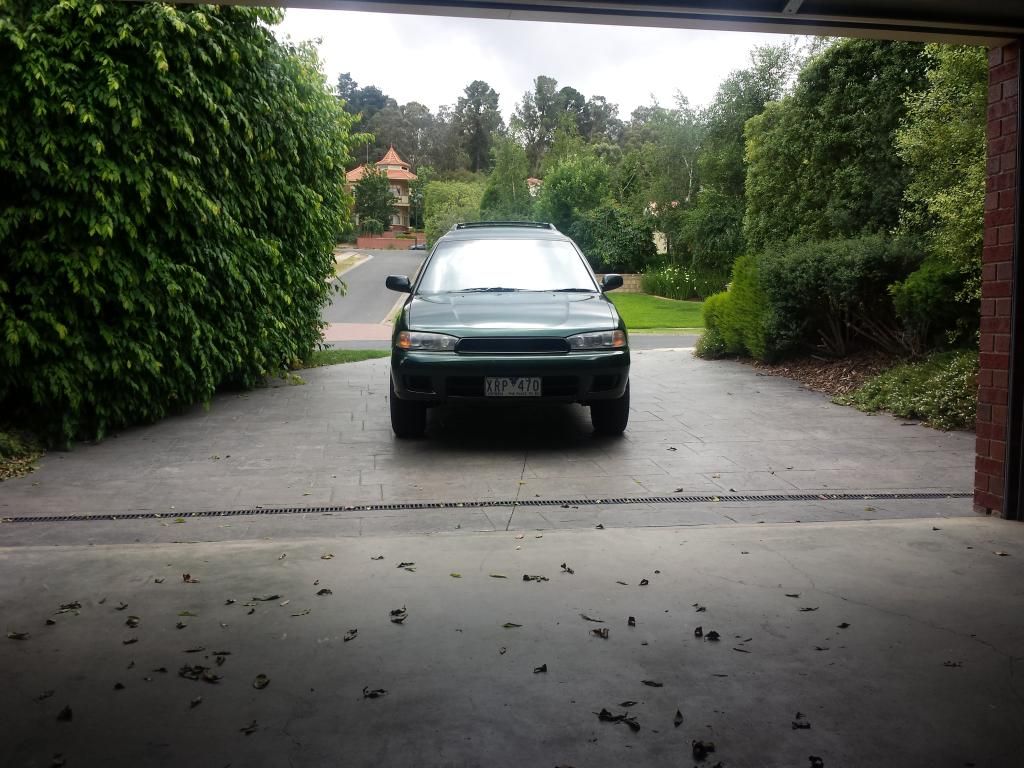
Thought i might share the details of my car around on here ;) I bought this in March. Flew up to Al's from AMAutos place in QLD and drove it back to Victoria with my girlfriend co-driving. This was Als personal car which he converted to a EZ30D. Pit-stop at Bennies to show off on the way back of course. I had a month wait to get into the engineers, which was worth it. Only changes required were a padded steering wheel and a quieter muffler, easy :D I had to change to stock shocks and springs for the RWC which i wasn't happy about because they were engineered.

Current specs are:
2003 Outback H6
V3 STI gearbox
4.44 ratio diffs
Front LSD, clutch pack Rear LSD on my desk
277mm WRX front brakes

Fuel use has so far averaged 9.53L/100km over 5 tanks of fuel. It is very efficient on the highway and around town if driven appropriately.

Plan is to build this into an off-roader.

H6Gen2007.jpg


These are Als pics from the sale and his posts on the conversion process.

H6Gen2001.jpg


H6Gen2002.jpg
 
Last edited:
Alloy bolts keeps the weight down for better power to weight ratio & faster acceleration! :raspberry:

Not sure I would get a heavier flywheel. With your grunty H6 I'd go the other way with a lightened flywheel for better acceleration & fuel economy. You will notice a decent improvement. The downside is it stalls more easily which shouldnt happen with a healthy H6
 
I think updates with no pictures are ****, but anyway... Looks like I'll be pulling the gearbox this weekend. Don't really have the funds or health to do it properly but the car is nigh undriveable and I've been putting it off for months. I don't like not liking my car and the clutch/shudder/tight front LSD issue has me dreading going anywhere in it. Going to grab a S/H flywheel tomorrow morning from Jollys, not sure if i'll be able to get it machined but I'm thinking of just putting it in anyway. As long as its not totally cooked it should be serviceable. Then I'll send off my old one so the machine shop can confirm the dimensions for my heavier flywheel, that can go in with the motor swap (which will happen this year hopefully). I've been waiting on the timing chain cover bolts, ordered them over 4 weeks ago now but I should see them monday.
 
Last edited:
Sorry about your woes, V.

Understand the feelings only too well :(.
 
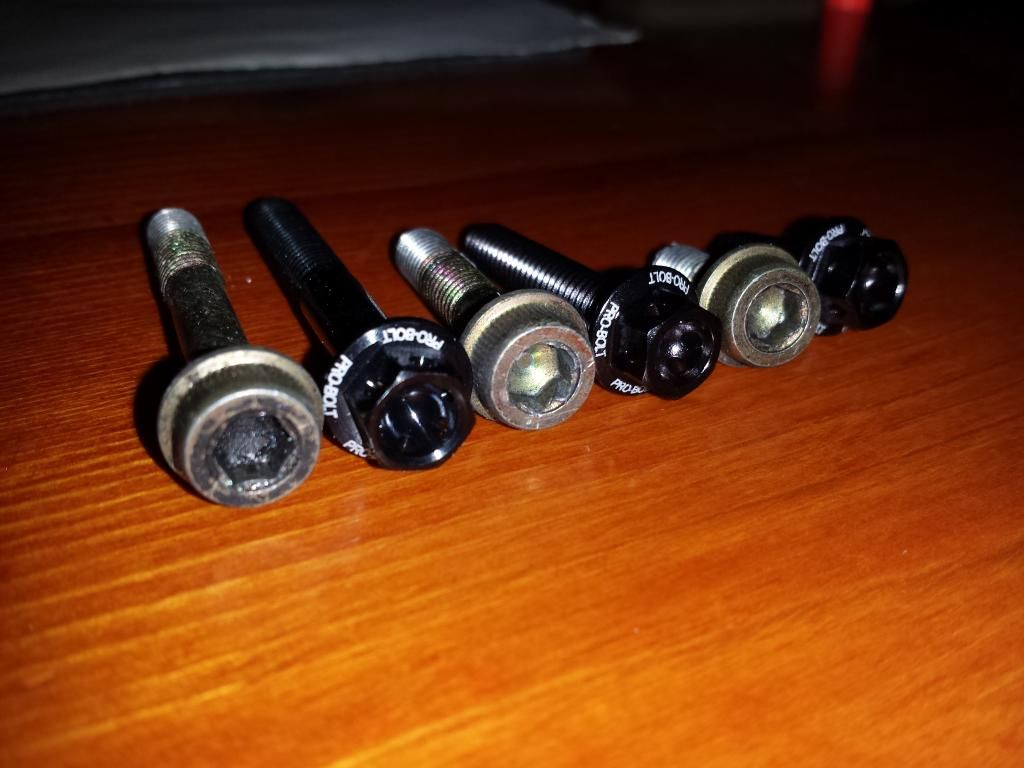
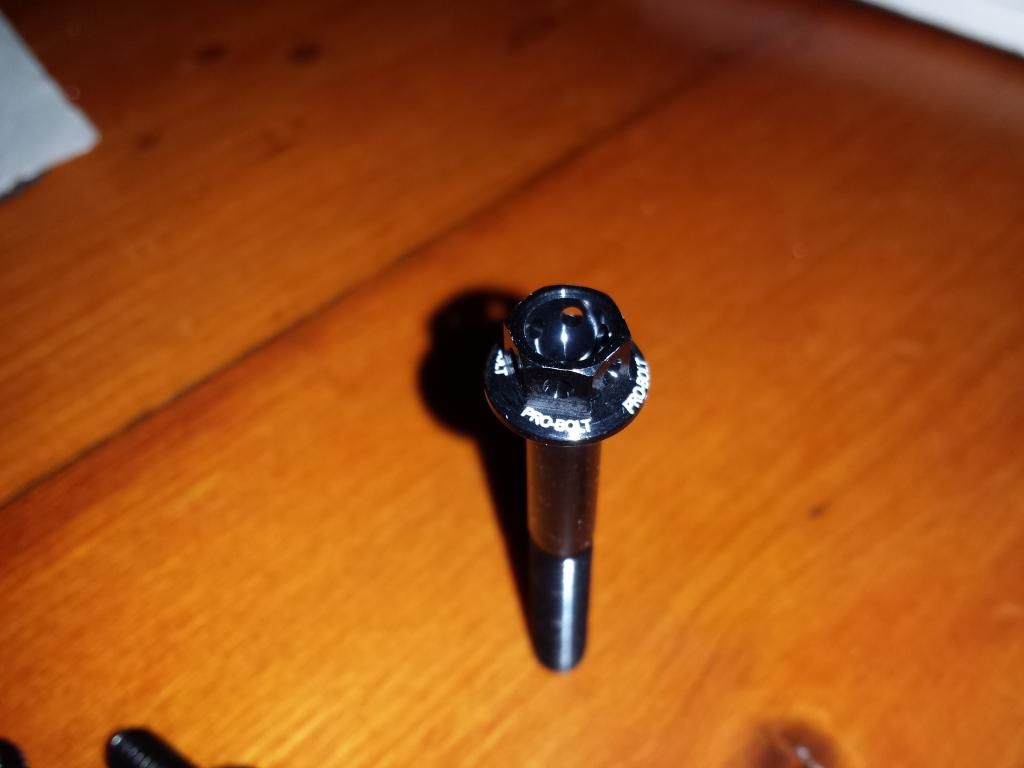
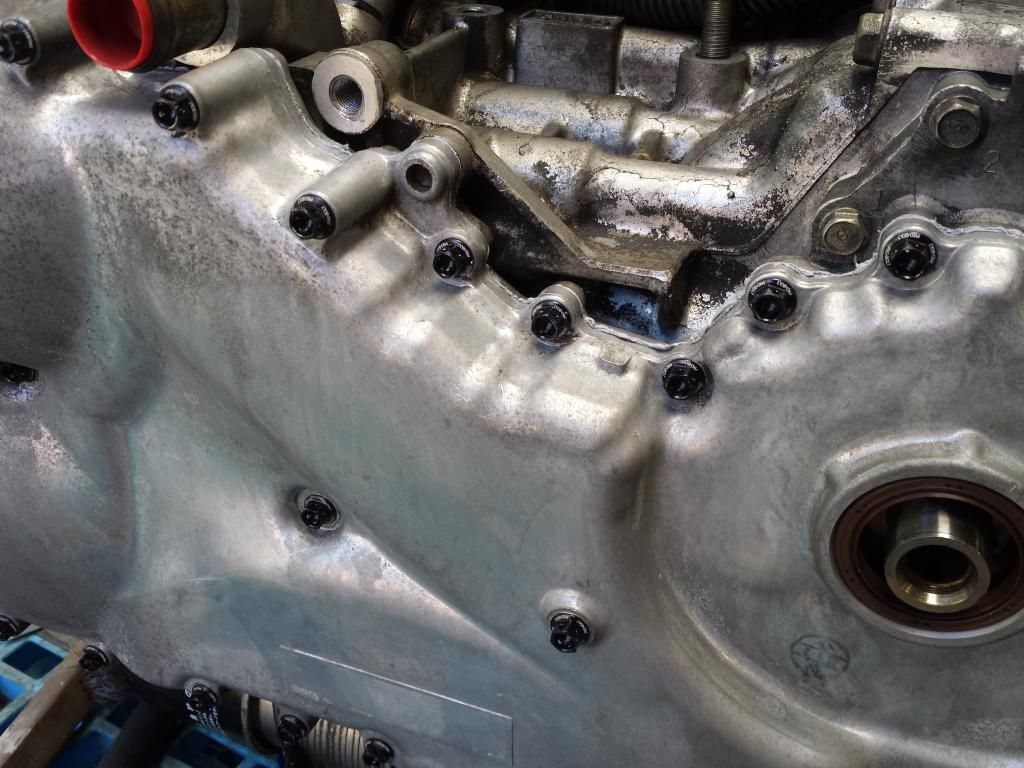
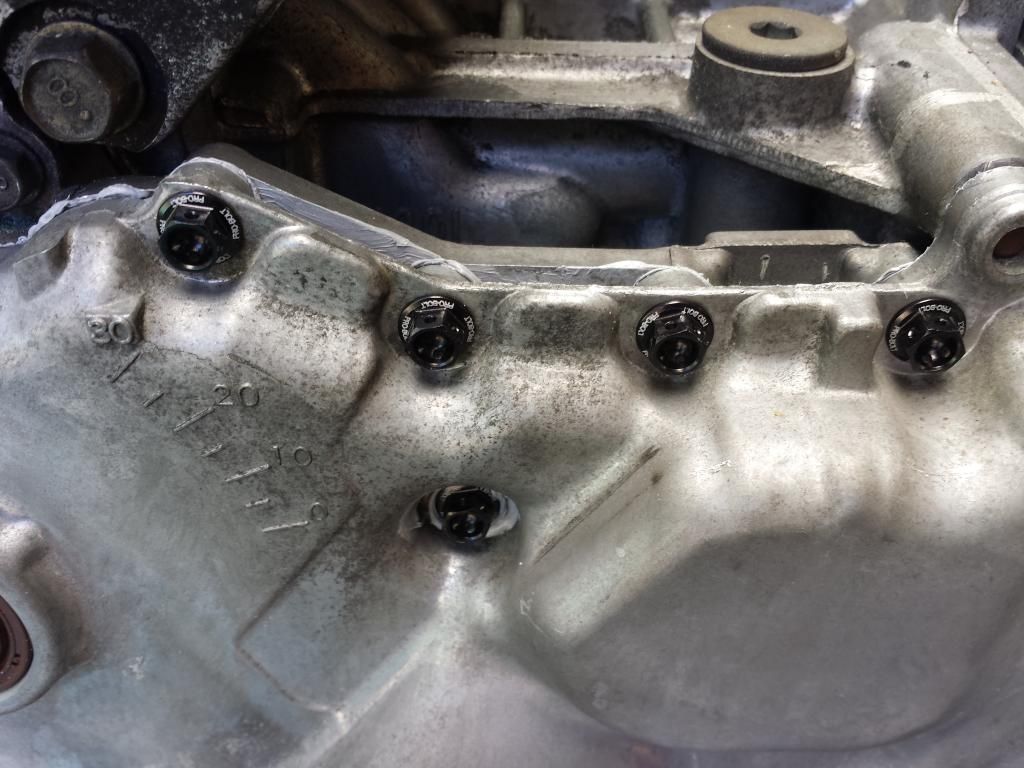
Finally received my timing chain cover bolts. Anodised aluminium so hopefully the don't corrode like the old ones did. Putting the clutch off a little longer after adjusting the cable helped a little.

IMG_20141208_174347.jpg


IMG_20141208_174403.jpg
 
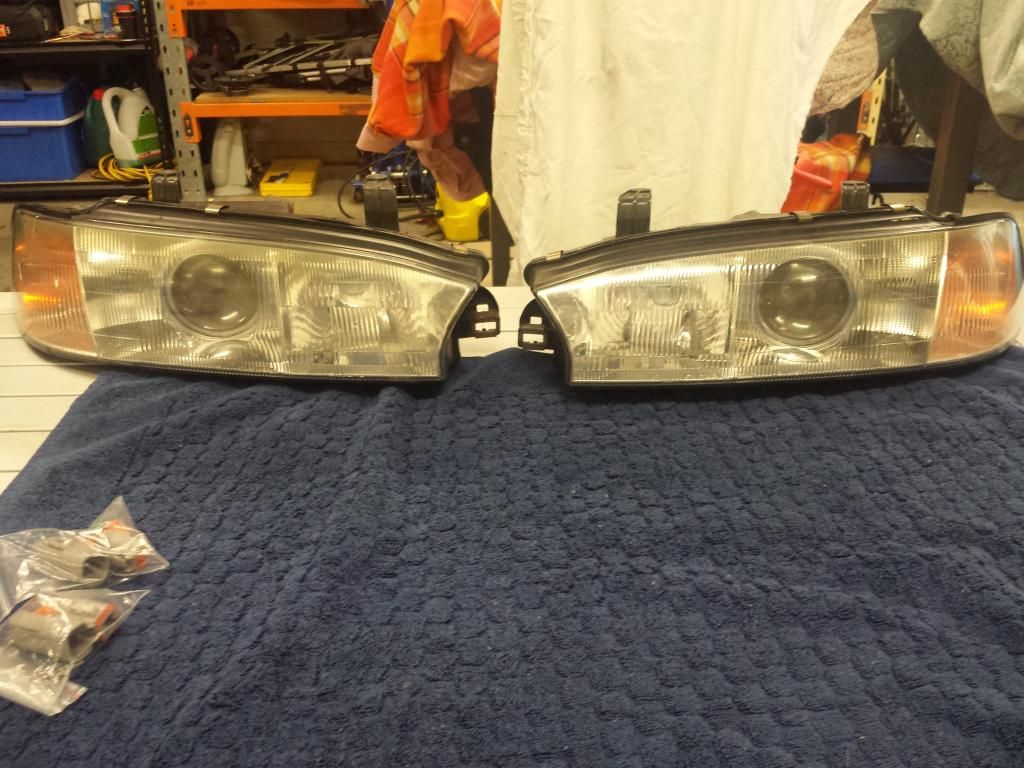
Refitted the projectors.
IMG_20141210_110959.jpg


I've been really disappointed with the quality of water-proof plugs I've purchased in the past. Mainly the pins not aligning properly when you plug them together, I had this proplem with my thermo fan plug and the wires just kept pushing back out...

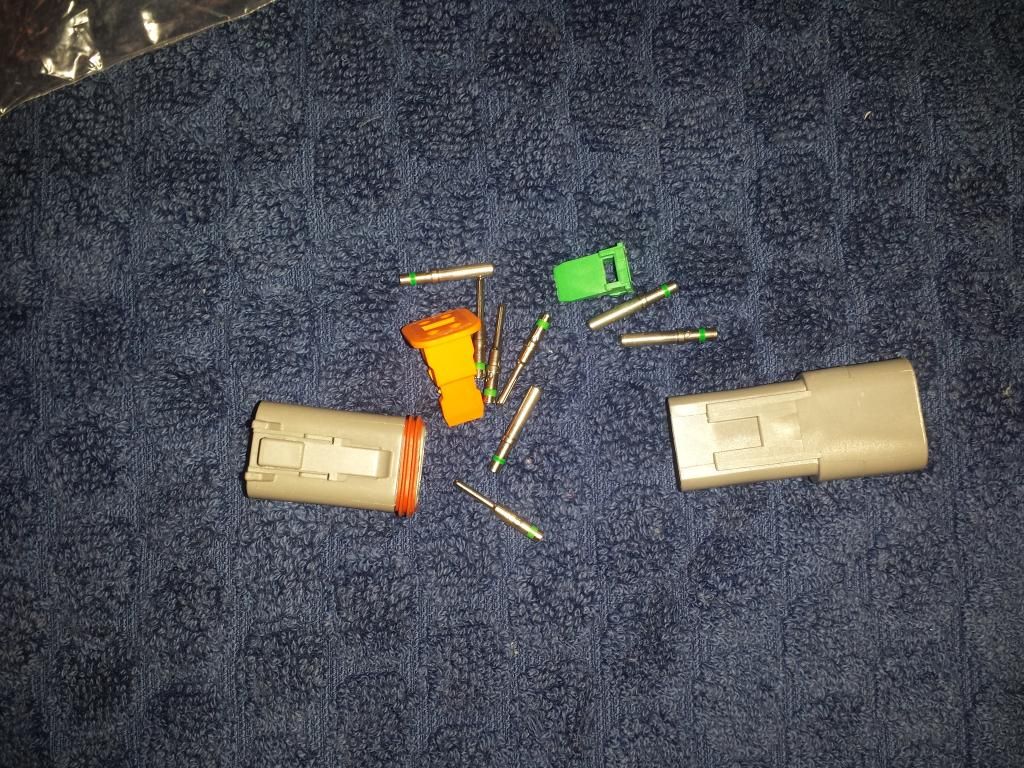
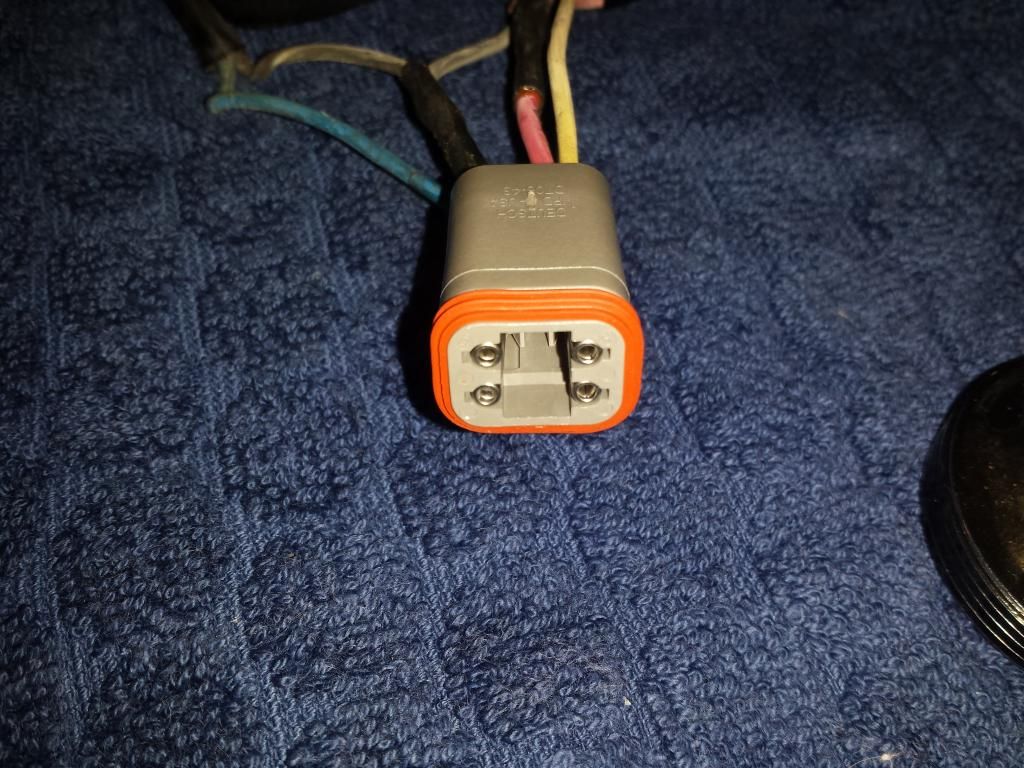
So I purchased some Deutsch connectors. So easy to use and the quality is fantastic.

IMG_20141210_111047.jpg


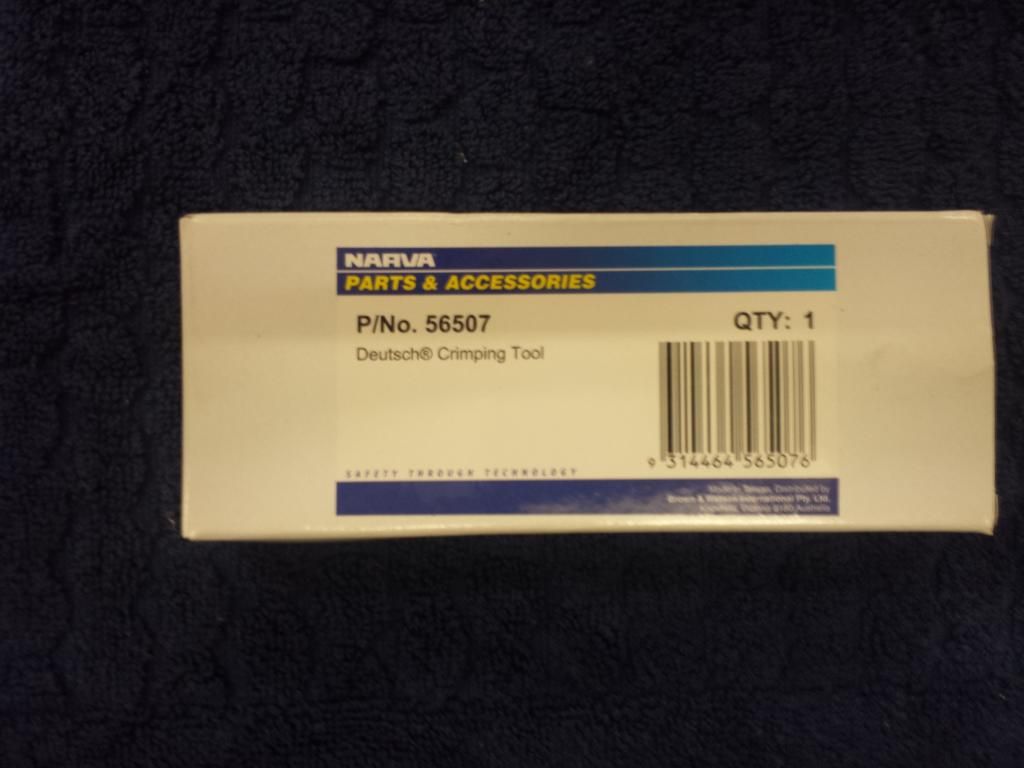
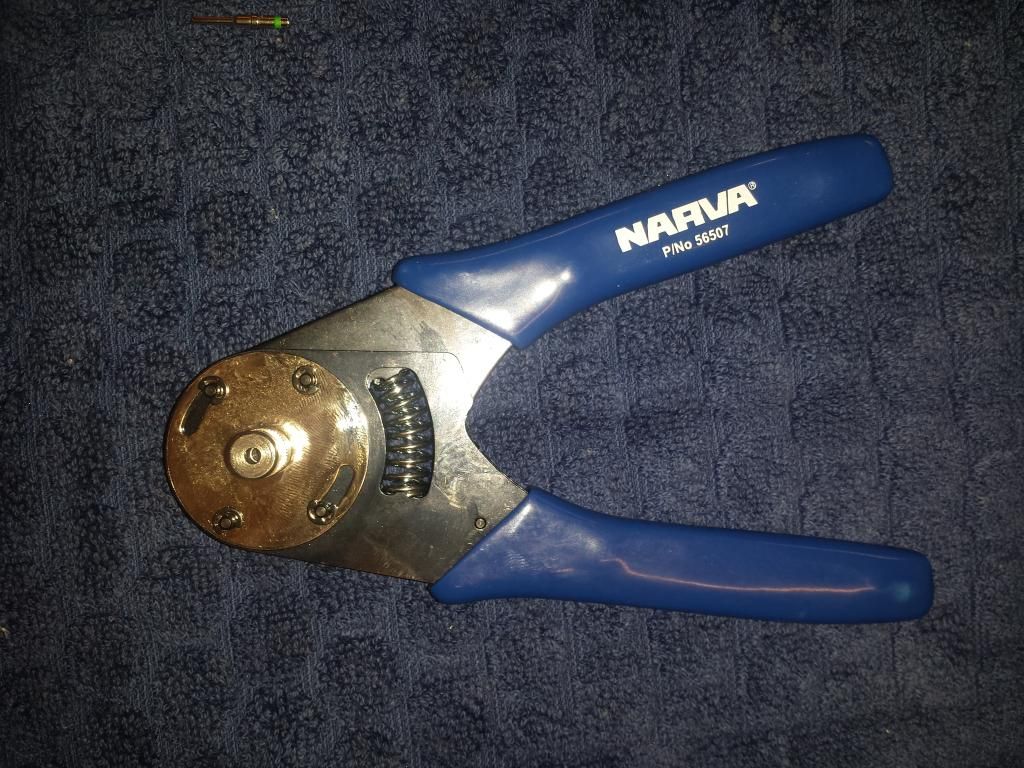
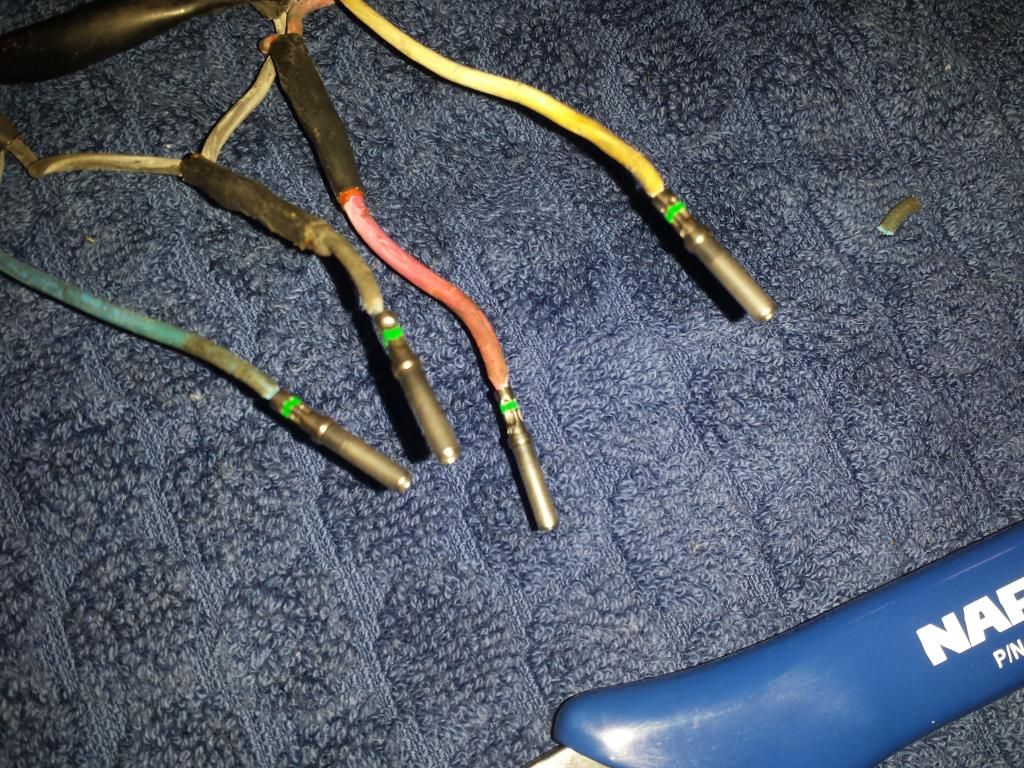
You can probably get away without it but this is the specific crimper for the Deutsch terminals. Worked so well, no problems with the grip on the wire.

IMG_20141210_111056.jpg


IMG_20141210_111231.jpg


It crimps them in 4 directions.

IMG_20141210_111654.jpg


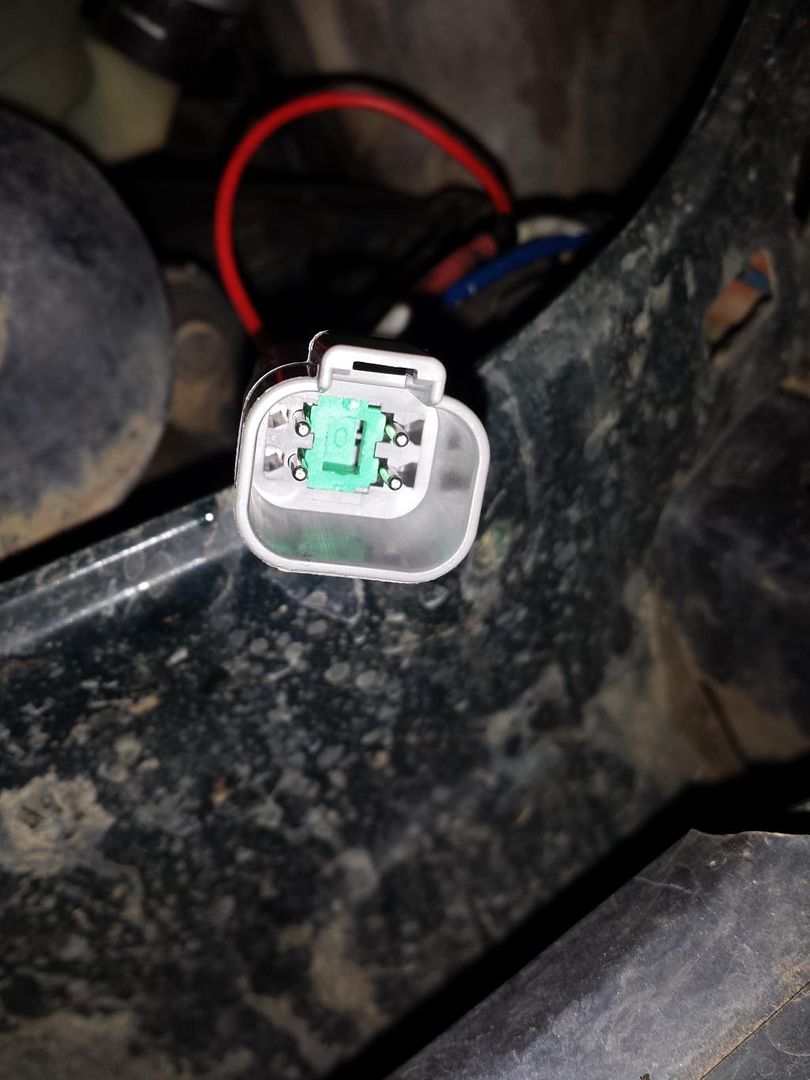
Male side of the plug. A wedge goes in there to fix the pins in place, and it has a stopper so that rubber grommet doesn't come off when you undo the plug.

IMG_20141210_112512.jpg


Female side of the plug with the wedge fitted.

IMG_20141210_120317.jpg


The pins themselves are really solid, machined i guess? Not flimsy like a standard terminal or connector. The locking mechanism is really easy to get to so it's simple and non-destructive to repin. I found that out because I forgot the H4 headlight relay I had fitted up was different to the stock earth switch style. Like all this electrical it just gave me a headache trying to work out how to make it work, so I stripped out the headlight relay and went back to stock.
 
I was in a bit of a rush so this was the only decent photo I took. Spent a bit of coin getting Phillips +100 bulbs for low and high beams. Better looking headlight, but for me the biggest improvement is having a single assembly rather than the separate indicator. Much neater.
IMG_20141211_130854.jpg


Low beam from the headlight has been grounded to the chassis, so the low beam stays on with the high. The high on these is apparently pretty average so it helps.

At some point I will fit up some mesh to that grill and throw some plasti-dip on it and the rear mid-wing/drinks bar. It's started to chip on the grill and the paint on the rear wing is cracking.
 
Looks good. Yep love Deutsch plugs. Use them daily.
I also find narva QC connectors good in in cab stuff. However its best to crimp and soldier those connections.
 
Timing chain cover is refitted. The bolts are a lot better than the hex heads.
IMG_20141214_142119.jpg


IMG_20141214_142129.jpg
 
Nice to see that it's progressing, V.

How did the tappet shim setting go? Easy, or miserable?
 
Valve shims, getting there. It only took me a few months to get these out of the spare motor. Ended up just prying the buckets down with a screwdriver, exactly what I didn't want to do.. but it worked. Better than $4-900 for the proper tool that Subaru Aus won't sell to me.

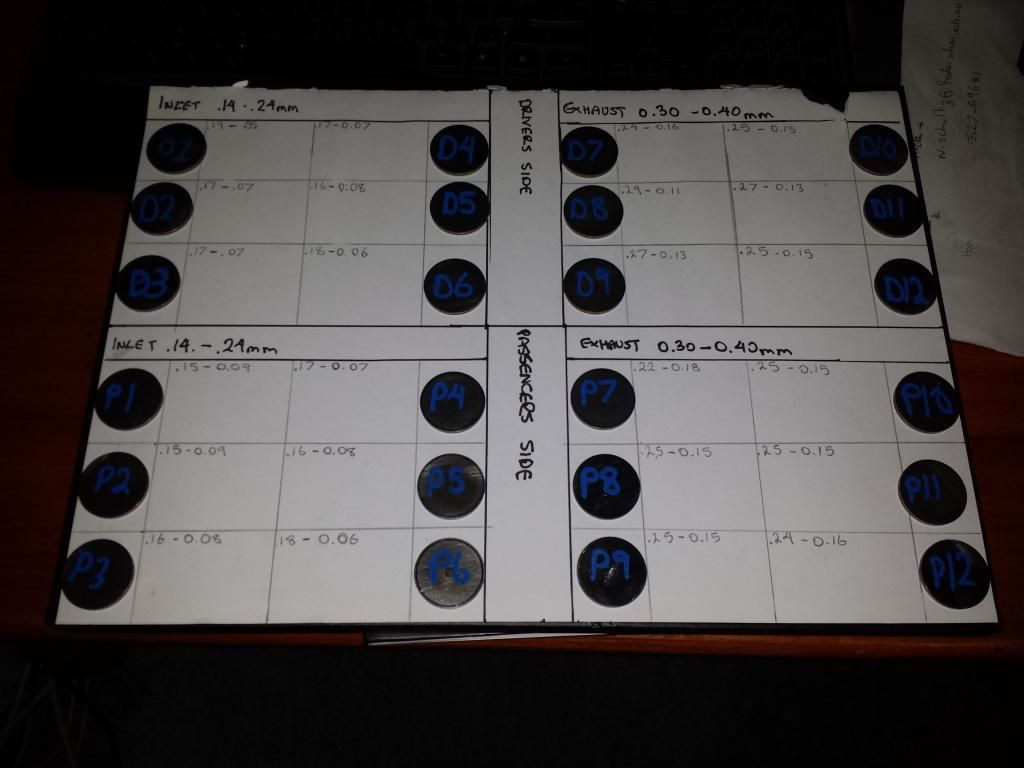
Since I'm a visual kinda guy I set it all out so I know what is going on. I'll buy a micrometer tomorrow, measure these bad boys up and 1 - order some new shims or 2 - see if a machine shop will sort it out.

IMG_20141215_223056.jpg


I've written down the valve clearance measured minus the thickness needed to achieve the desired clearance. As you can see intake valve clearances are all within spec, but only just. Exhaust valve clearances are all out of spec. As I want to make the valve clearance bigger, I need to subtract that difference from the actually shim thickness to = new shim thickness. I did get confused at one point and started adding it, which would be wrong. Lucky I caught that.

The clearances on this style shim over bucket design will get tighter as they wear, hence I am aiming for the upper end. As those measurements were done in winter I figure fitting them up in the middle of summer will end up been a little tighter anyway and certainly within spec. That's my thinking anyway.
 
Last edited:
The exhaust valve clearance tolerance I had wasn't right, it must be for a later EZ motor. Found another source with pictures (Technical Ref) and confirmed with some diagrams on a Subaru parts website. Exhaust is 0.25 +/- .05 mm. So in fact exhaust side is all in spec. Which is good, I was a little concerned a motor with 80,000km would be so far out of spec. What I will do is make the new target for the exhaust side .25, since that is what most of them are and leave the ones which are slightly over.

A lot of those inlet shims I could probably leave... but hopefully I can shuffle a few around and I don't have to buy too many.

Another tool on the shopping list I reckon is a smaller torque wrench. A lot of this motor stuff is around 5nm which my bigger one doesn't get close to. Maybe been a bit picky but I'd rather have the confidence I'm doing the job properly, getting even tension, etc.
 
Last edited:
^ Geez, I wouldn't bet the farm on being correct from the factory, although probably a better bet than with adjustable rocker arms ... My Impreza had clearances all over the place at about 20K kms, IIRC. Never had to set them again though :biggrin:.

5 Nm is pretty low! That's around 1.124 ft.lbs.!

Finger tight, then back off an eighth of a turn ... :lol: :rotfl:

My Warren & Brown aircraft tension wrench only goes down to 4 ft.lbs. ...

What has a tension of 5 Nm, V?
 
Timing chain cover bolts, rocker cover gasket bolts etc are 3 - 5 nm. I'm not so much worried about getting the torque perfect I'm thinking more about an even pressure on the gasket surface. The H6s are known to leak but it would be nice to keep it to a minimum.

I'll be adjusting them all. The aim is to get all valve clearances to within about .02/.03 of the larger clearance target. I can reuse 11 in different spots and have 13 shims on order from Precision Shims in Croydon. They have them in stock which is cool.
 
^ What does your current torque wrench go down to?

I would have thought that 4 ft.lbs. was about the minimum torque for any car type bolt/nut.

Bear in mind that the best racing engine mechanics do this stuff by feel. Not my way, but I do realise just how sensitive human touch is, and it can be trained to be superbly accurate.

Those types of nuts/bolts on BMC cars were exquisitely sensitive to being equally torqued. Misjudge it, and there was oil everywhere! Usually only had two when there should have been six as well. Didn't make things any easier :(.

And I fully agree about getting them as even as possible. No point in having an exquisitely made modern engine, then treating it like a tractor donk ...
 
New motor swapped in. Took a lot longer than expected because I ****ed up by removing all the shims, which of course meant the cam lobes scrapped on the edge of the buckets and got damaged. A bit annoying, because it wasn't the straight swap I had planned. Luckily I had a full gasket kit on hand, because I ended up swapping out the cams from the old motor. In the end it wasn't too complicated, and I got to practice disassembly on the old motor first. I was kinda happy to reseal the inner timing chain cover too.

Result is the new motor is in, new exedy clutch, pressure plate, clutch fork, thrust and spigot bearings. Valve clearances are all within spec. Flywheel machined locally just before they closed for Christmas. I found that my old flywheel had been machined flat, no good. They should have a small .5mm step between the clutch and pressure plate surfaces. I suspect this was the cause of some of my bunny hopping issues, along with a softly sprung no name brand clutch. The old clutch had 6 little springs compared to the Exedy with 4 large(r) springs.

The old motor was leaking from pretty much everywhere. Rear main, the little gasket next to the rear main, inner and outer timing chain covers, valve covers. I didn't check the valve clearances on it, but I've definitely regained some performance and fuel economy.

I've got a few, but not many pictures to upload. I was pretty focused on just getting the job done :)
 
Last edited:
Good to hear that it worked, V, ultimately anyway.

Those bloody tappet shims are just a nightmare. Even though it's over 30 years ago now, I will never forget my battles with mine! Glad that you finally managed to get them all within spec when finally assembled. Good on you, mate.
 
Back
Top