Almost's '10 NA Offroader

Here is the remade thread!
Since I haven't gotten a build thread on here yet, just going to post some stuff over from subaruforester.org.

It is a model 2010 Forester XS, with pure N/A powah.

Planned mods:

Bars and Racks
Sump guard and Rear skid plate.
Side Steps/Rocksliders
UEL Headers(if I can find some...)
New axle back exhaust(new muffler or straight through)
New rims and A/T tires
Lights and Radio gear
King springs with the Primitive gear(spacers, PRSS etc)

More to come

This is as it stood when I got it, clean, with no mods! :tissue:
DSC_0590.JPG

And now the bullbar is on!
20140618_081404.jpg
 
Coming along very nicely, Au ... :biggrin: :cool:
Yeah after this I finally discovered the true purpose of the sumpguard, to catch nuts when I drop them :lol:
Tomorrow I am going to figure out how to route the switch though my firewall while removing as little interior trim pieces as possible.
 
If you want a seperate switch then there should be a grommet near clutch master cylinder or you can just tap the relay signal into the factory fog light harness.
 
Ok thanks for that heads up on that location.
Yeah I'm going for the separate switch just to fulfill ADR.
 
If you want a seperate switch then there should be a grommet near clutch master cylinder or you can just tap the relay signal into the factory fog light harness.

As TB has said, there is that grommet in our MY10 2009 SH as well. In SWMBO's, it is used to pass the poorly functioning parking sensor wires through.

I plan to use it in my SG to pass the aerial wire through for my UHF CB. It's in a very handy spot, and saves running any kind of cable across the car behind/under the dash.

That's always fraught. I bloody near disconnected the SRS air bag and seat belt sensor circuit at the rear of my SG a couple of days ago, with the ignition on and the battery connected! ... :eek: :eek: :eek:.

Just shows, it is very important to keep the SRS system in mind AT ALL TIMES. Gone are the days of just disconnecting a wiring loom plug/socket so that one can more easily access something behind it
 
Yeah I will take a look at that grommet. The UHF is currently passed through the one on the passenger side(was done by the mechanic). I've removed the glovebox and underguard there and there is no way I'll be able to get to it without removing the dash :).
I will have a look at that master cylinder grommet.
Where does it come out in the cabin, above the clutch?

Also treated it to some more air :) This box has a CAI down where the resonator used to be, which has a cover that can be put on when I do trips with deep water crossings.
20141024_091007.jpg
 
Last edited:
I've removed the glovebox and underguard there and there is no way I'll be able to get to it without removing the dash :).

You probably can - push a straightened coat hanger thru first, with a slight bend so it will head for the floor. Then tape your cable to the end of it and pull it thru.
 
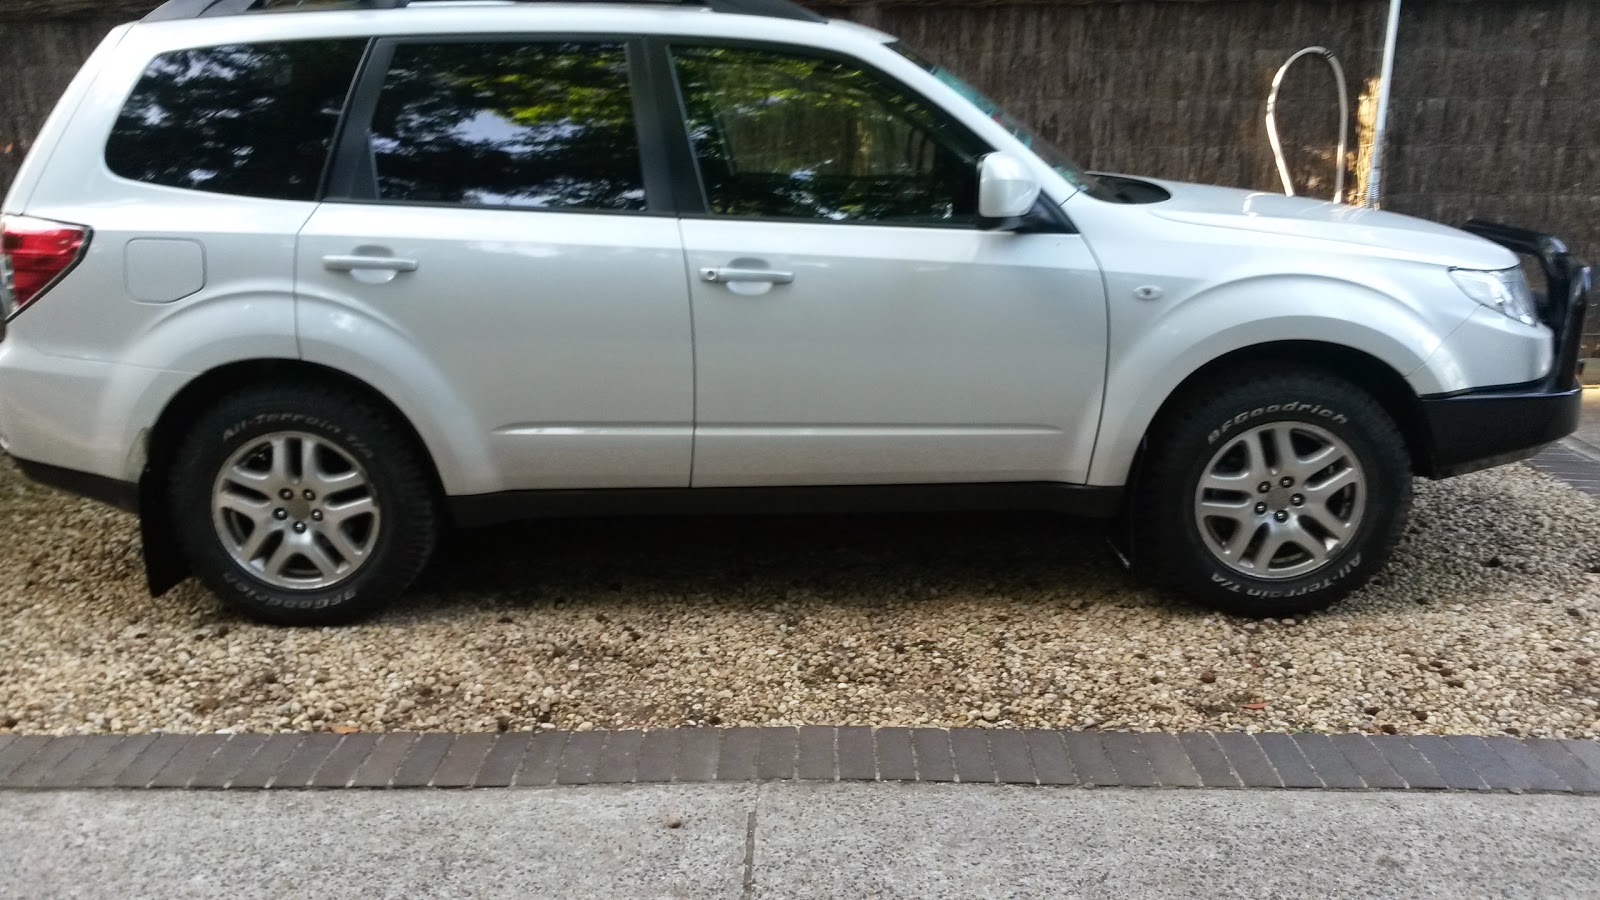
Taadaa, tires on! No scrubbing to be seen yet! Only thing is that it is a little close to the rear arch, of which the lift and subframe spacer will sort.
20141112_174206.jpg


And I had to macguyver a pinch weld spacer for the jackstands, nothing a bit of wood can't solve :)

20141112_174658.jpg
 
Speaking of those spacers (or whatever you want to call them) - it would be nice to have a source for those rubber blocks that the two-post hoists have on the ends of the swing arms. For that matter, even a nice rubber puck to stick in the trolley jack face to get a "kinder" contact under diffs etc.
 
I think gorilla off road has them. I will find a link.
my trolley jack has a rubber lifter so it works well.
 
Speaking of those spacers (or whatever you want to call them) - it would be nice to have a source for those rubber blocks that the two-post hoists have on the ends of the swing arms. For that matter, even a nice rubber puck to stick in the trolley jack face to get a "kinder" contact under diffs etc.
Here is the adapter:
https://www.gorillaoffroadcompany.com/product-detail.cfm/prd_key/30
Will see if I can source one locally.. Can probably just get a water cutter to make some out of on offcut of hdpe.
 
More loot, everything is here now, so now to wait for time to put her into the shop.
DSC_0004.JPG

DSC_0003.JPG
 
Random beauty shot of the shoes.
DSC_0032.JPG


And flair fully applied, don't worry ORS stickers will be next!
DSC_0034.JPG
 
Well all the suspension is on now! Went well with the exception of the exhaust hitting the subframe lower mounts now due to the subframe spacers...... Heading off to an exhaust shop tomorrow to get it sorted, considering a new 2" exhaust system that's nice and tucked in, since the exhaust is now the least protected, due to my new primitive rear diff protector! But just trying to decide whether 2" or 2 1/4" system for the exhaust due to N/A powahhh.
DSC_0045.JPG

DSC_0044.JPG

^In this pick you can see the axle back exhaust hitting the subframe. The other side is where the issue is, I already had to put a ding in it to fit against the mount, now theres no way it's going to work.
DSC_0043.JPG


Will get some proper height pics tomorrow as It's been left at the shop due to the horrendous weather at the moment.
 
Back
Top