DIY Fabrication Thread

Brumby Boy

Forum Member
Joined
Dec 29, 2010
Messages
150
Location
Ayr, North Queensland
Hi guys I couldn't find a DIY fabrication thread so I figured that this was as good a place as any. If the mods want to move it feel free.
I think its a good idea to have a place to post fabrication pictures that don't really need a thread of their own, Sort of like the "what did you do to your car today" thread.

Being a boilermaker I'll be doing plenty of fabrication and I thought I'd show it off. Feel free to add your own fabrication bit and pieces.

I'll start with something I spent the weekend working on. *warning - not subaru*

CC786C06_zps0735e8b4.jpg


55EFE509_zps058285d5.jpg


391745E6_zps86c5f7df.jpg


It's the roll cage for my mates patrol comp truck. It came flat pack from Fatz Fabrications in Rockhampton.
 
Last edited:
Actually I was just thinking it might be better in the picture gallery, that way some things can be a little off topic. Could one of the mods please move it?
 
Gidday BB

Good idea, mate.

This is probably as good a choice as anywhere for this kind of thread ...

Always a good idea to add some tags to a thread like this. Makes it easier to find later.

In the interim, I'll make this thread a "sticky" here in this sub-forum, and see what the other mods/admins think about it.
 
I'm happy with that idea :)

I was going to say perhaps have it as part of your members journal, however it is kind of a cross between the two :)

Regards
Mr Turbo
 
I didn't put it in my members journal because its not my car.
I think it's nice to have a thread like this were people can put pictures of stuff they have built that's not nessarly related to their car or things that don't really deserve a whole thread devoted to it.
 
I knocked up some new heavy duty radius arms for my brothers patrol.
CBCBB62C_zps4f6111cb.jpg


3CD20E38_zpsc829b107.jpg


B0373BBD_zpsdfe467ce.jpg


B2839A15_zpsc4746782.jpg


A friend of mine had them drawn up for his patrol, I managed to snag the drawings and get a set cut out where I use to work. They are out of 32mm 350 grade mild steel plate. I was going to get them cut out of 25mm structural bisaloy but it would near triple the price.
It took me a full day to machine up the bush bosses myself out of 80mm hollow round bar.
It took me an afternoon to prep and weld the bosses into the arms, radius all the edges and generally clean up the whole arms ready for paint.
 
Very nice :ebiggrin:

It looks & sounds like a day well spent :ebiggrin:

Regards
Mr Turbo
 
They use the Toyota 80 series chassis end bush type instead of the pin type that nissan originally use. Doesn't really do anything for flex, just better ride quality and less road noise.
 
what sort of paint are you using on them?
 
idw, I sprayed them with an etch primer in a rattle can, my brother painted them black using "Rust Not" black from a rattle can.

He has changed his mind and bought Superior Engineering front long arms, basicle the same as these but 125mm longer, so these arms are now going in my patrol.
 
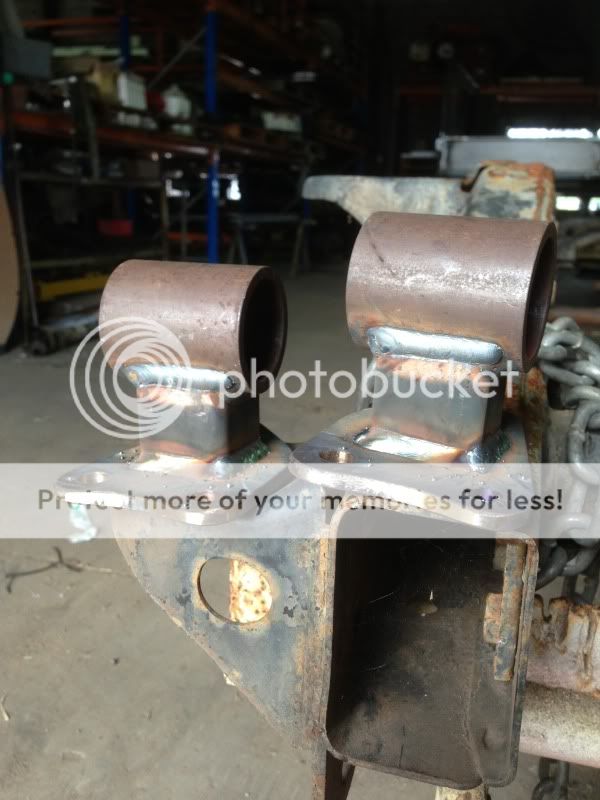
These are some engine mounts I made for the Holden 308 engine to go into my Patrol.

2F3CE7BE_zps5c9cf108.jpg


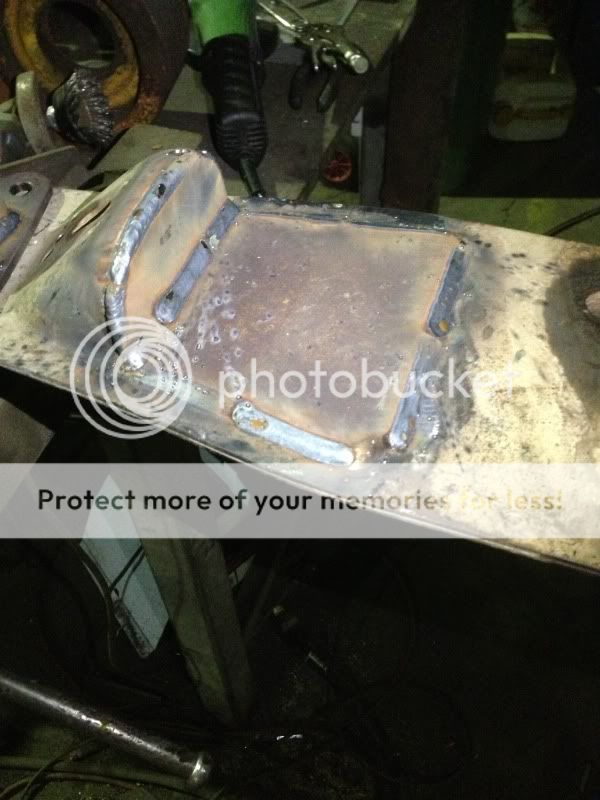
And this is the gearbox cross member I notched to make clearance front the front drive shaft.

61236D01_zpsd8ded797.jpg


gotta love the iPhone pictures lol
 
Hows the paint work hold up off road? I've tried a couple of paints but can't find anything hard wearing enugh for under the car.

I'd add some photos but you work will just put mine to shame haha! and I've not been making anything for the car lately, been doing more woodworking
 
DIY Spare tire carrier

Soo as it's been a while since anyone posted something in here; I'll go ahead and post my DIY fabrication

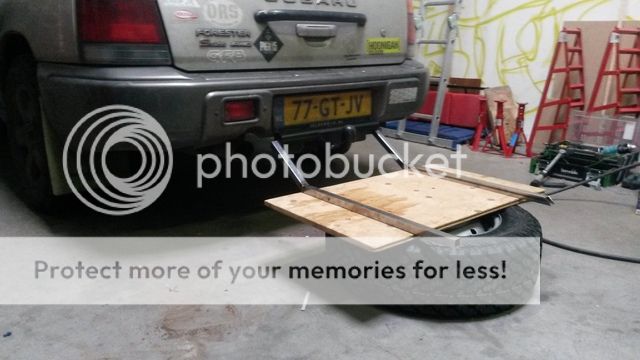
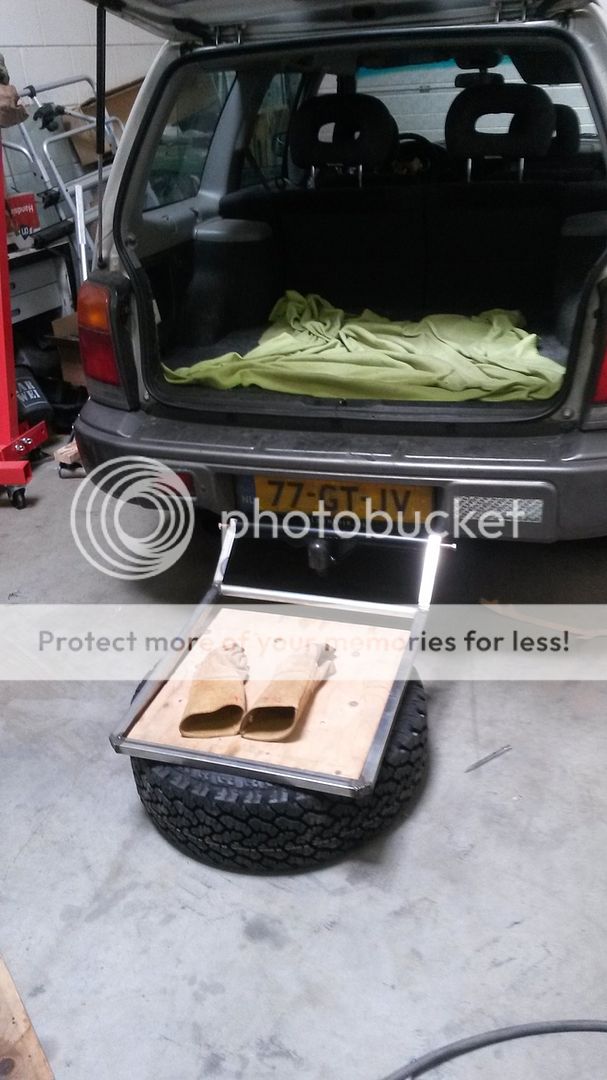
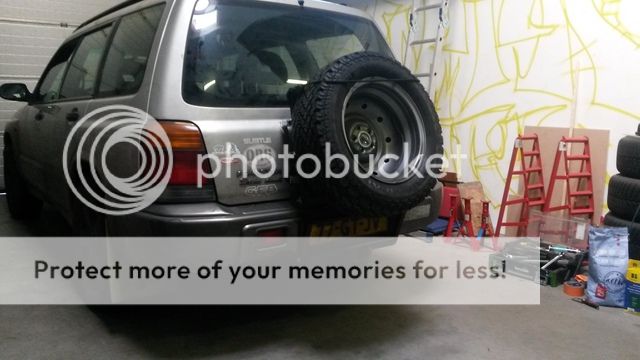
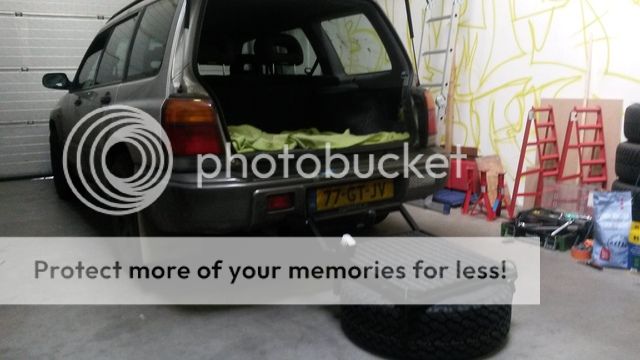
As my dog is getting older, she has trouble getting in and out of the car, also bought a full size spare Grabber, so combined the two problems and made a swing down spare carrier and dog step.

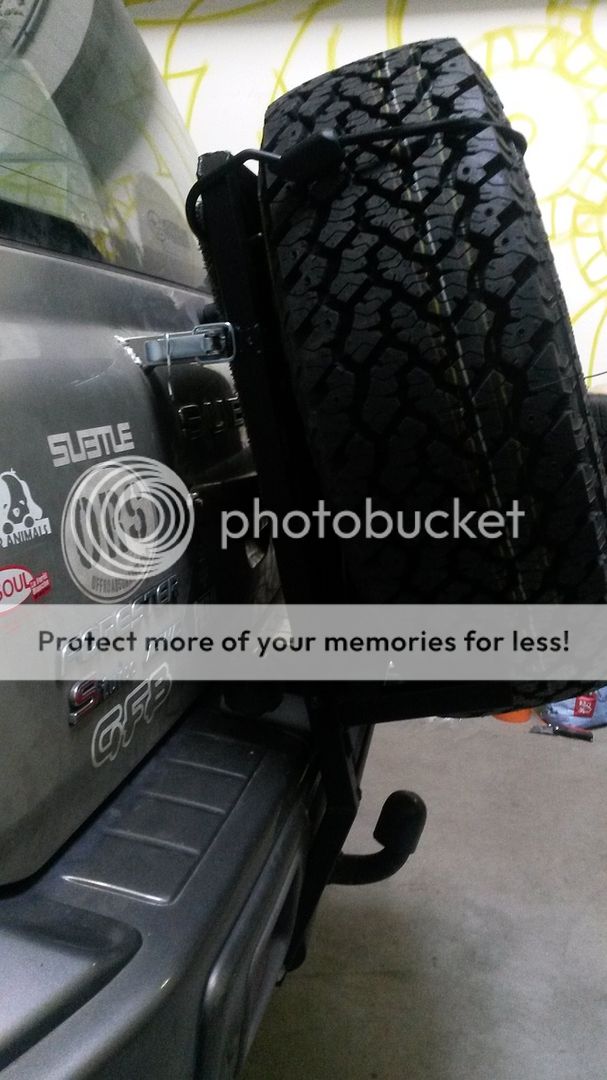
The idea; Mod my oem hitch to carry a frame, make the frame fold down the wheel and use back of the frame as step for the dog..
20150914_113406.jpg

20150914_113406.jpg.html


Basic frame welded
20150914_134658.jpg.html
20150914_134658.jpg


Then was on a roll and didn take pics until done..

Closed
20150918_162523.jpg.html
20150918_162523.jpg


Open
20150918_162555.jpg.html
20150918_162555.jpg


Overcenter latch welded to rear gate, and a slideblock on the bumper to carry some load.
20150918_162510.jpg.html
20150918_162510.jpg


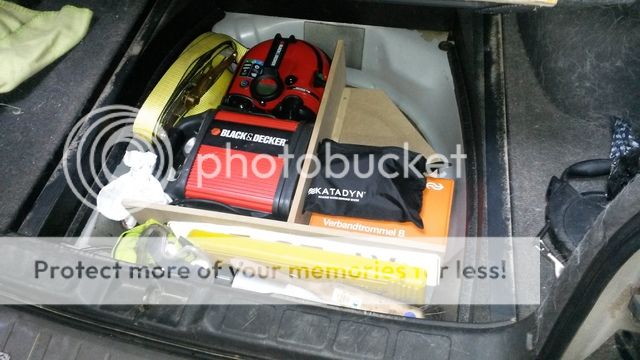
Now use the oem spare wheel well for some tools and stuff
20150920_142801.jpg.html
20150920_142801.jpg


Did a testrun last sunday with the 'big' boys and it held up excellently!
20150919_102206.jpg.html
20150919_102206.jpg


20150919_152328.jpg.html
No pics of the dog using the step though..
 
Looks great will be looking to do something similar myself
 
DIY front sway links and rear link solution

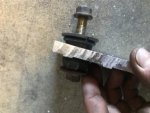
After a frustrating half hour at auto zone trying to explain to the kid behind the counter that I need sway bar links “about this size /shape etc” and him refusing to go open a box or two I decided to fab some up. It’s not a super integral part and if it breaks I’m not going to injure my self or others so I went the easies fastest way I could come up with. I took the bushings from an old set of fromt links , drilled upper and lower holes in some 3/8 aluminum diamond plate I had around, jammed the bushings in, goobered some indie weld in after installation to keep them from moving laterally and blammo....perfect fit front sway links after my 6” lift. This is on a 95 legacy sedan. For the rears I came up with a brilliant solution.

Stay with me here. I was laying under the car staring at the rear sway bar and lateral links trying to come up with how I was going to get the extra length I needed to connect them. Turns out all it takes is a simple swaparoo. Swap the left and right furthest rear lateral arms and the mounting points for the sway bar links are magically on top of the link instead of underneath! Re mount your original sway bar links and your all set. Throw a pin in the top of the link and now you have quick disconnect sway bars.


Boom
 

Attachments

  • 9B3529FA-F705-4240-B6BD-4999C384D4FB.jpg
    9B3529FA-F705-4240-B6BD-4999C384D4FB.jpg
    16.7 KB · Views: 14
Hows the paint work hold up off road? I've tried a couple of paints but can't find anything hard wearing enugh for under the car.

I'd add some photos but you work will just put mine to shame haha! and I've not been making anything for the car lately, been doing more woodworking
Try por 15 paint. It’sa bit insanely priced if you buy it in small quantities, but it’s also insanely good. They have rust converter, paint and top coat that is rubbery.
 
Back
Top