
Brumby Boy
Forum Member
So I finally got around to doing the front brakes on my forester today and thought I'd do a bit of a write up in case we don't have one here...
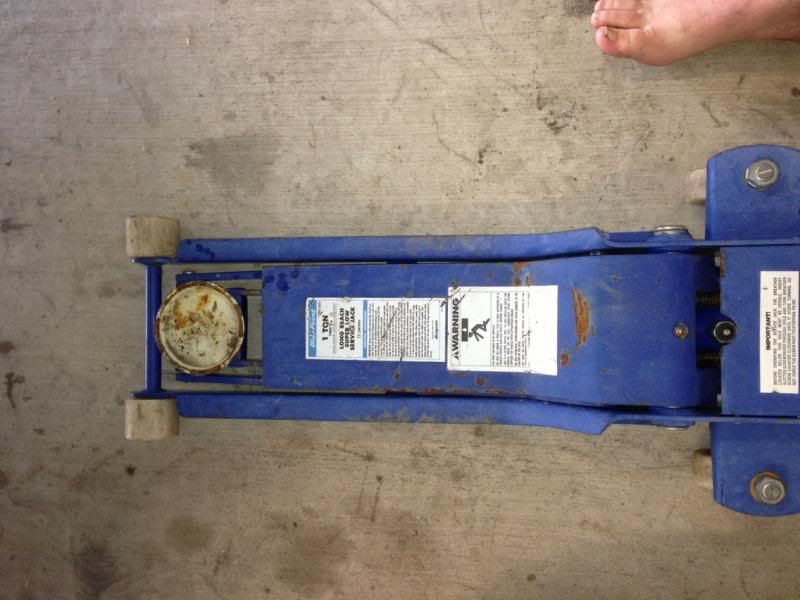
Now the first thing to do is clear a work space and collect all the tools required.
I didn't machine the rotors as they feel fine under braking and they don't have a lip that I could feel, normally I would machine them anyway to de-glaze them but as I'm planning to do a 4 pot upgrade at the end of the year after my wedding so I didn't bother.
Now here's a list of tools I used:
19mm socket and breaker bar or rattle gun
Jack
Jack stands
14mm ring spanner
10mm pipe spanner
large flat blade screw driver
puller set
fluid bleeder bottle
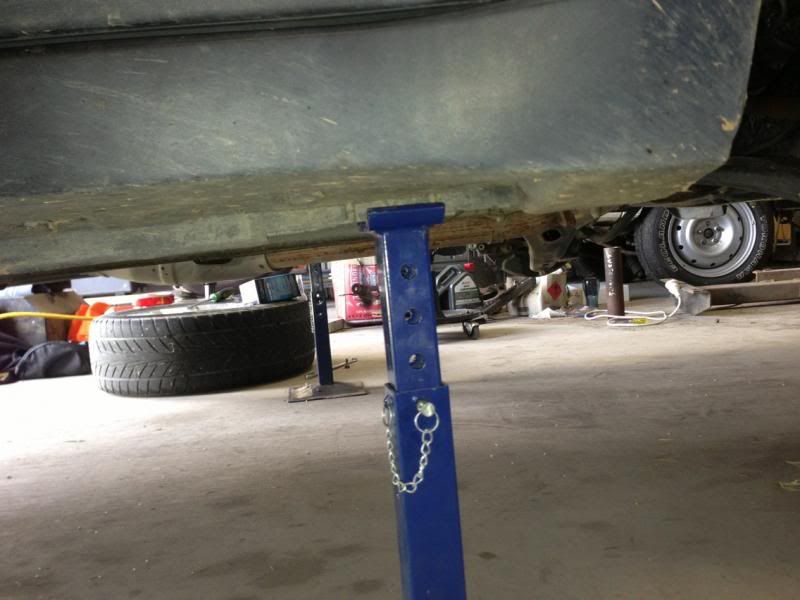
I cleared a spot in my shed and jacked the front of the car up and got it set up on the stands.
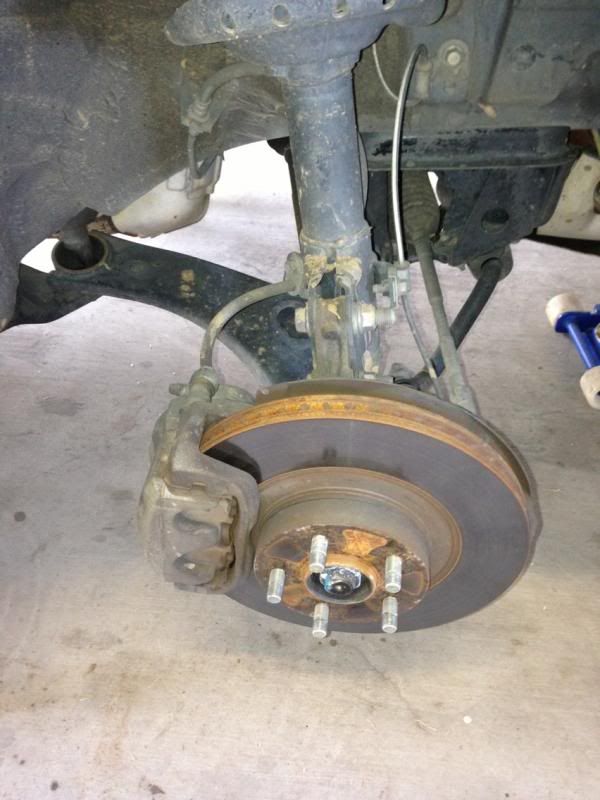
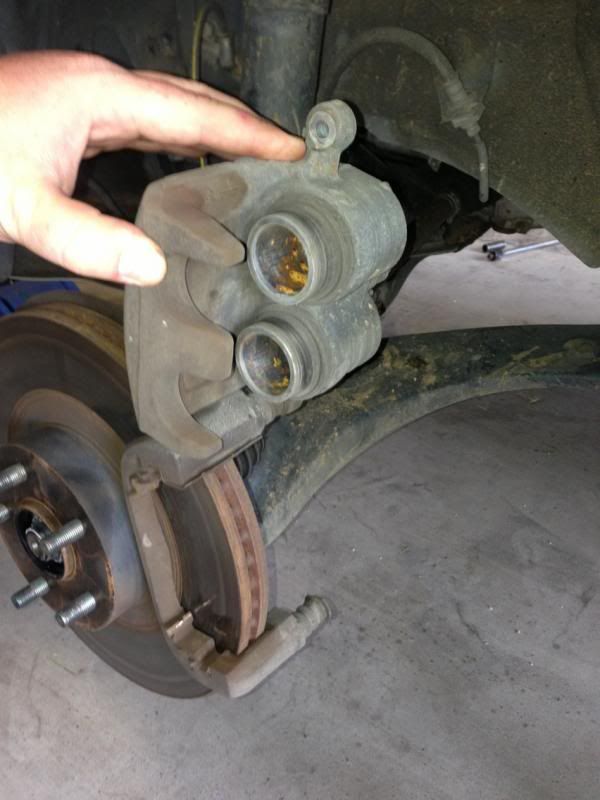
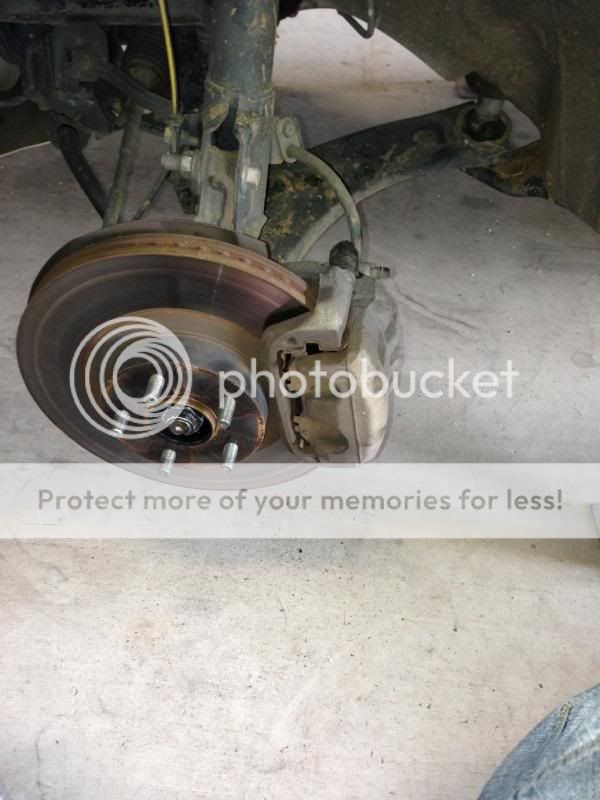
After its up in the air, get the wheels off and out of the way and you should be confronted with something like this.
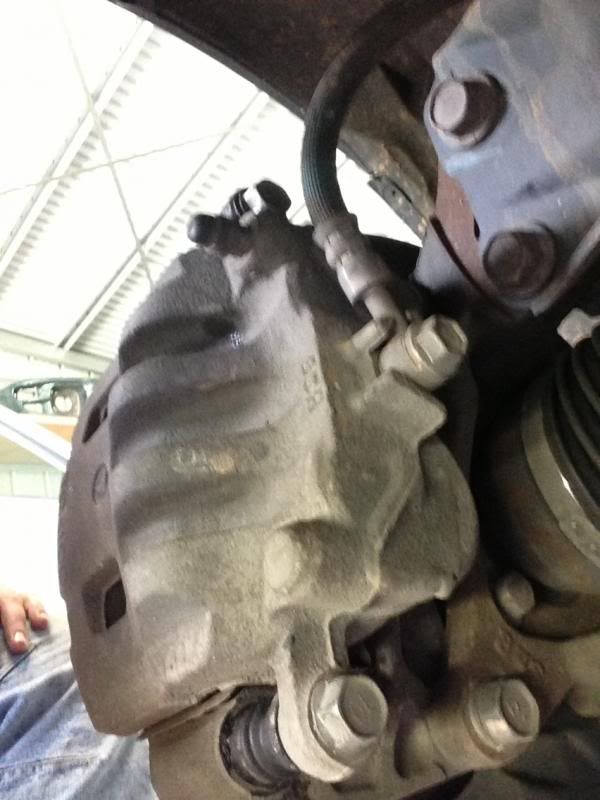
Now because I'm not machining the rotors I left the caliper bolted to the hub and removed the floating part of the caliper from the slides.
you can see the two small bolts in this picture, they are the ones at the top and bottom with a 14mm head.
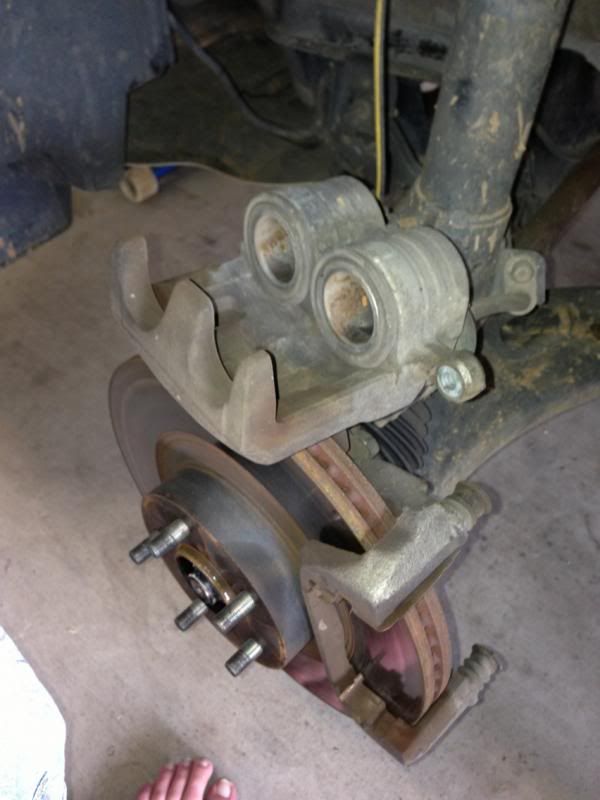
If you remove the bolt from the lower slide you can flip the caliper up and remove the pads like this.
Use the large screw driver to remove the pads if they are a little tight in the caliper, but be careful not to damage anything.
once you have the caliper up and the pads removed you need to push the pistons back so you can fit the new pads.
don't push directly on the piston or you risk damaging them.
use one of the old pads.
Before you push the pistons back get your bleeder bottle and crack the nipple so the fluid flows into the bottle and not backwards threw the ABS unit etc. Be careful not to let air into the system or you'll have to bleed the fluid.
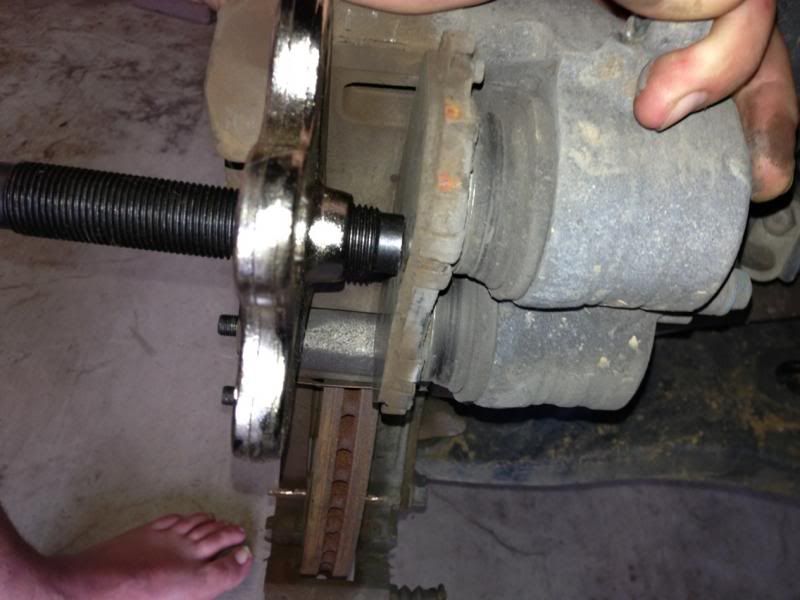
As you can see I used my snap on harmonic balancer puller to push the pistons back, I use to use my giant multi grips but this doesn't mark the caliper like the multi grips can.
After I pushed the pistons back I removed the top slid bolt and flipped the caliper over so that I could remove the slides to ensure they are well lubricated to ensure the pads wear evenly.
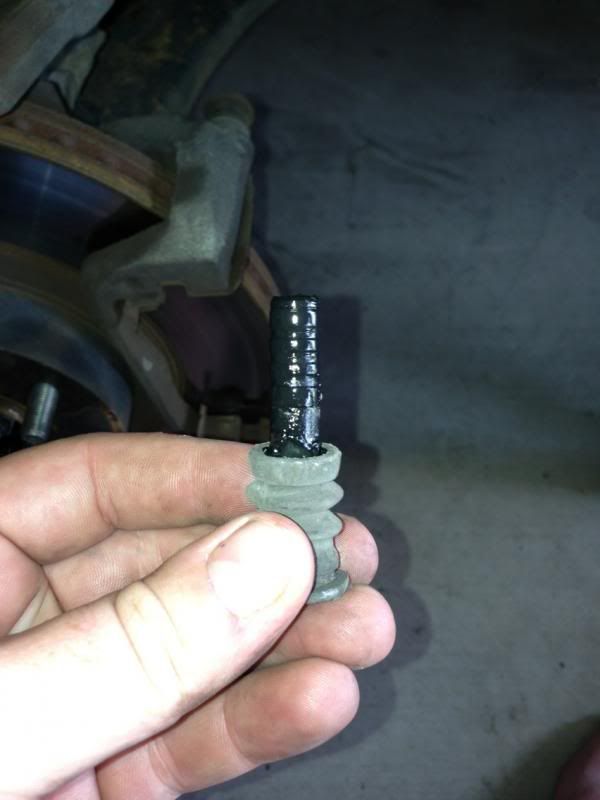
Take care with the bottom slide, it has a little rubber boot (not the dust boot) don't loose it and when you re install the slide be sure the rubber boot goes inside the fixed part of the caliper, they have a habit of folding over themselves and jamming the slide.
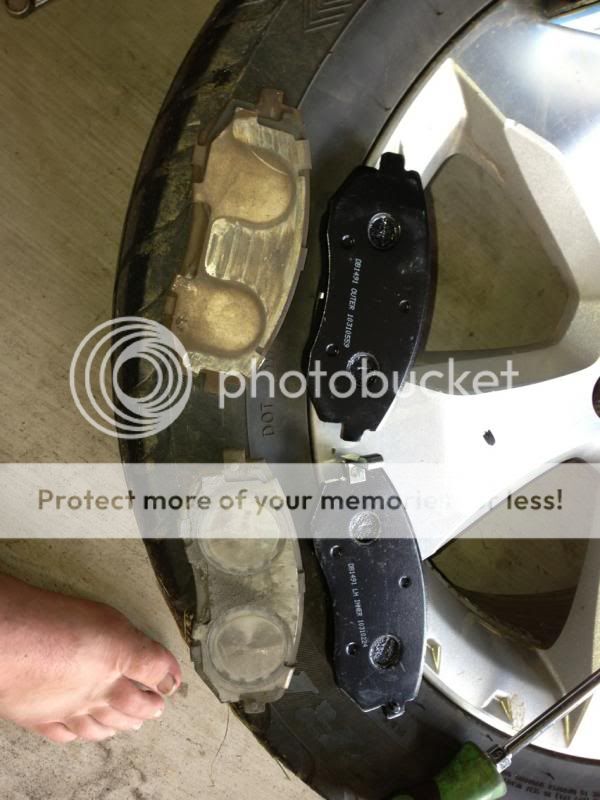
Out of curiosity and for demonstration purposes I measured the old pads and compared them to the new pads.
Here is the LH inner pad. It's down to 1.5mm, well within the legal limit of 0.5mm but they were starting to make noise under heavy breaking which is why I swapped them out.
Also the wear indicator is broken off.
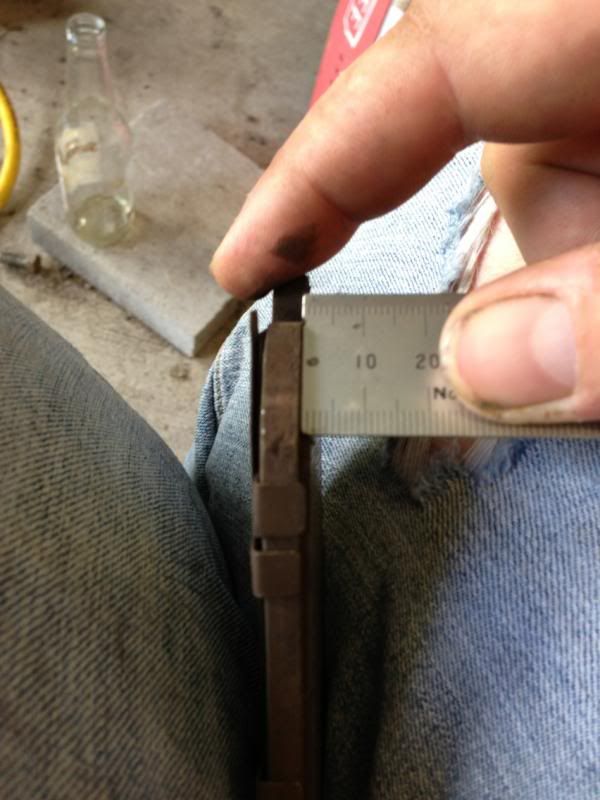
here is the LH outter pad, its worn down to 2mm

both the RH inner and outer pads were 2mm.
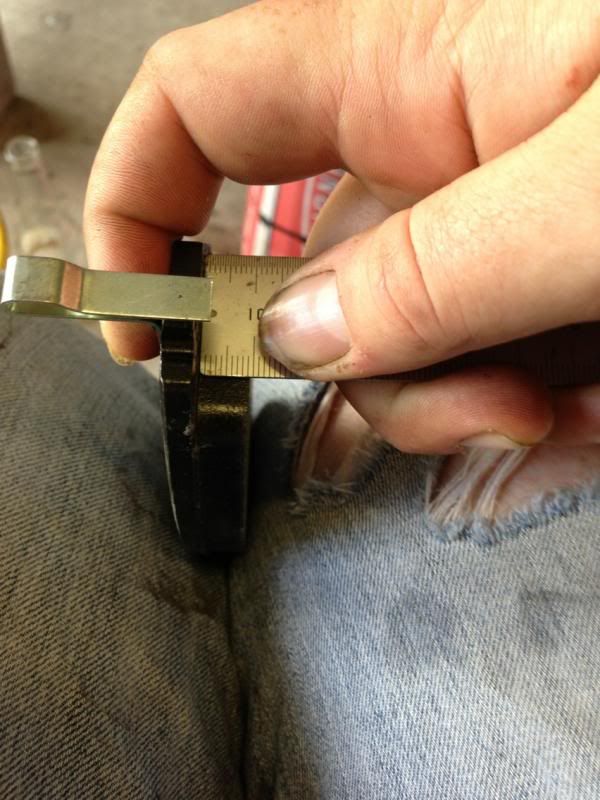
The new pads are nice and thick, 9.5mm :ebiggrin:
Now the first thing to do is clear a work space and collect all the tools required.
I didn't machine the rotors as they feel fine under braking and they don't have a lip that I could feel, normally I would machine them anyway to de-glaze them but as I'm planning to do a 4 pot upgrade at the end of the year after my wedding so I didn't bother.
Now here's a list of tools I used:
19mm socket and breaker bar or rattle gun
Jack
Jack stands
14mm ring spanner
10mm pipe spanner
large flat blade screw driver
puller set
fluid bleeder bottle
I cleared a spot in my shed and jacked the front of the car up and got it set up on the stands.
After its up in the air, get the wheels off and out of the way and you should be confronted with something like this.
Now because I'm not machining the rotors I left the caliper bolted to the hub and removed the floating part of the caliper from the slides.
you can see the two small bolts in this picture, they are the ones at the top and bottom with a 14mm head.
If you remove the bolt from the lower slide you can flip the caliper up and remove the pads like this.
Use the large screw driver to remove the pads if they are a little tight in the caliper, but be careful not to damage anything.
once you have the caliper up and the pads removed you need to push the pistons back so you can fit the new pads.
don't push directly on the piston or you risk damaging them.
use one of the old pads.
Before you push the pistons back get your bleeder bottle and crack the nipple so the fluid flows into the bottle and not backwards threw the ABS unit etc. Be careful not to let air into the system or you'll have to bleed the fluid.
As you can see I used my snap on harmonic balancer puller to push the pistons back, I use to use my giant multi grips but this doesn't mark the caliper like the multi grips can.
After I pushed the pistons back I removed the top slid bolt and flipped the caliper over so that I could remove the slides to ensure they are well lubricated to ensure the pads wear evenly.
Take care with the bottom slide, it has a little rubber boot (not the dust boot) don't loose it and when you re install the slide be sure the rubber boot goes inside the fixed part of the caliper, they have a habit of folding over themselves and jamming the slide.
Out of curiosity and for demonstration purposes I measured the old pads and compared them to the new pads.
Here is the LH inner pad. It's down to 1.5mm, well within the legal limit of 0.5mm but they were starting to make noise under heavy breaking which is why I swapped them out.
Also the wear indicator is broken off.
here is the LH outter pad, its worn down to 2mm
both the RH inner and outer pads were 2mm.
The new pads are nice and thick, 9.5mm :ebiggrin:

")