I will outline a guide for installing the kit, this is not a step-by-step only pointers and minute details.
I would recommend having a friend around to help, especially when working on the rear subframe spacers. I did the rear subframe at the shop using a jack designed to remove entire subframe assemblies with the engine/transmission attached, so I was able to do it by myself. Doing the install at home I would recommend 4 jackstands and a heavy duty jack.
The spacers after sitting on my garage floor for a few weeks
I would recommend painting them as soon as you get them in to prevent any surface corrosion, or store them in a dry place unlike what I did.
I marked the material before installation (D for driver side, arrow noting front of the car)
Instead of painting my spacers, I decided to go one better and get them powdercoated black.
Fresh from powdercoating
REAR INSTALL
I started with the rear first because I knew it would be harder than the front. Here some notes:
*When popping out the covers to access the upper rear strut bolts, pop them out from the bottom of the covers instead of the top
*Unhook the parking brake cables from the control arms and reinstall them when you're done
*If you have HID's, cut the tape holding the wires together for the rear level sensor so that it can extend
*Pop out the clips for the wiring for the ABS sensors from the subframe but make sure not to break them, you will need to clip them back in after the install
*The front hangers for the mufflers (towards the front of vehicle) will have to be removed to allow clearance between the exhaust pipe and the subframe
Exhaust clearance
The picture looks bad but it doesn't make contact. I will have to retake this picture later.
Rear Strut with strut spacer installed
The hardware for the spacers are standard thread, so please don't try to use the nuts for the OEM struts on the threads for the spacers.
REAR BRAKE LINES
Brake line extension bracket and hardware
The kit includes extension brackets for the rear brake lines because at full extension the brake lines will be stretched, make sure to unbolt the brake lines from the calipers before dropping the subframe.
Right rear wheel brake line
You will have to remove the ABS sensors and route the wire under the brake lines so that they don't rub against each other.
Bracket installed
The front of the vehicle is to the right, install the brackets as shown with them leaning towards the control arm.
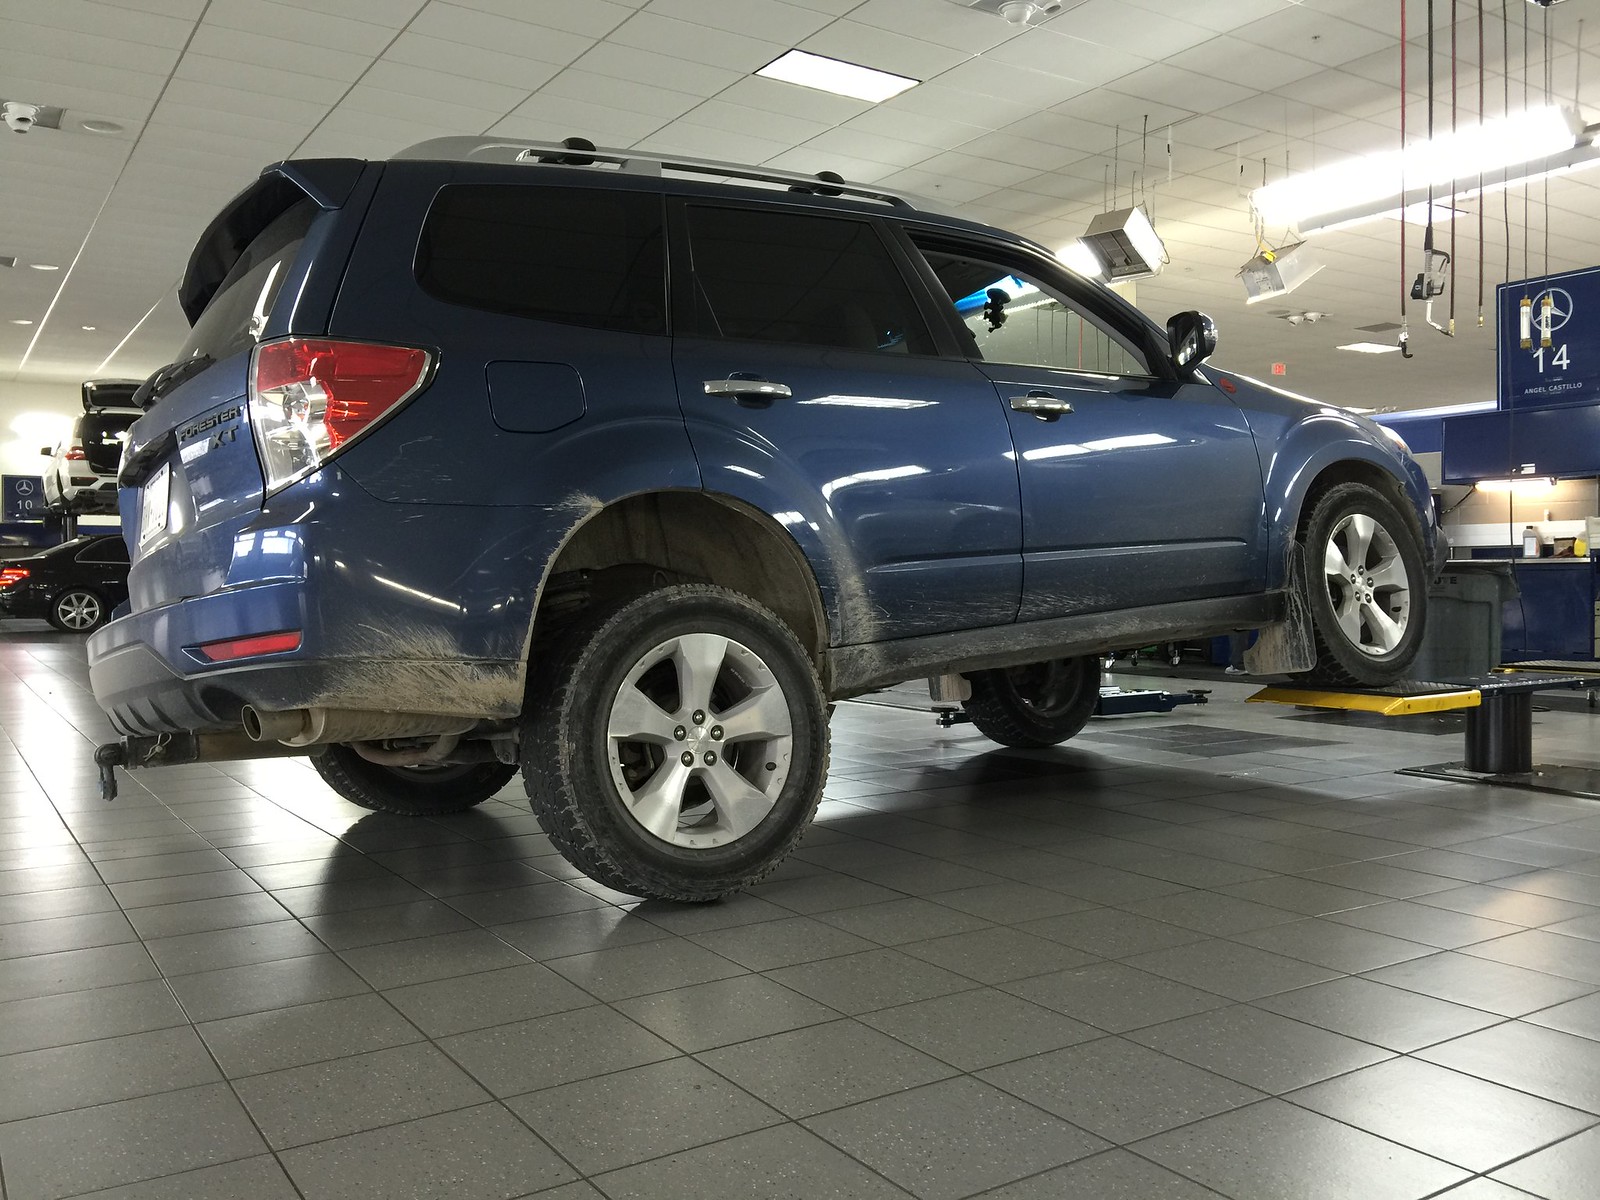
REAR CLEARANCE
In the air
On the ground
Rear strut and subframe spacers installed
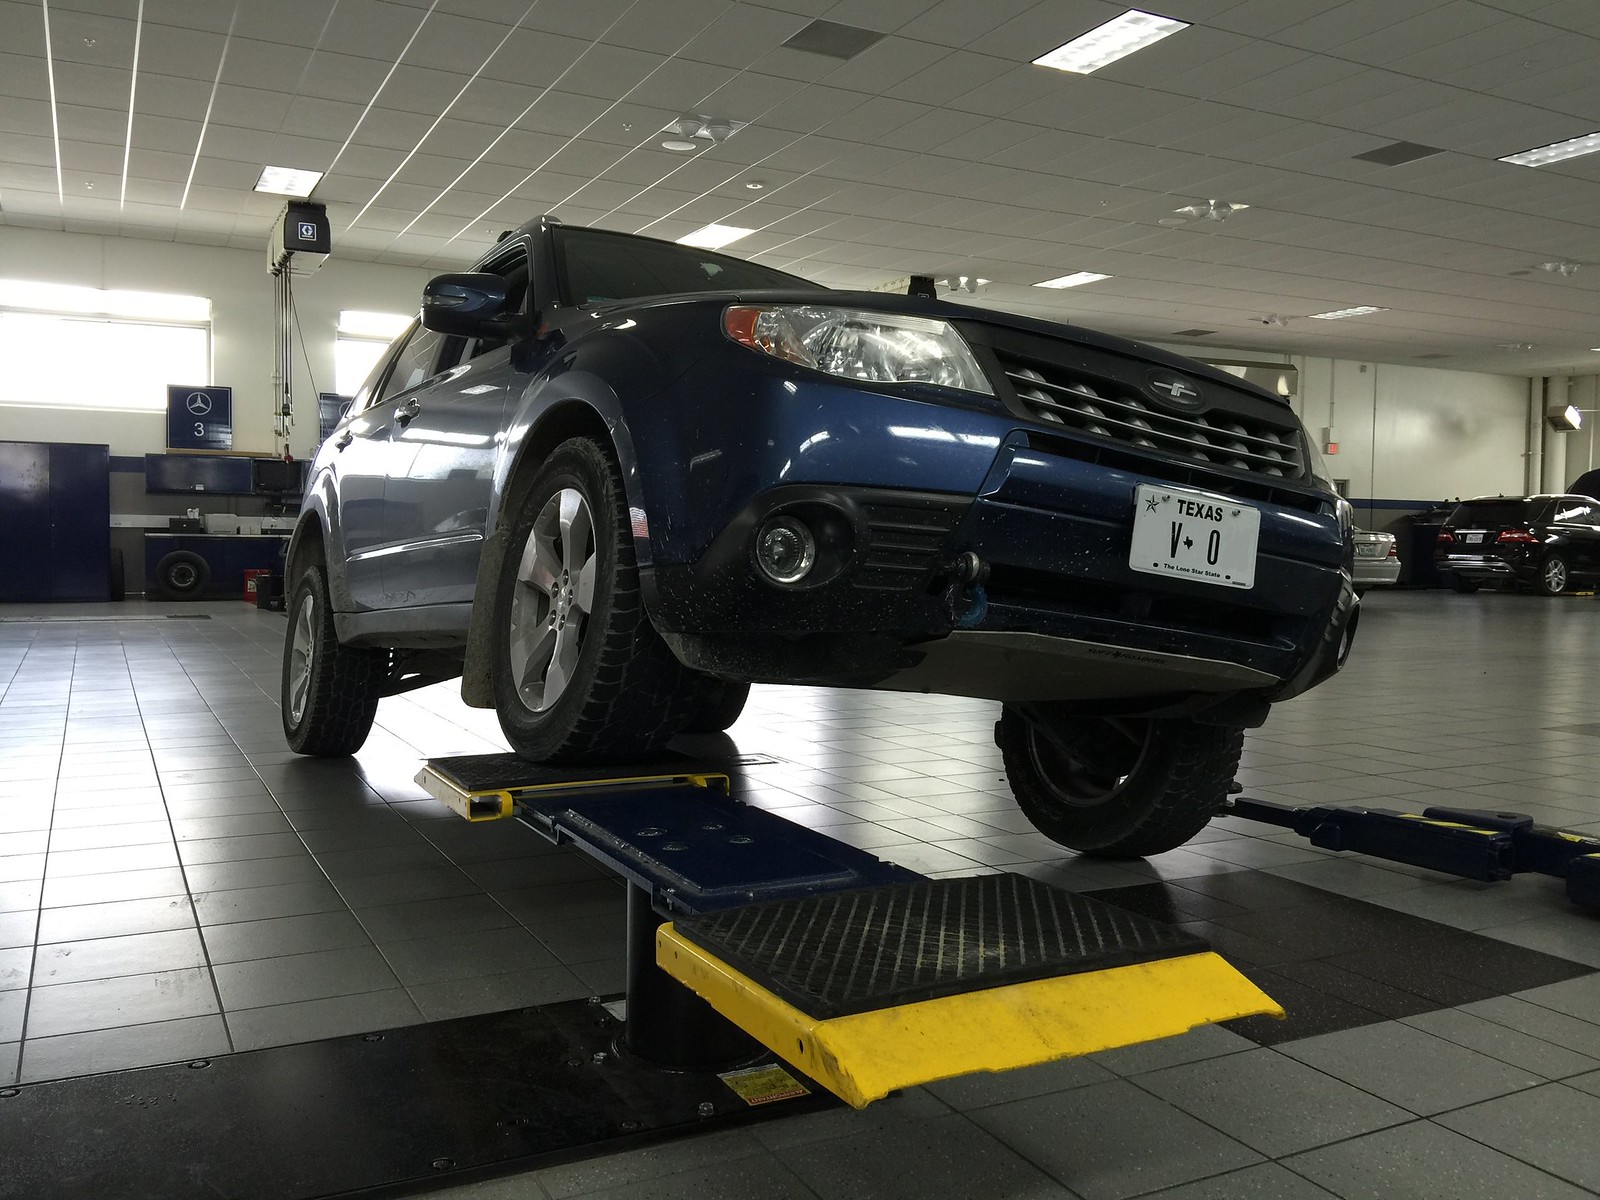
FRONT
The fronts are very straightforward, take the struts out, install spacers, re-install. Make sure to mark the upper bolt, it is a cam bolt and if you install it differently than when you took it out your alignment will change.
Front strut spacer
When people say that 2" is the max, I do tend to believe that. Everything is stretched to its limit at full extension.
Front suspension at full extension
Since the rear subframe is lowered 2" along with the struts, you do have a little wiggle room to go higher than 2" in the rear. The driveshaft angles are the same as stock in the rear.
ALIGNMENT
The ADF kit is designed with compensation for alignment.
This is what the initial readings for the alignment were before any adjustments were made. I only corrected toe on the front just a little bit. The rear camber is most likely from me bumping around the trails and tweaking something, it is not factory adjustable but I think there are shims to correct it. I did not mess with the rear camber or toe.
If you are wondering how it rides, I can tell you that it rides the same as it did before the lift. I will let you know that my Forester does not have sway bars front and rear (Off-road baby!) so if you ask me how it handles I will say like a truck.
My tires are Cooper Discoverer AT3's in 235/60R17, 28.3 inches in diameter. Stock tires are 26.7 so it's a little bit larger and provides 0.8" of extra lift.
I've had the lift since the end of March and am very happy with it. Soon I will be able to test it out at our local OHV park, stay tuned for more pictures.
Future: ruler measurements at front skid and rear diff


 DSC_0045 by Vinay Sisoukraj, on Flickr
 DSC_0048 by Vinay Sisoukraj, on Flickr
 DSC_0047 by Vinay Sisoukraj, on Flickr
 DSC_0203 by Vinay Sisoukraj, on Flickr
 DSC_0202 by Vinay Sisoukraj, on Flickr


 :iconwink: